2018년 11월 15일(목)
오늘의 여정 : 크로아티아 두브로브니크(두브로브티크 요새/구시가지 → 스르지 산 정상 전망대)
크로아티아에서의 동이 터올랐다.
아침에 일어나 보니
하늘 위로 해가 빼꼼이 얼굴을 비추려고 하길래
잽싼 동작으로 한 컷을 찍었다.
의외로 멋진 일출 사진이 연출되서 블로그에 올릴 수 밖에 없다 ㅎㅎ

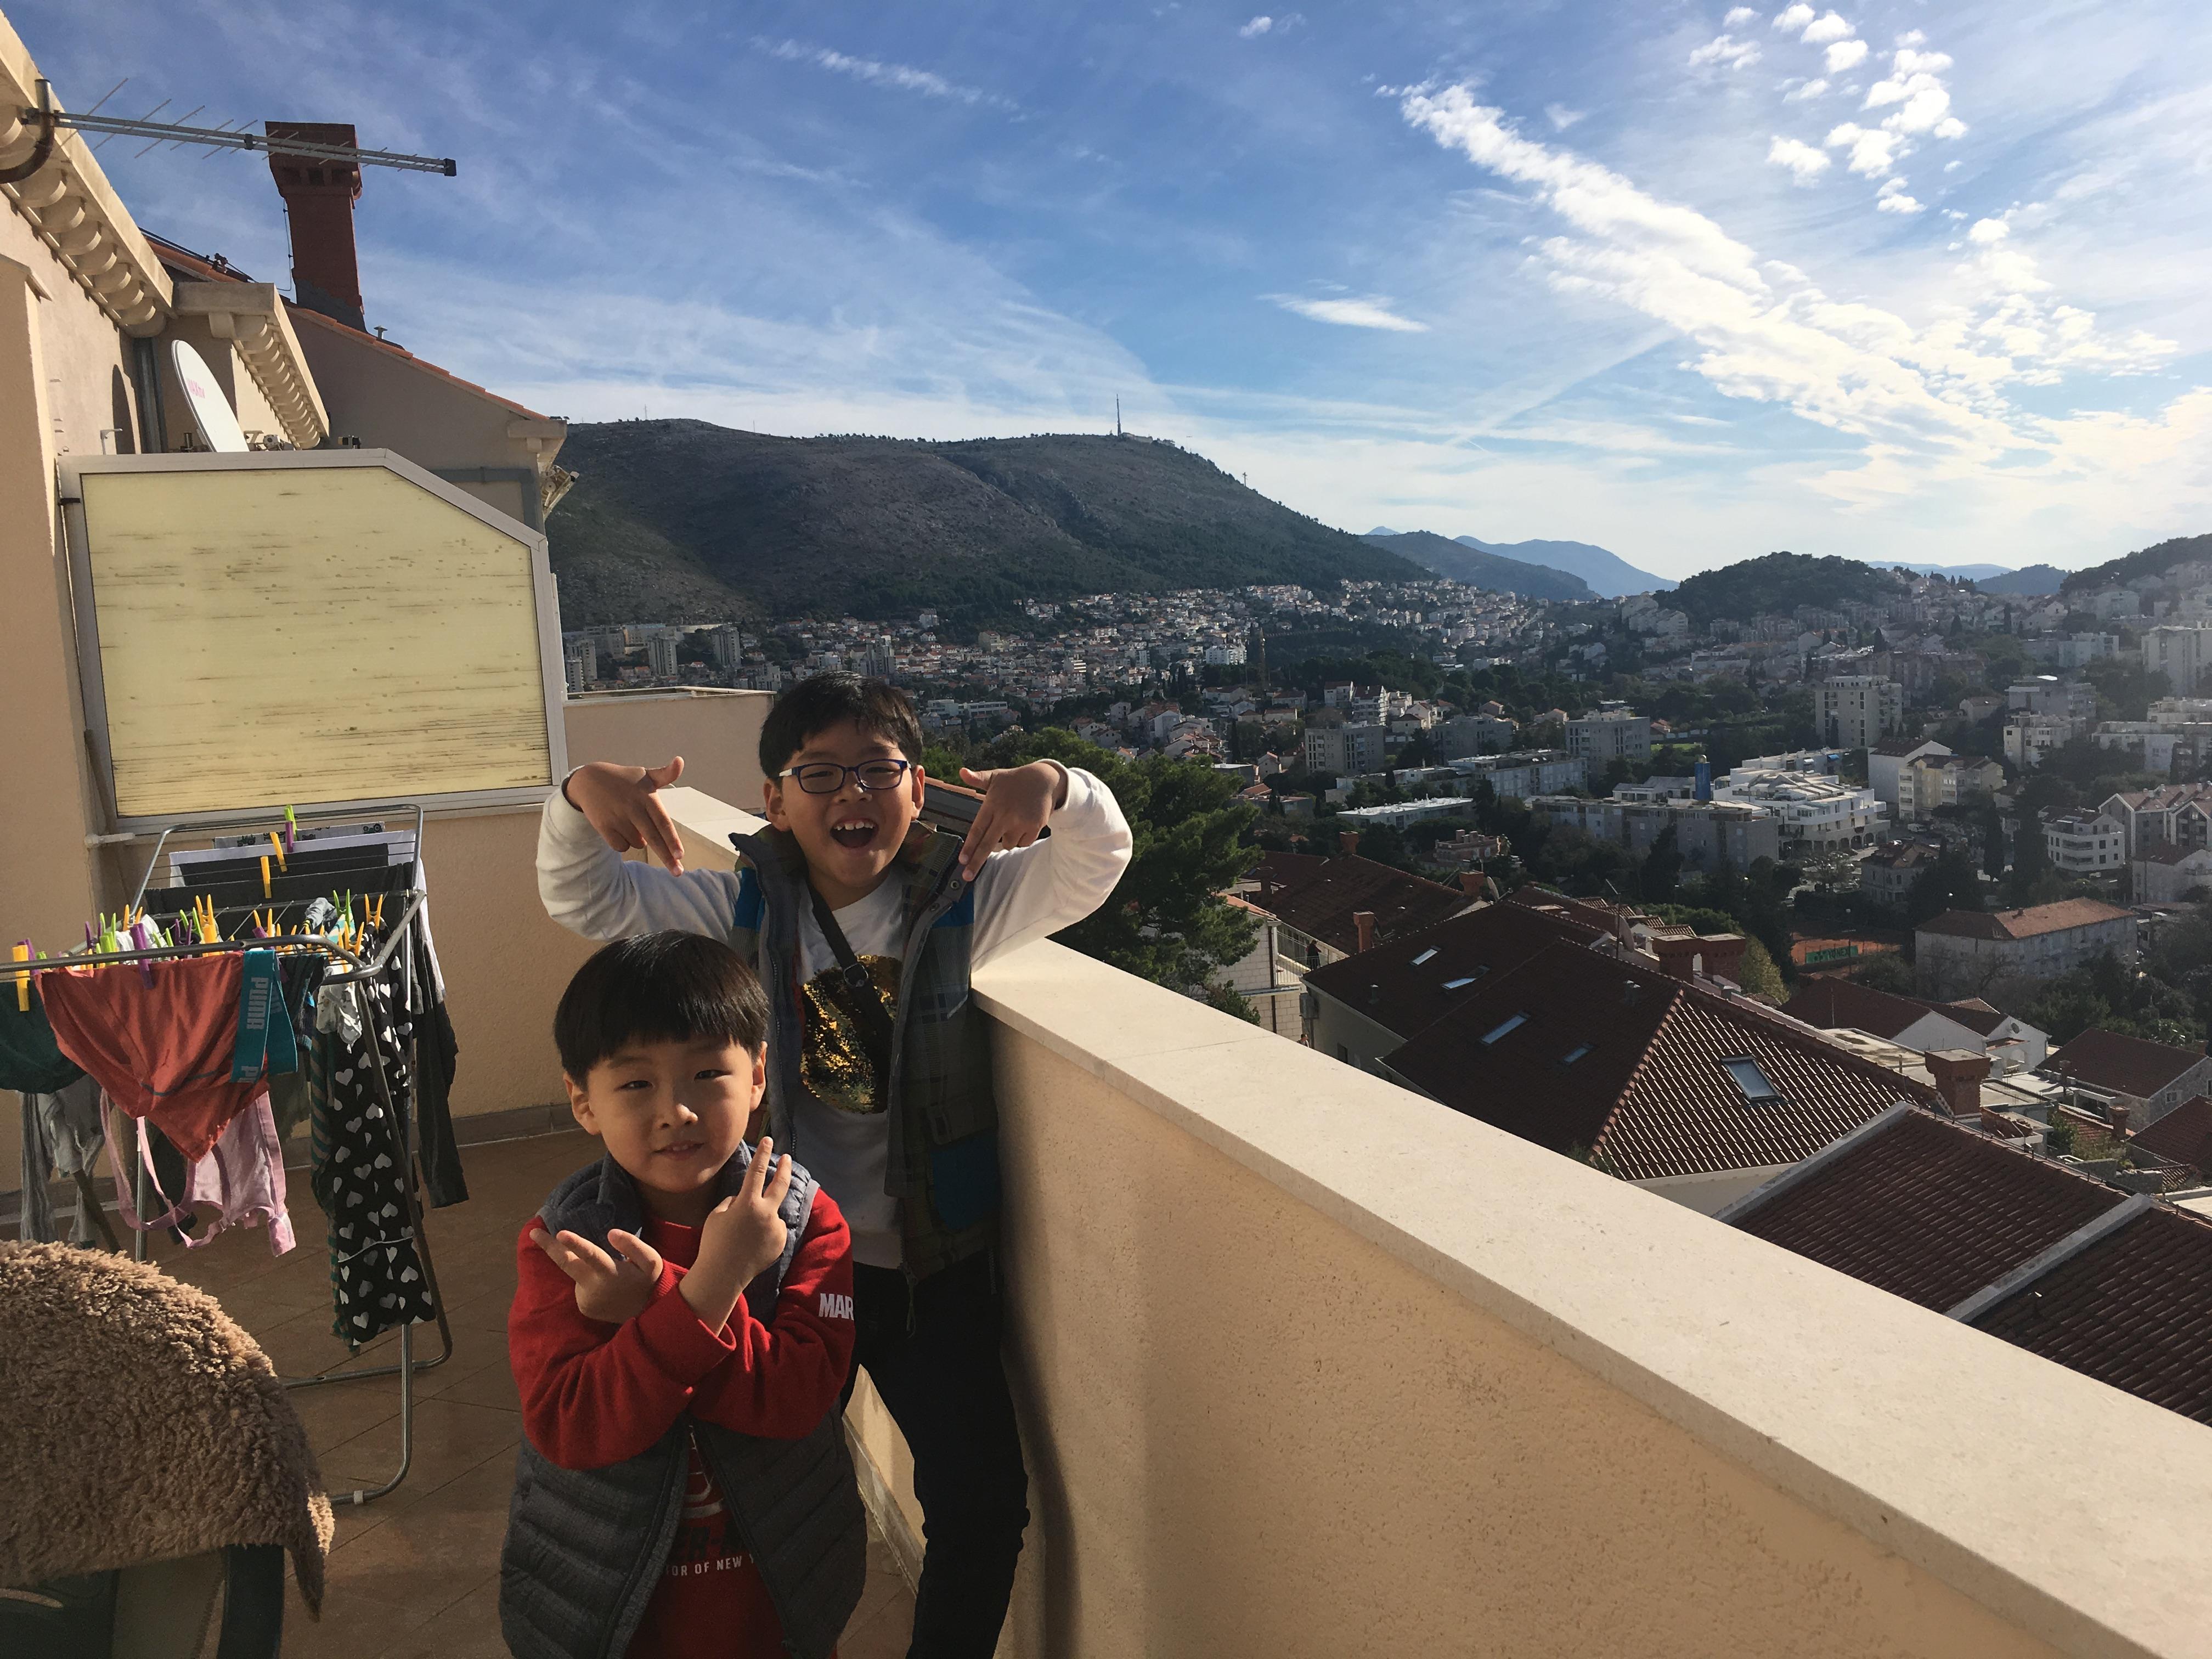
숙소가 산 언저리 윗부분에 위치해서 그런지 전망이 좋은지라
테라스에서 내려 보이는
멋진 항구의 모습에 셔터를 누를 수 밖에 없군...
자~ 어제 미리 구입한 스프를 끓이고,
간단하게 빵을 곁들어 아침을 해결.
아침도 먹었겠다 이젠 슬슬 나가보기로 한다.
외출하기 전에 잠시 숙소 테라스에서 한컷~
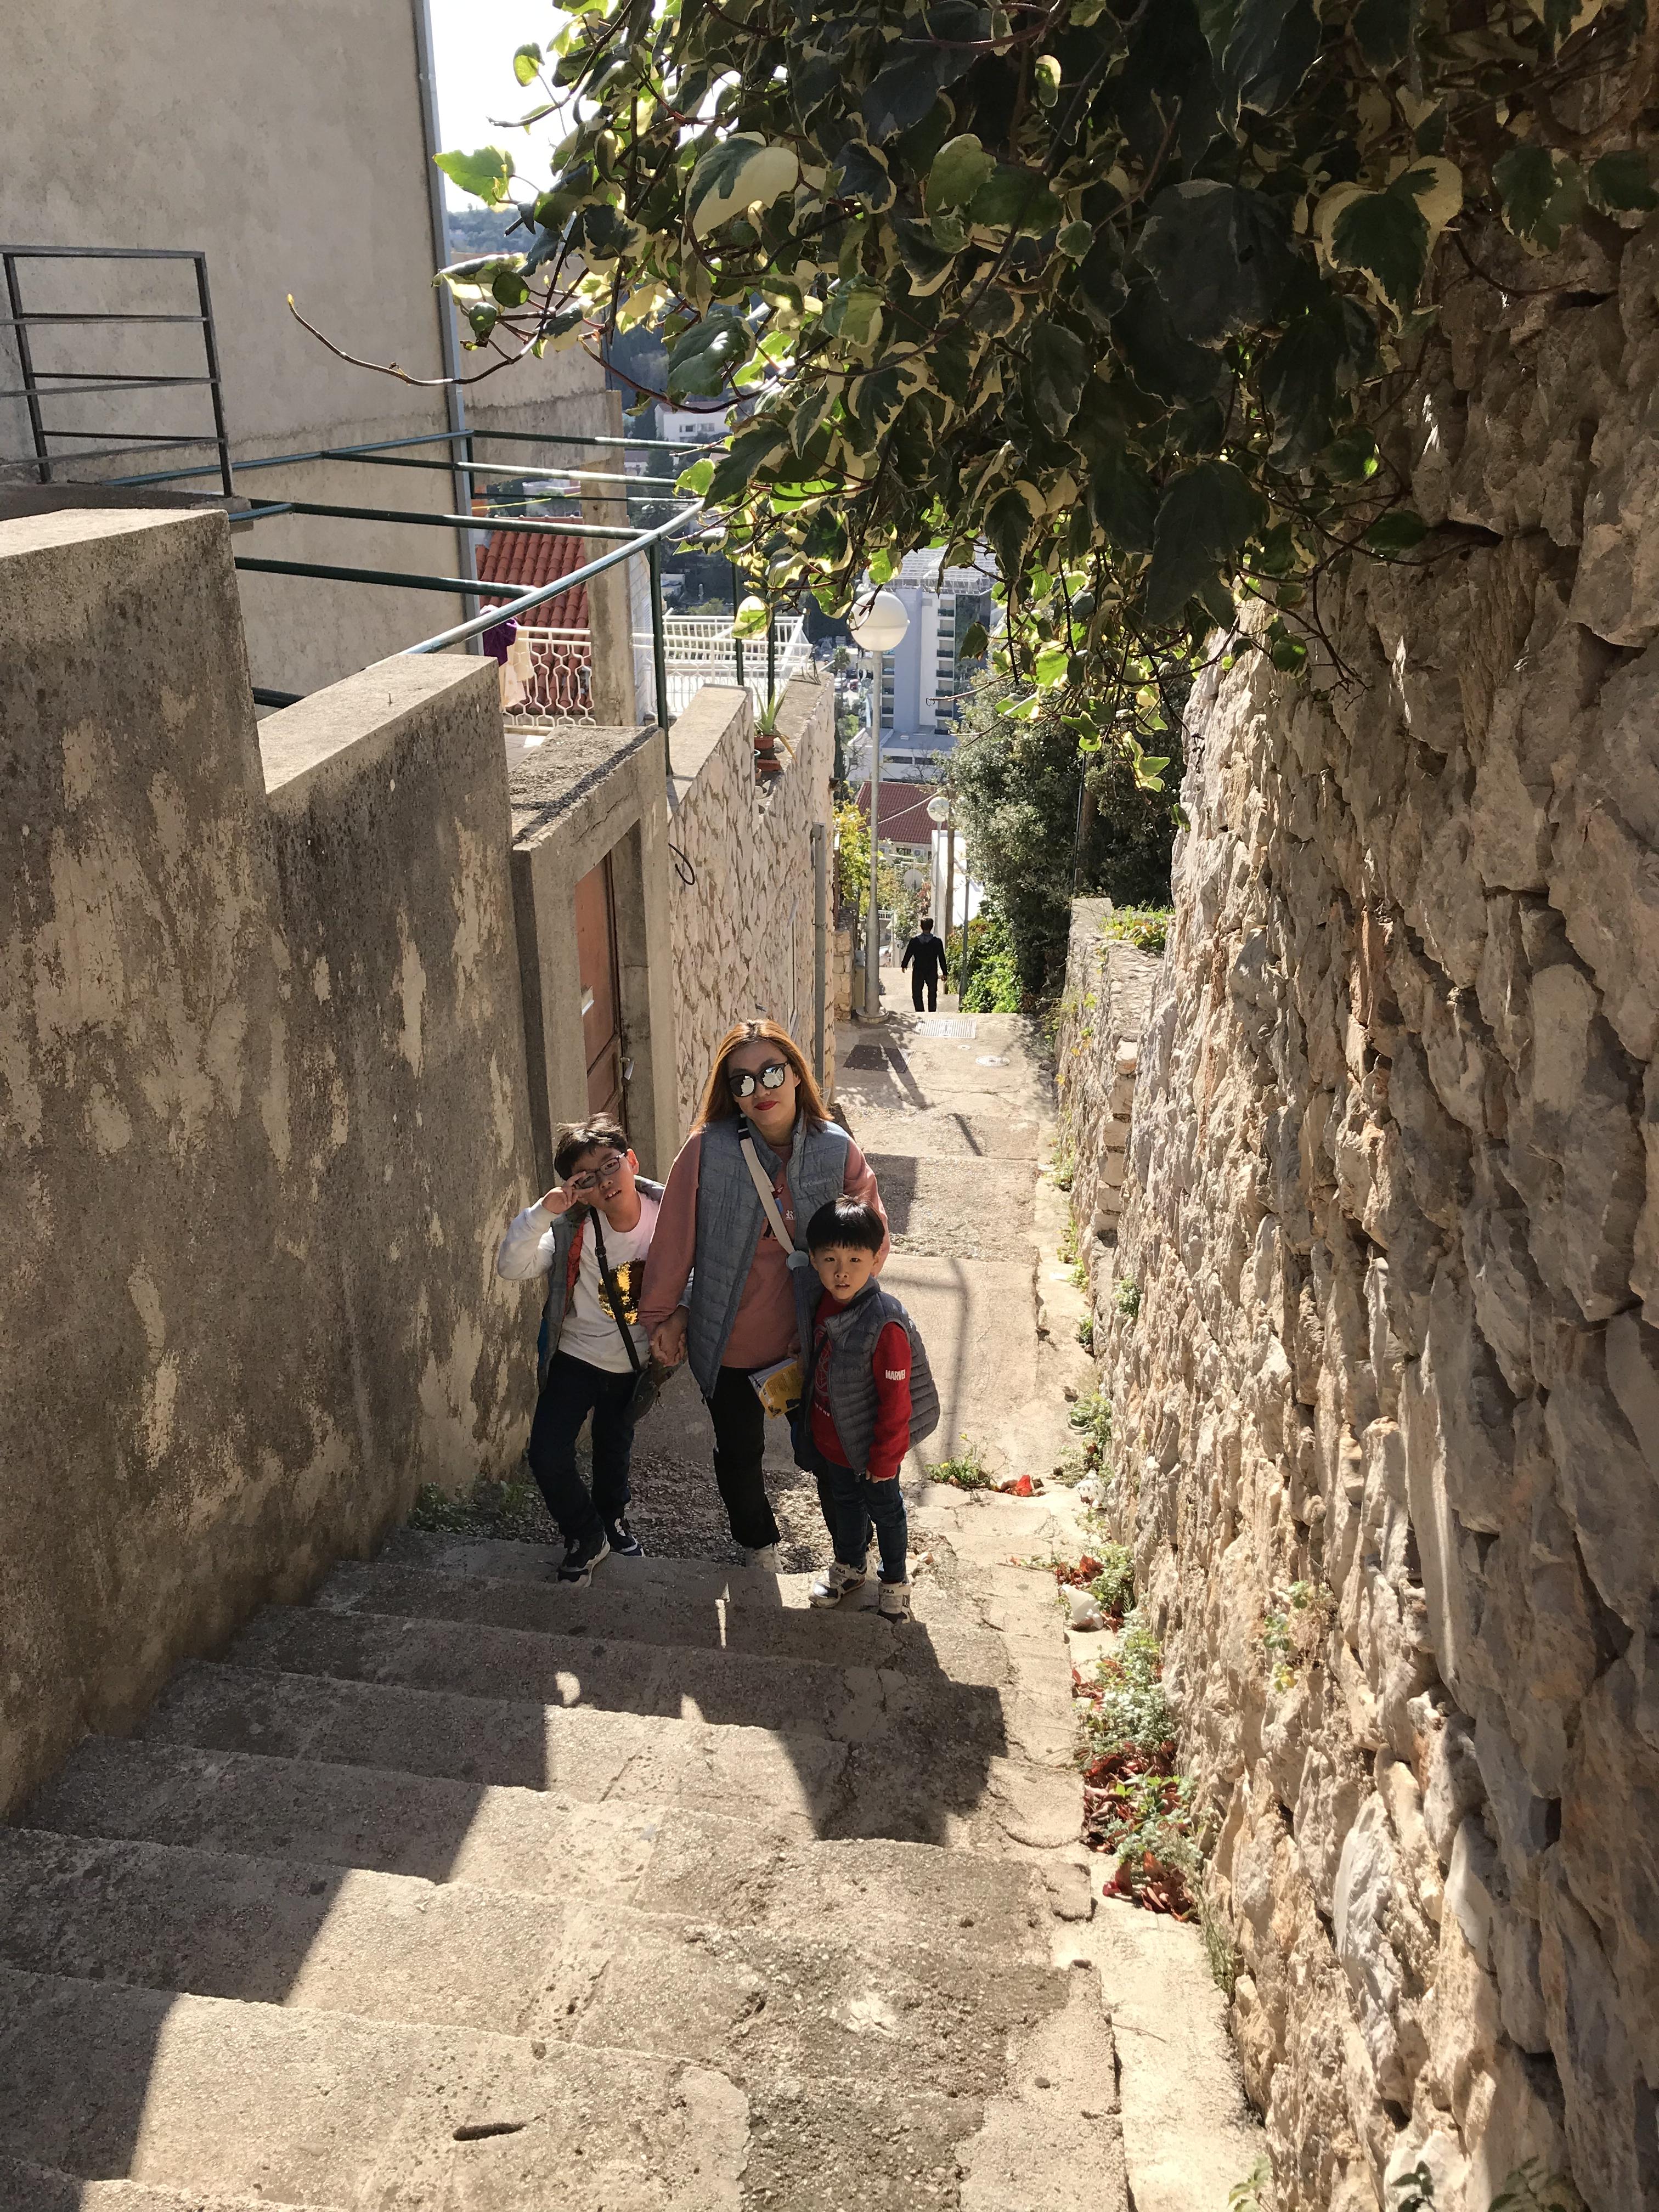
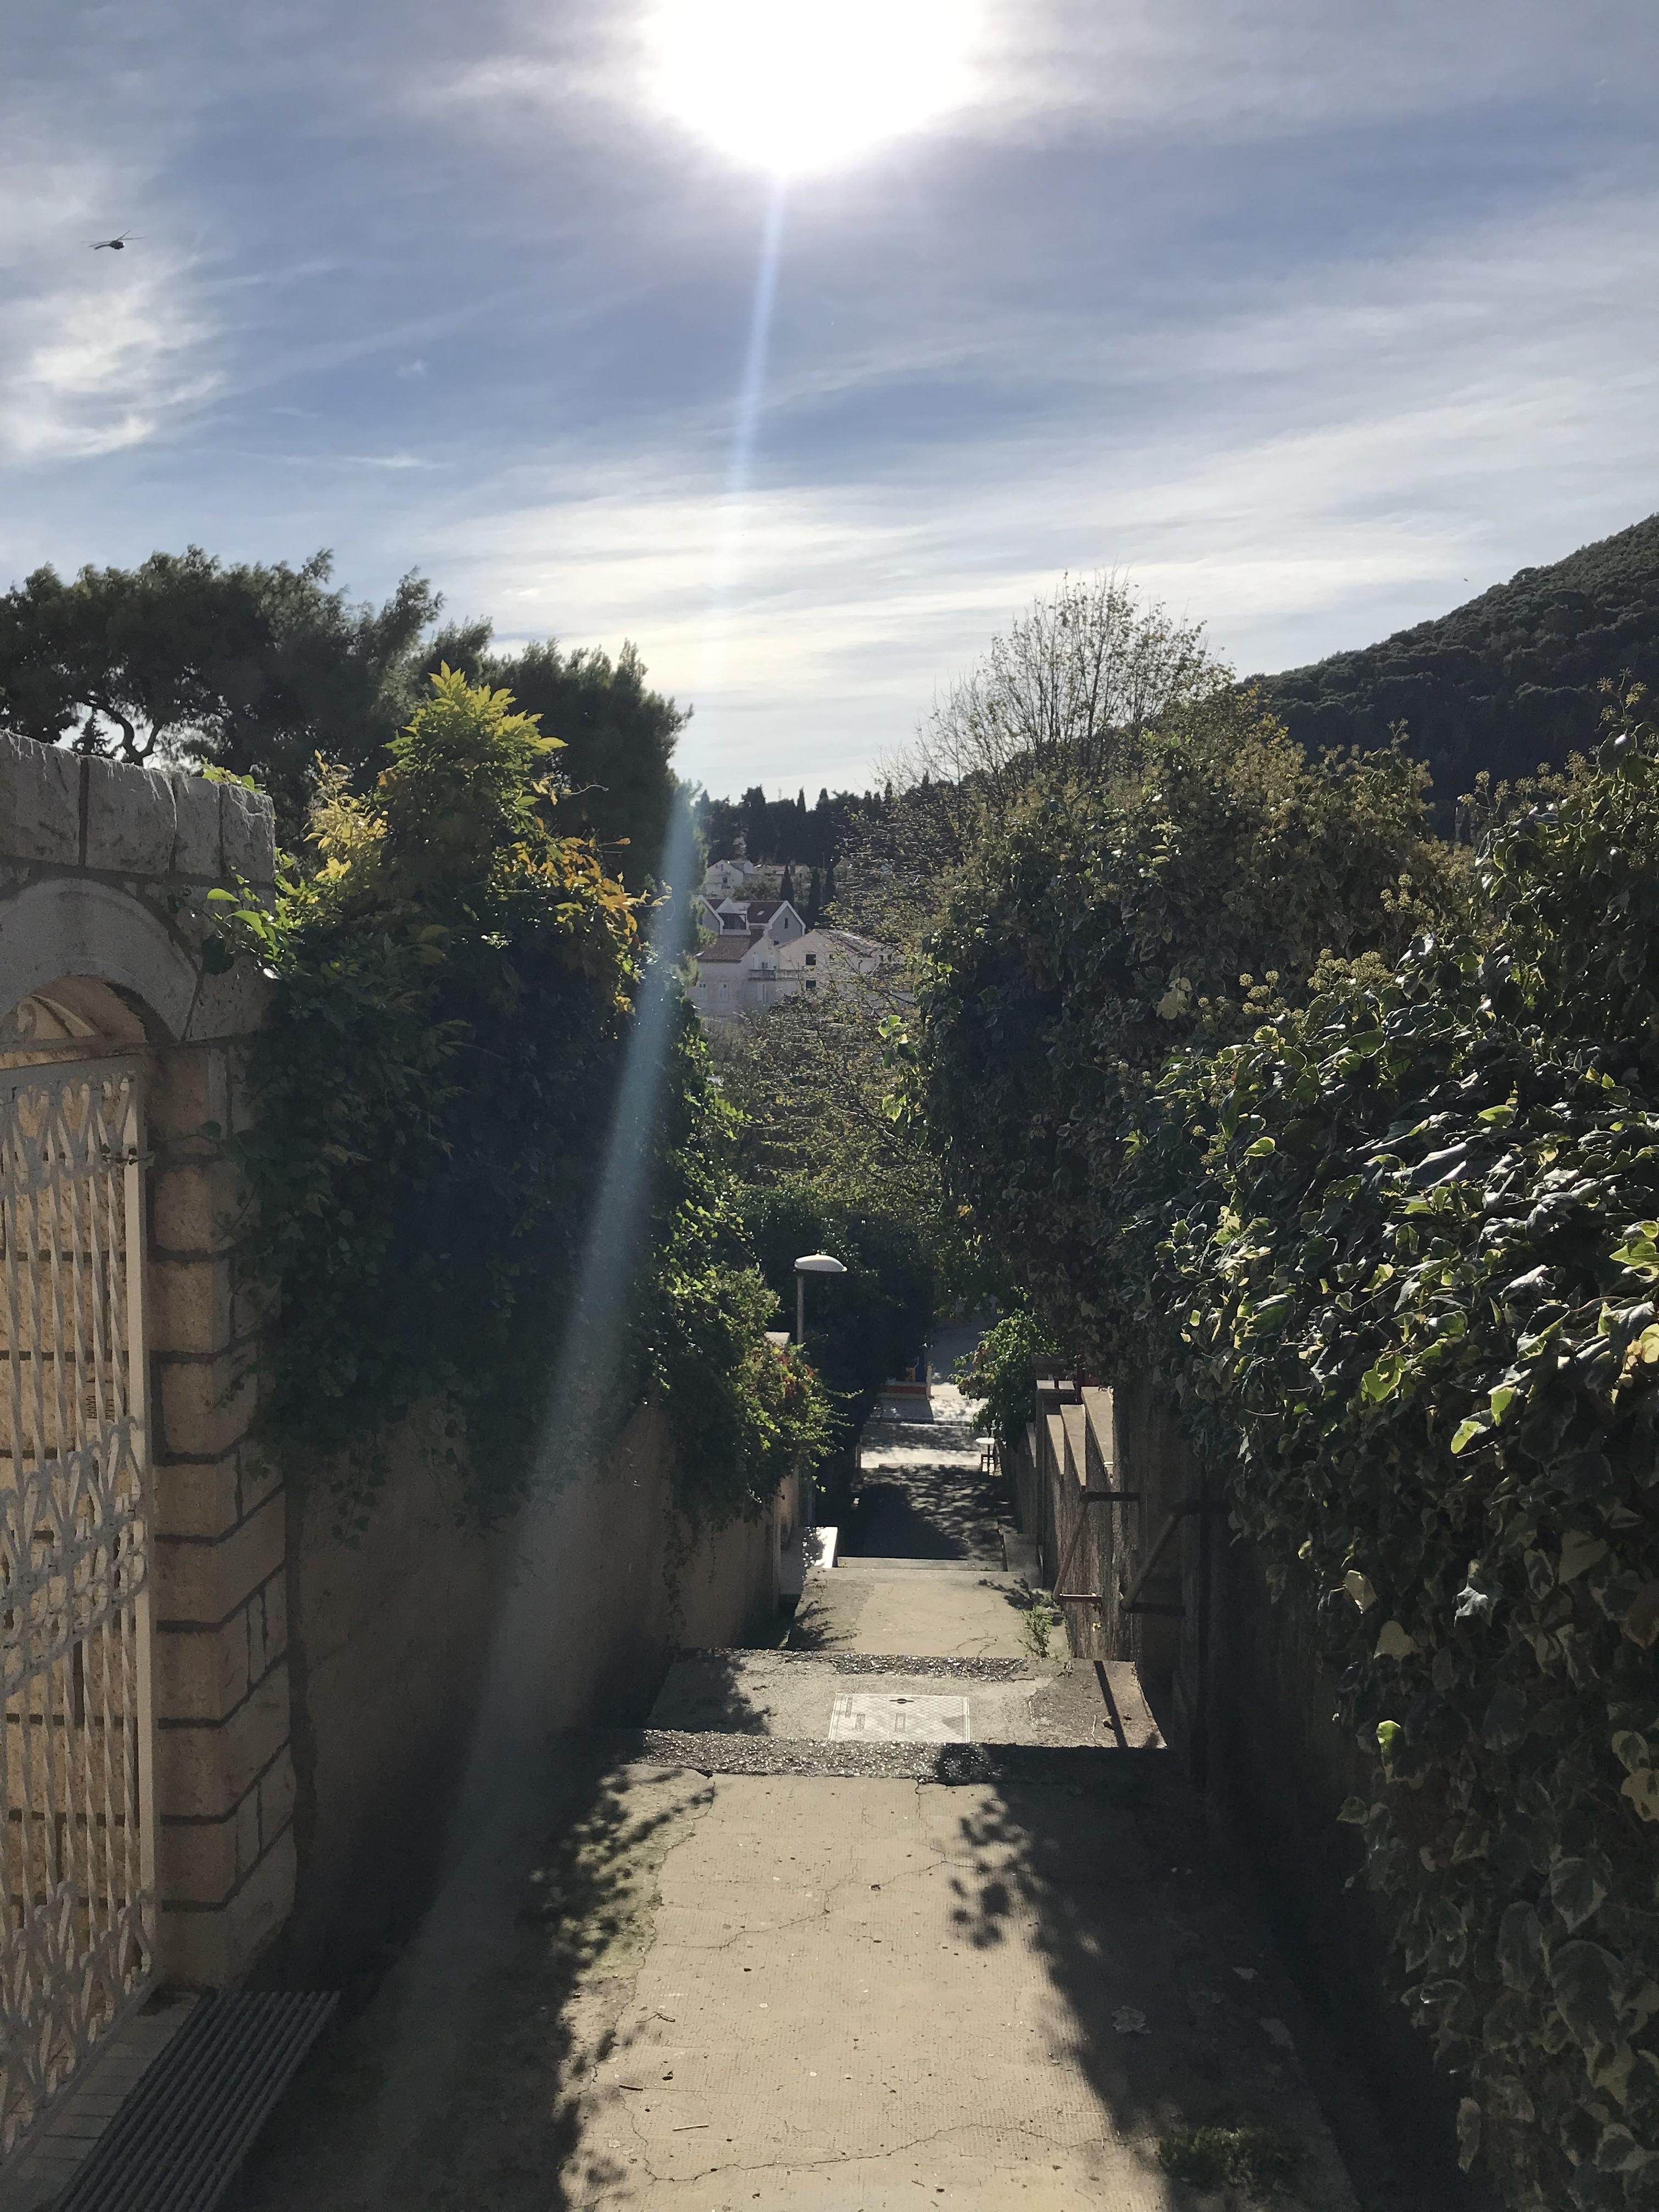
두브로브니크는 산등성이에서 부터 산자락까지
비탈진 곳에 경사면에 집을 지어서
내려가는 계단이 끝이 없어보인다.
하지만 이국적인 경치인지라
내려가는 동안 경치 구경도 쏠쏠하다.
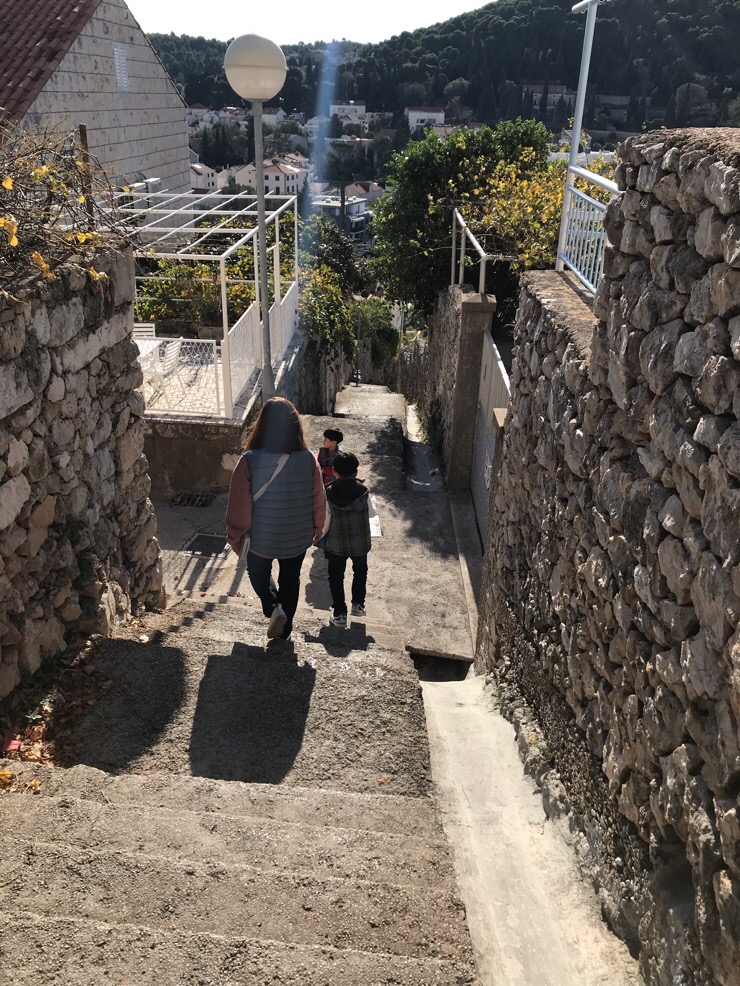
한참을 내려가니 도로가 나오고,
그 다음 또 내리막이다.
그러기를 여러차례 반복을 했더니
드디어 바다가 보이는 멋진 산책로에 도착을 했다.
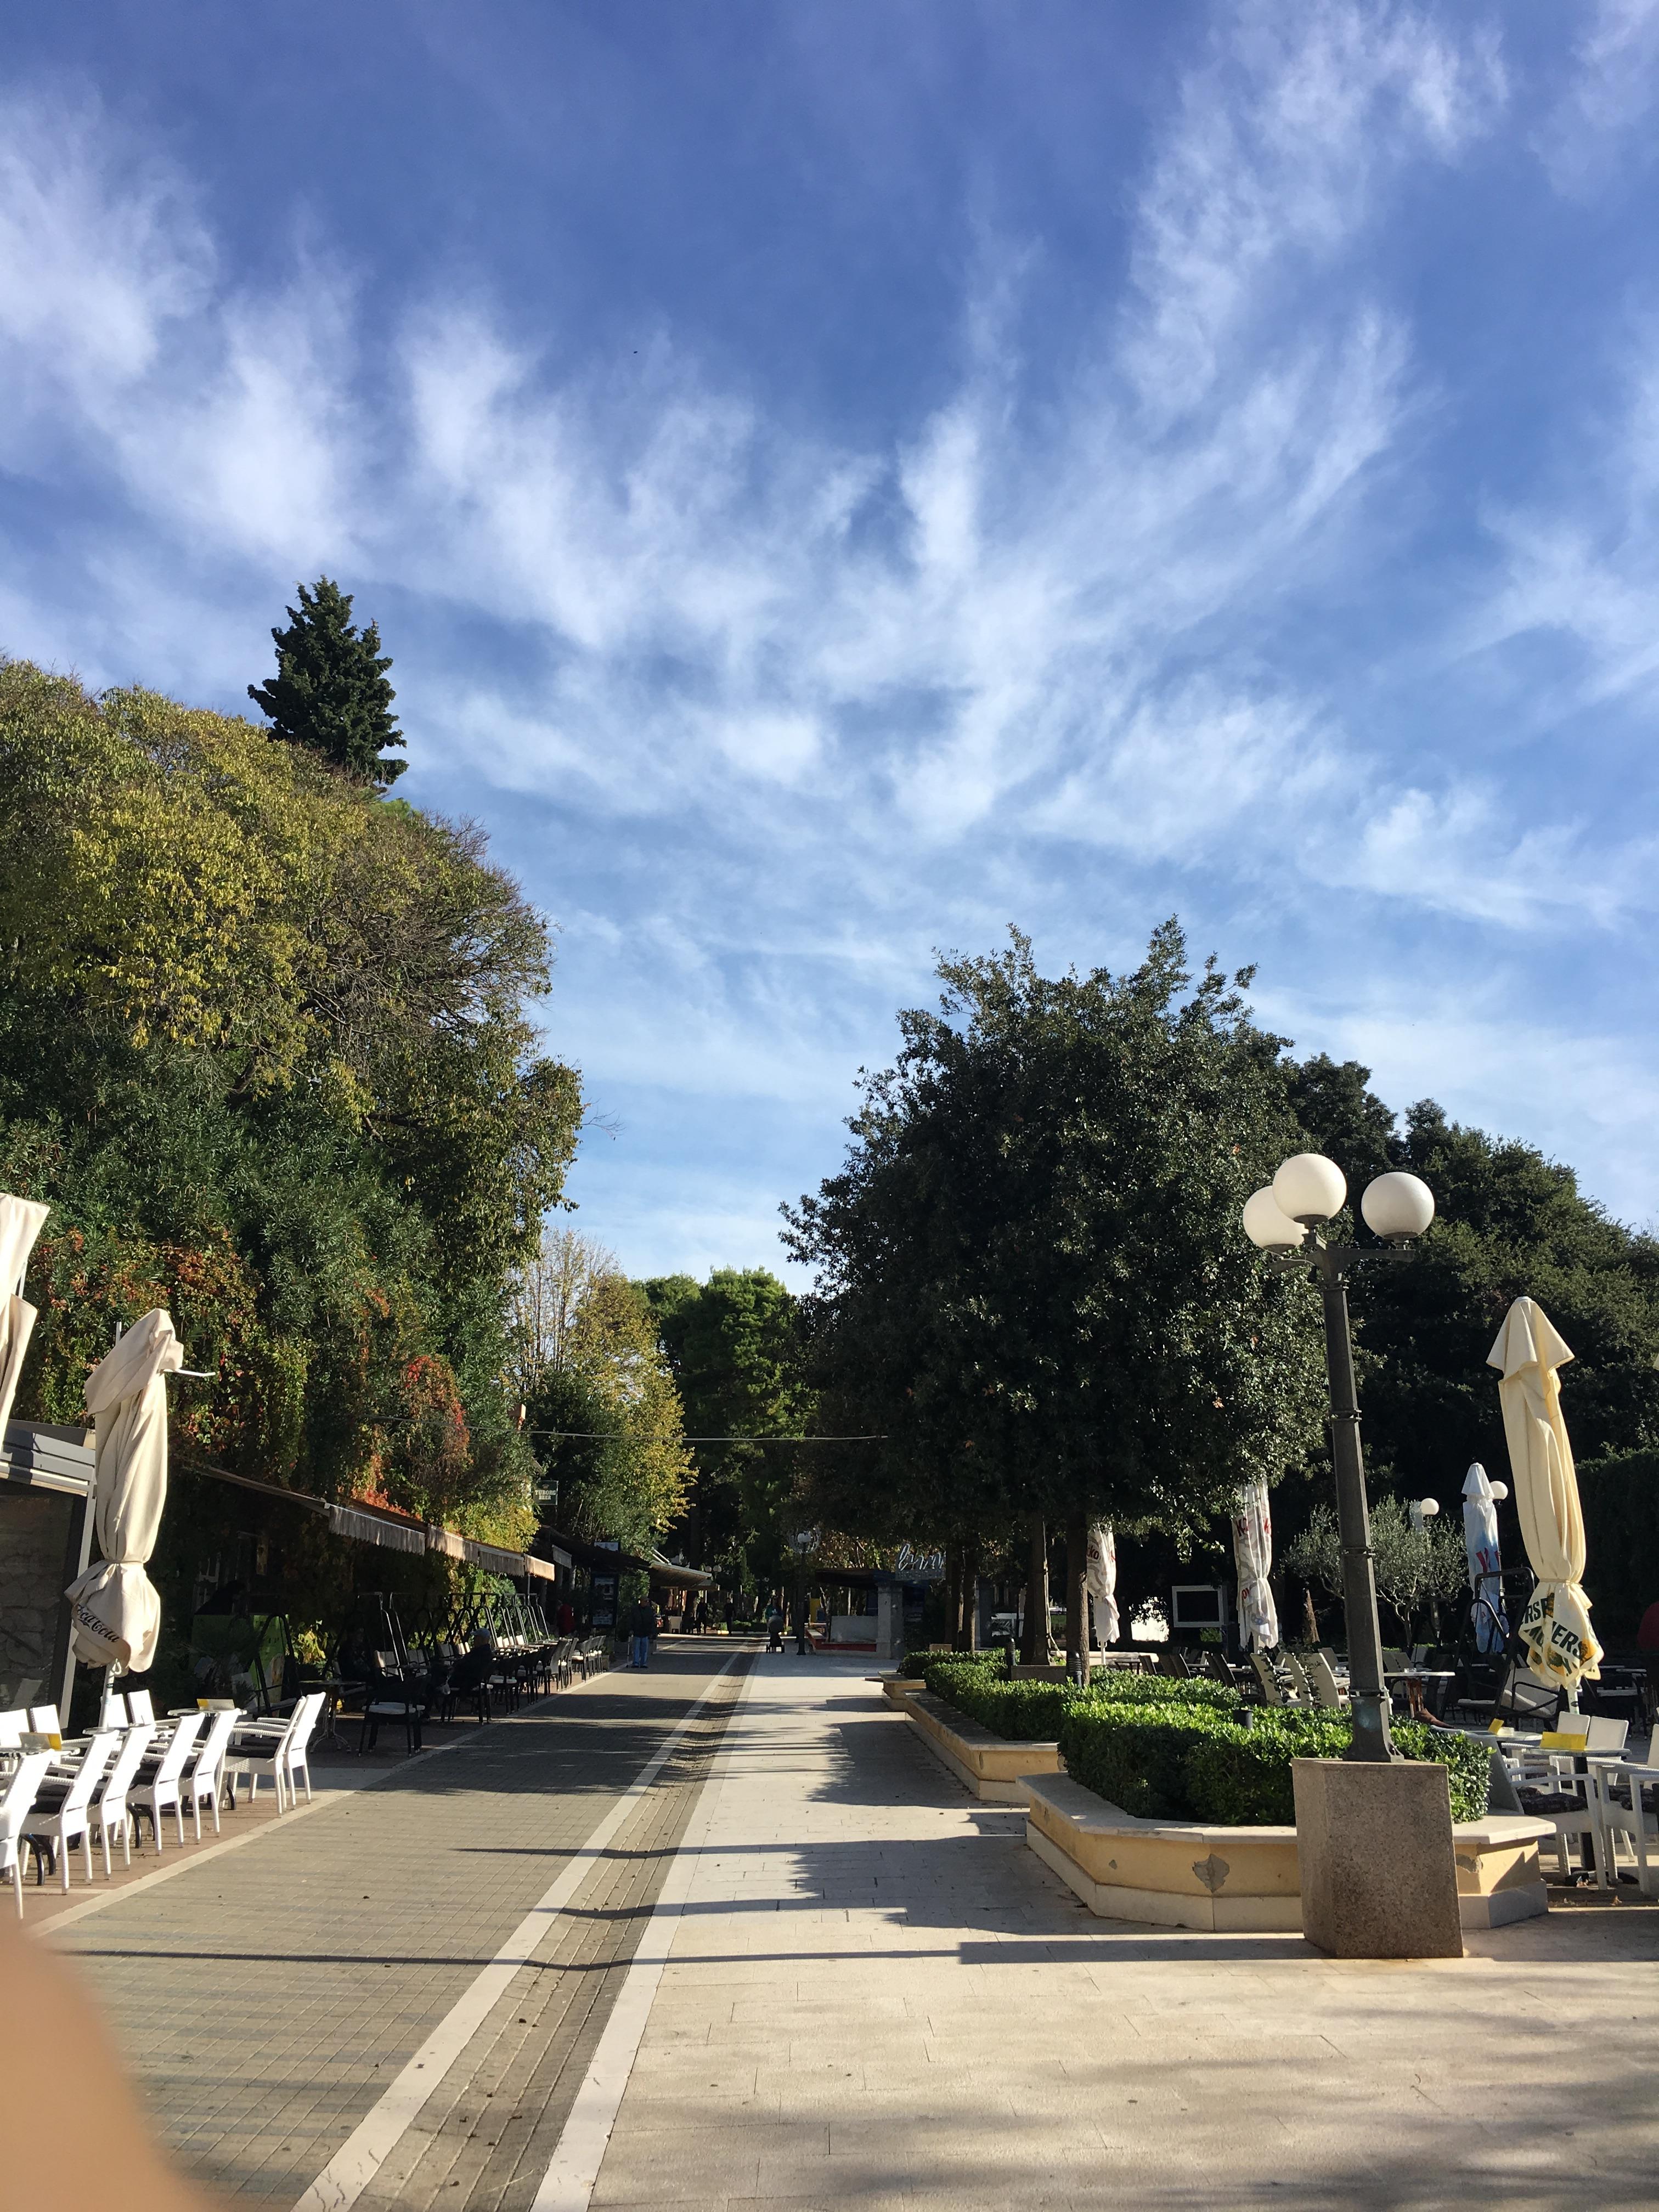
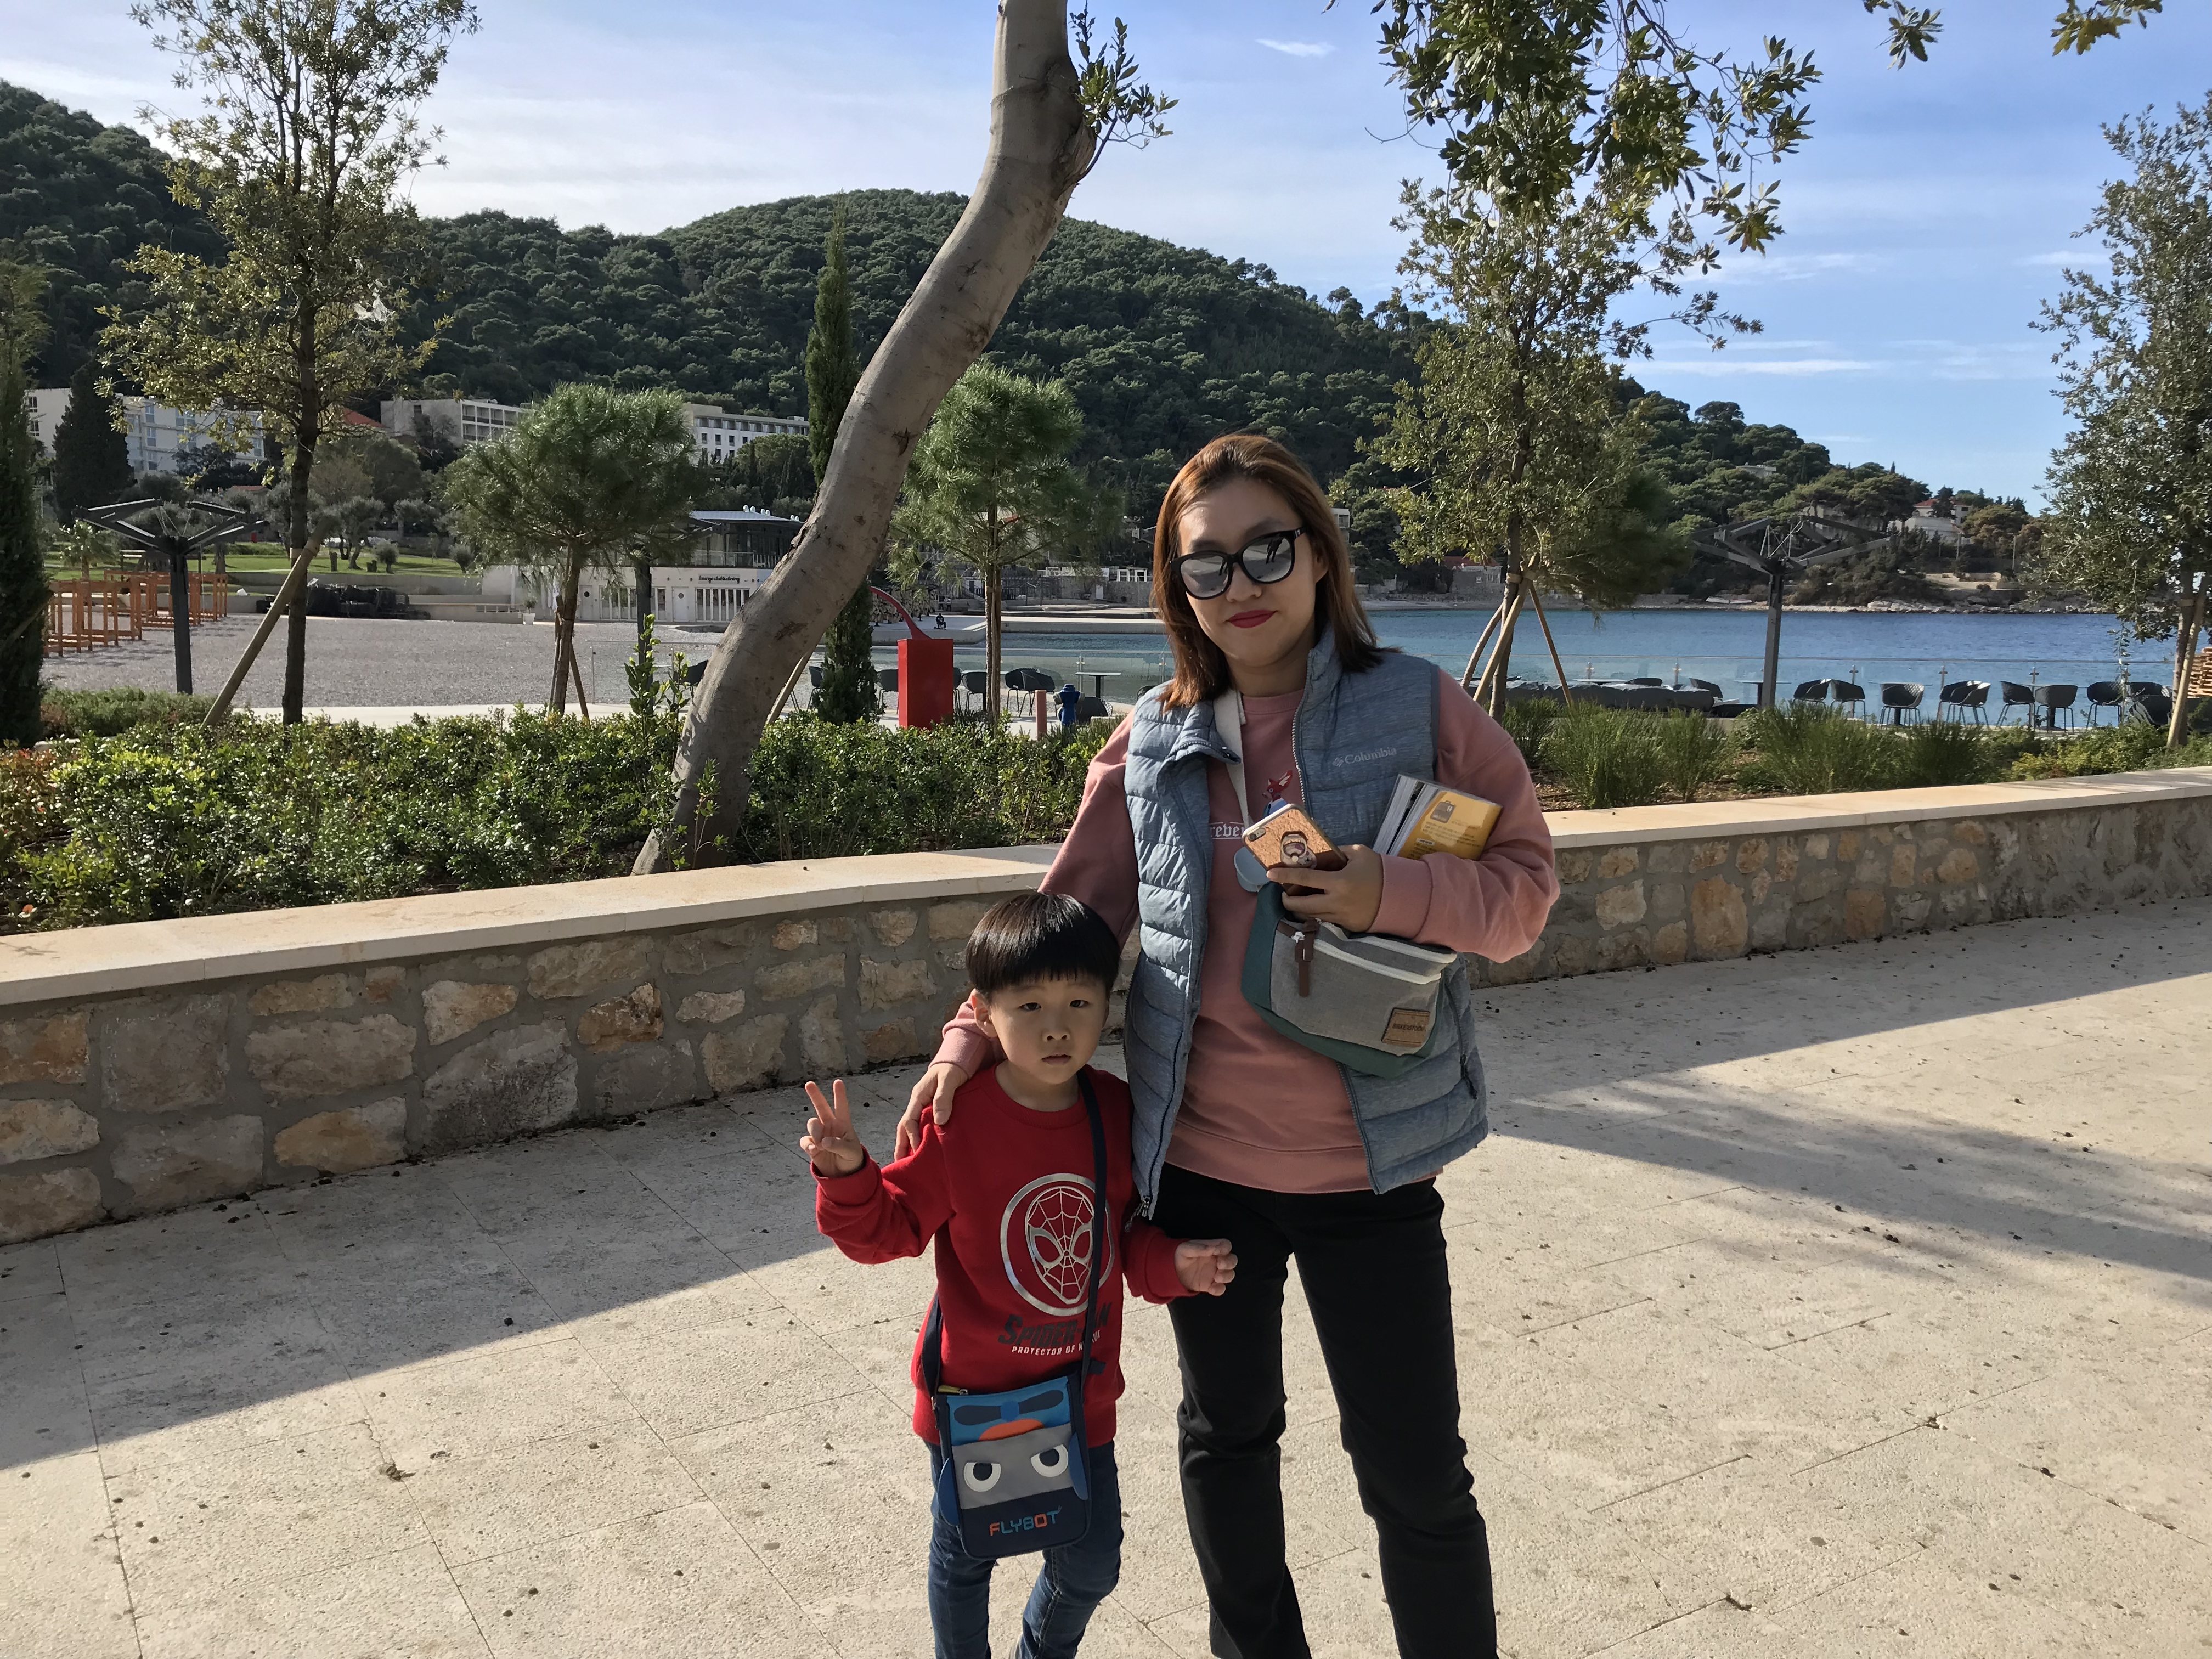
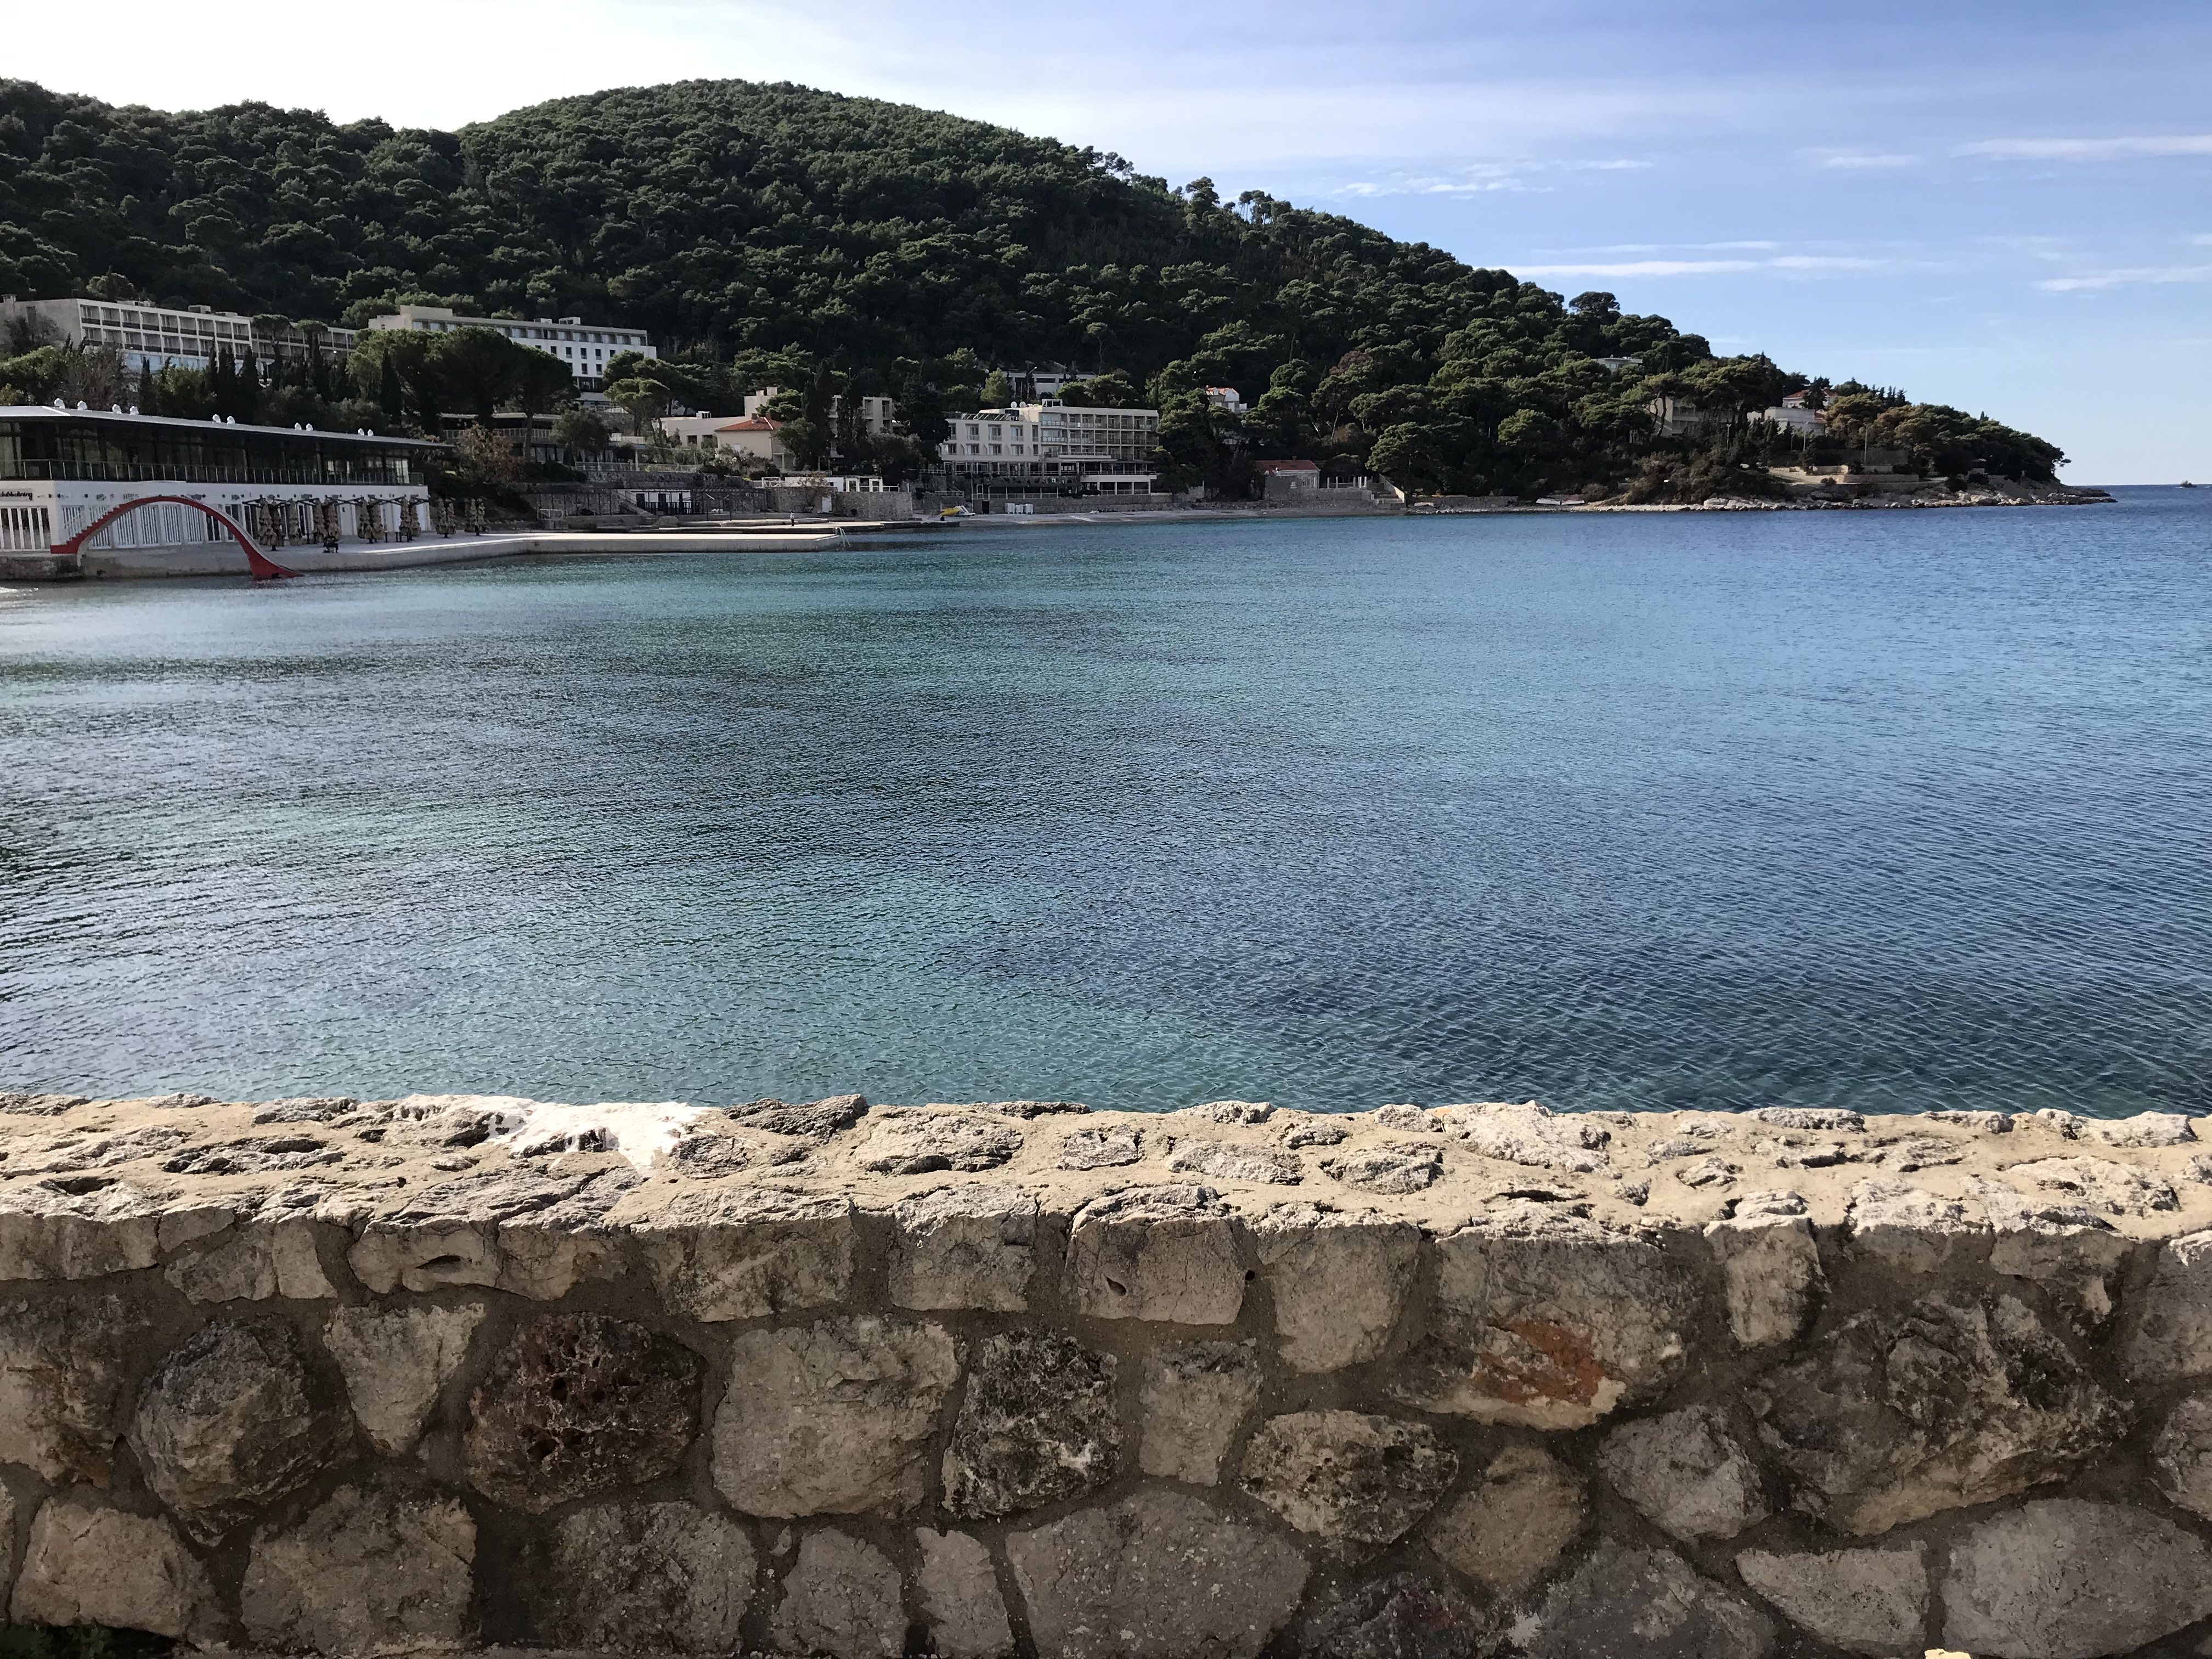
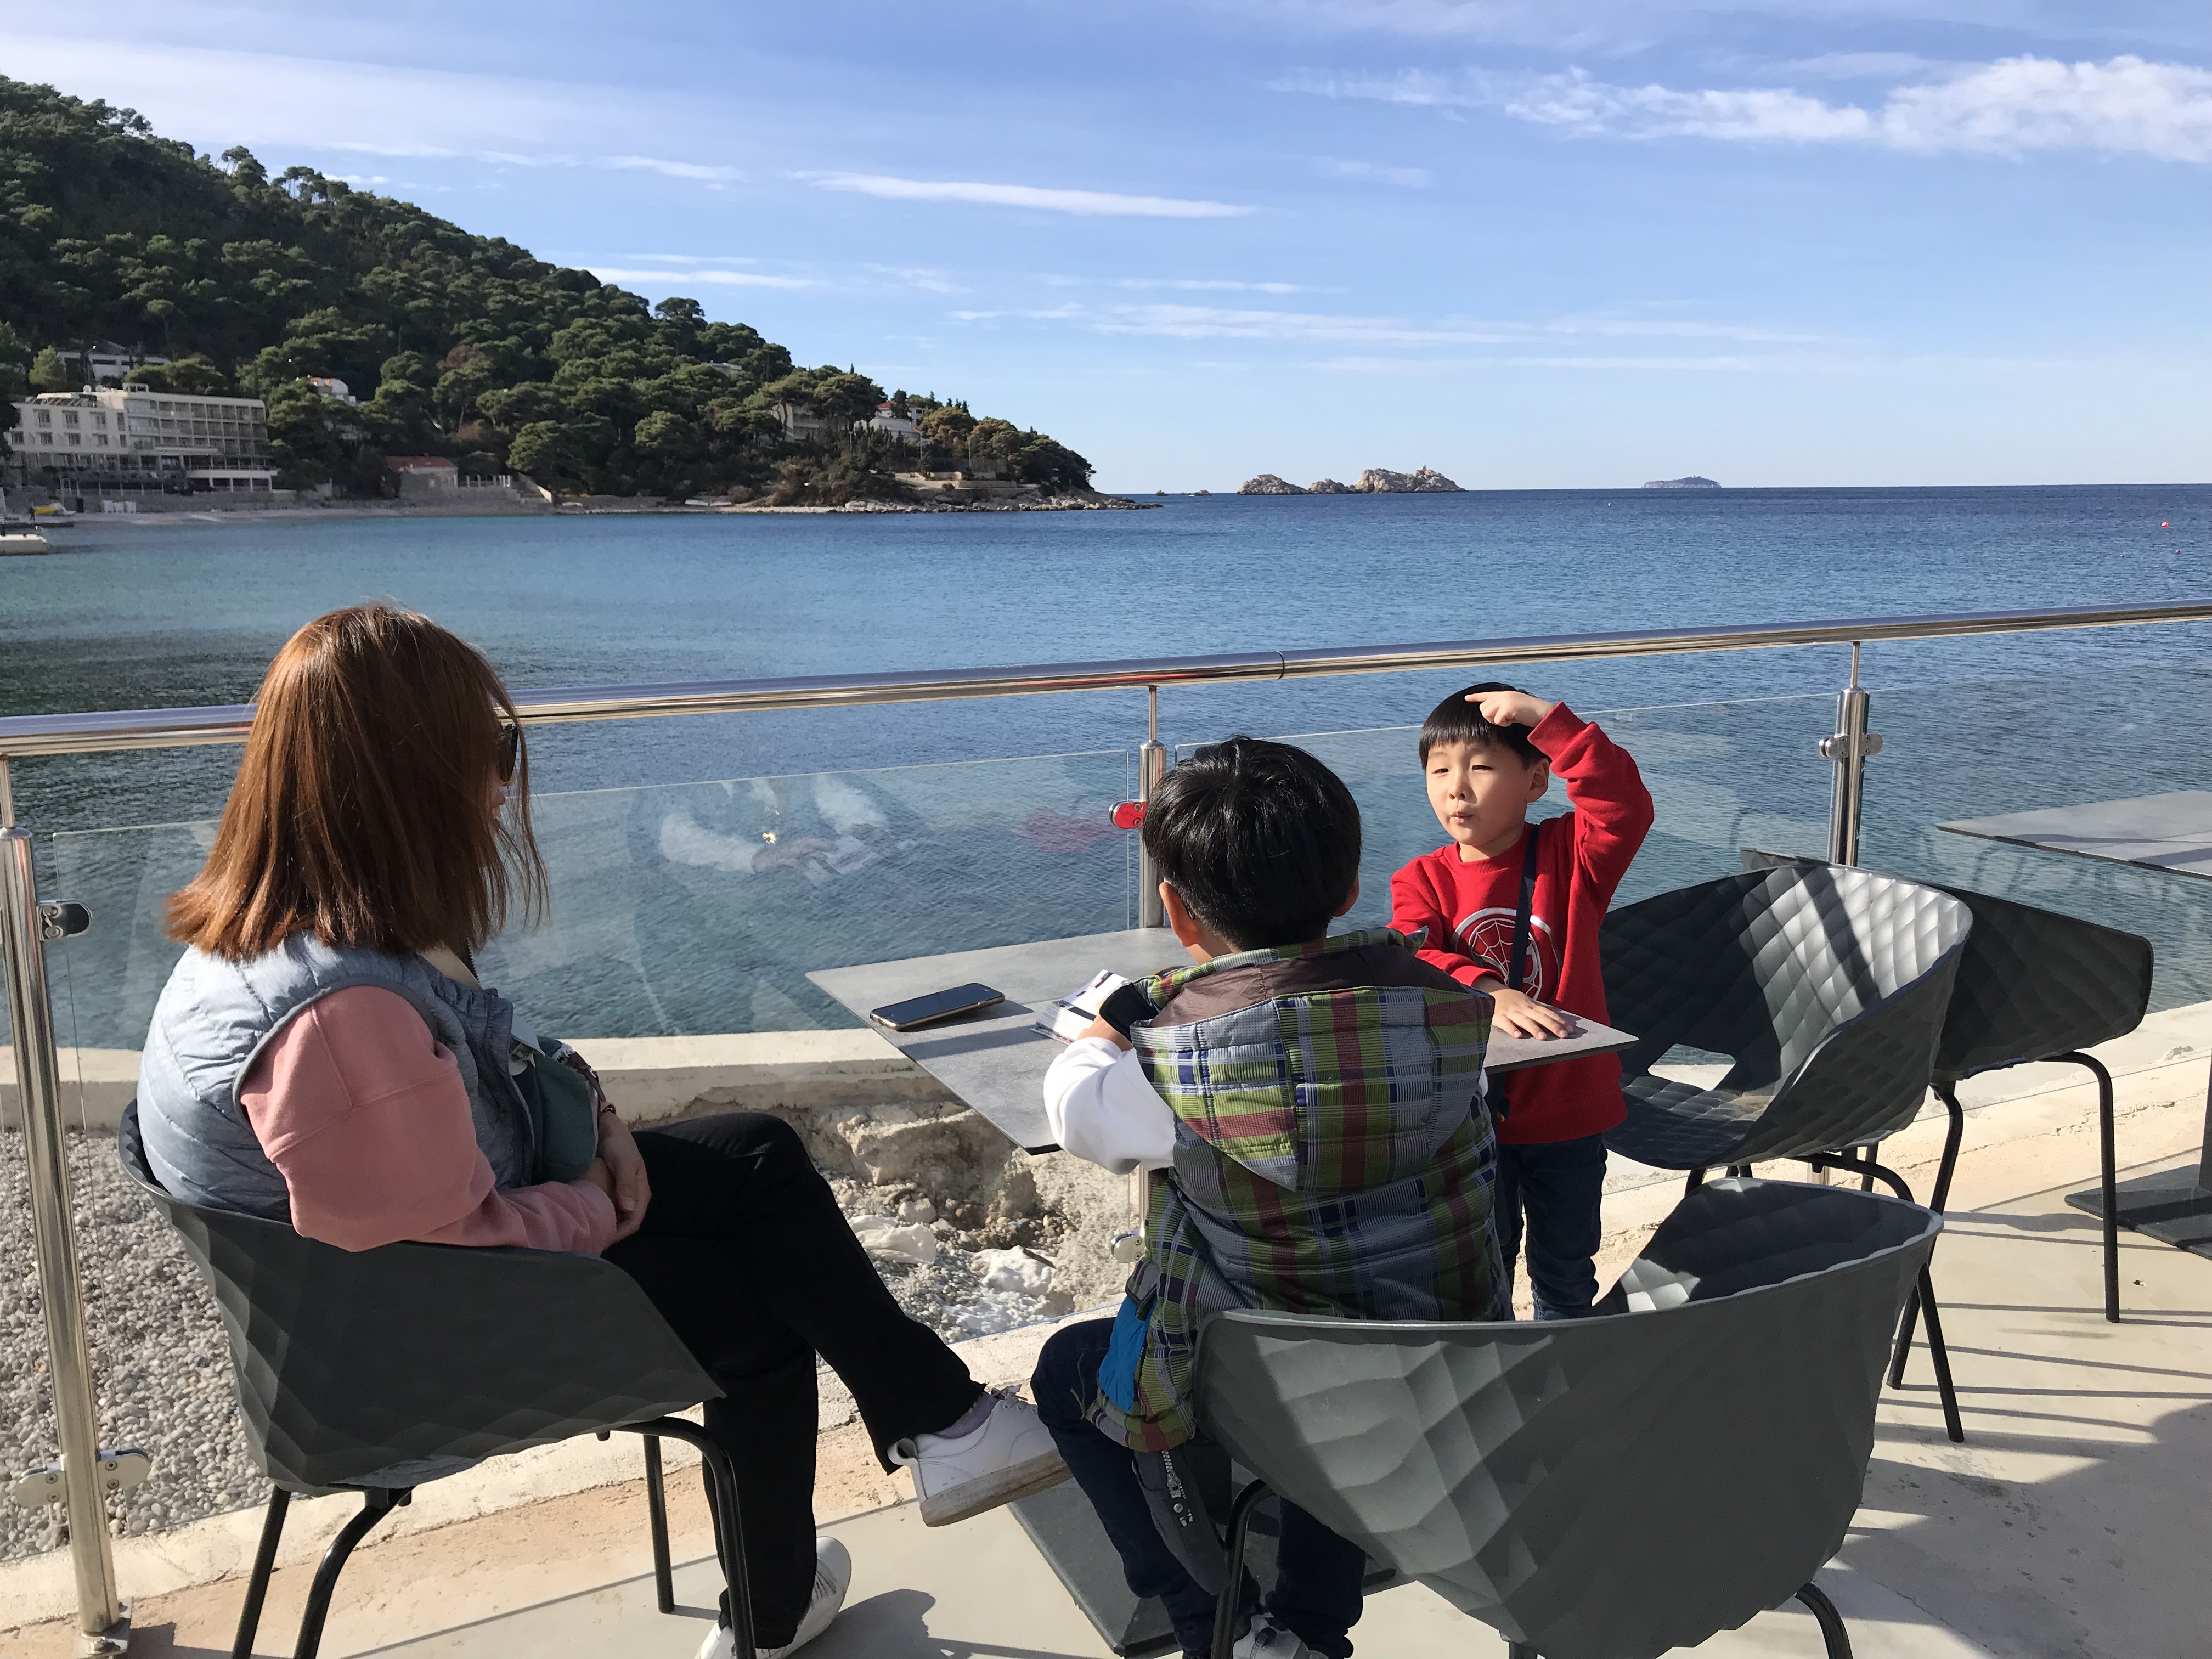
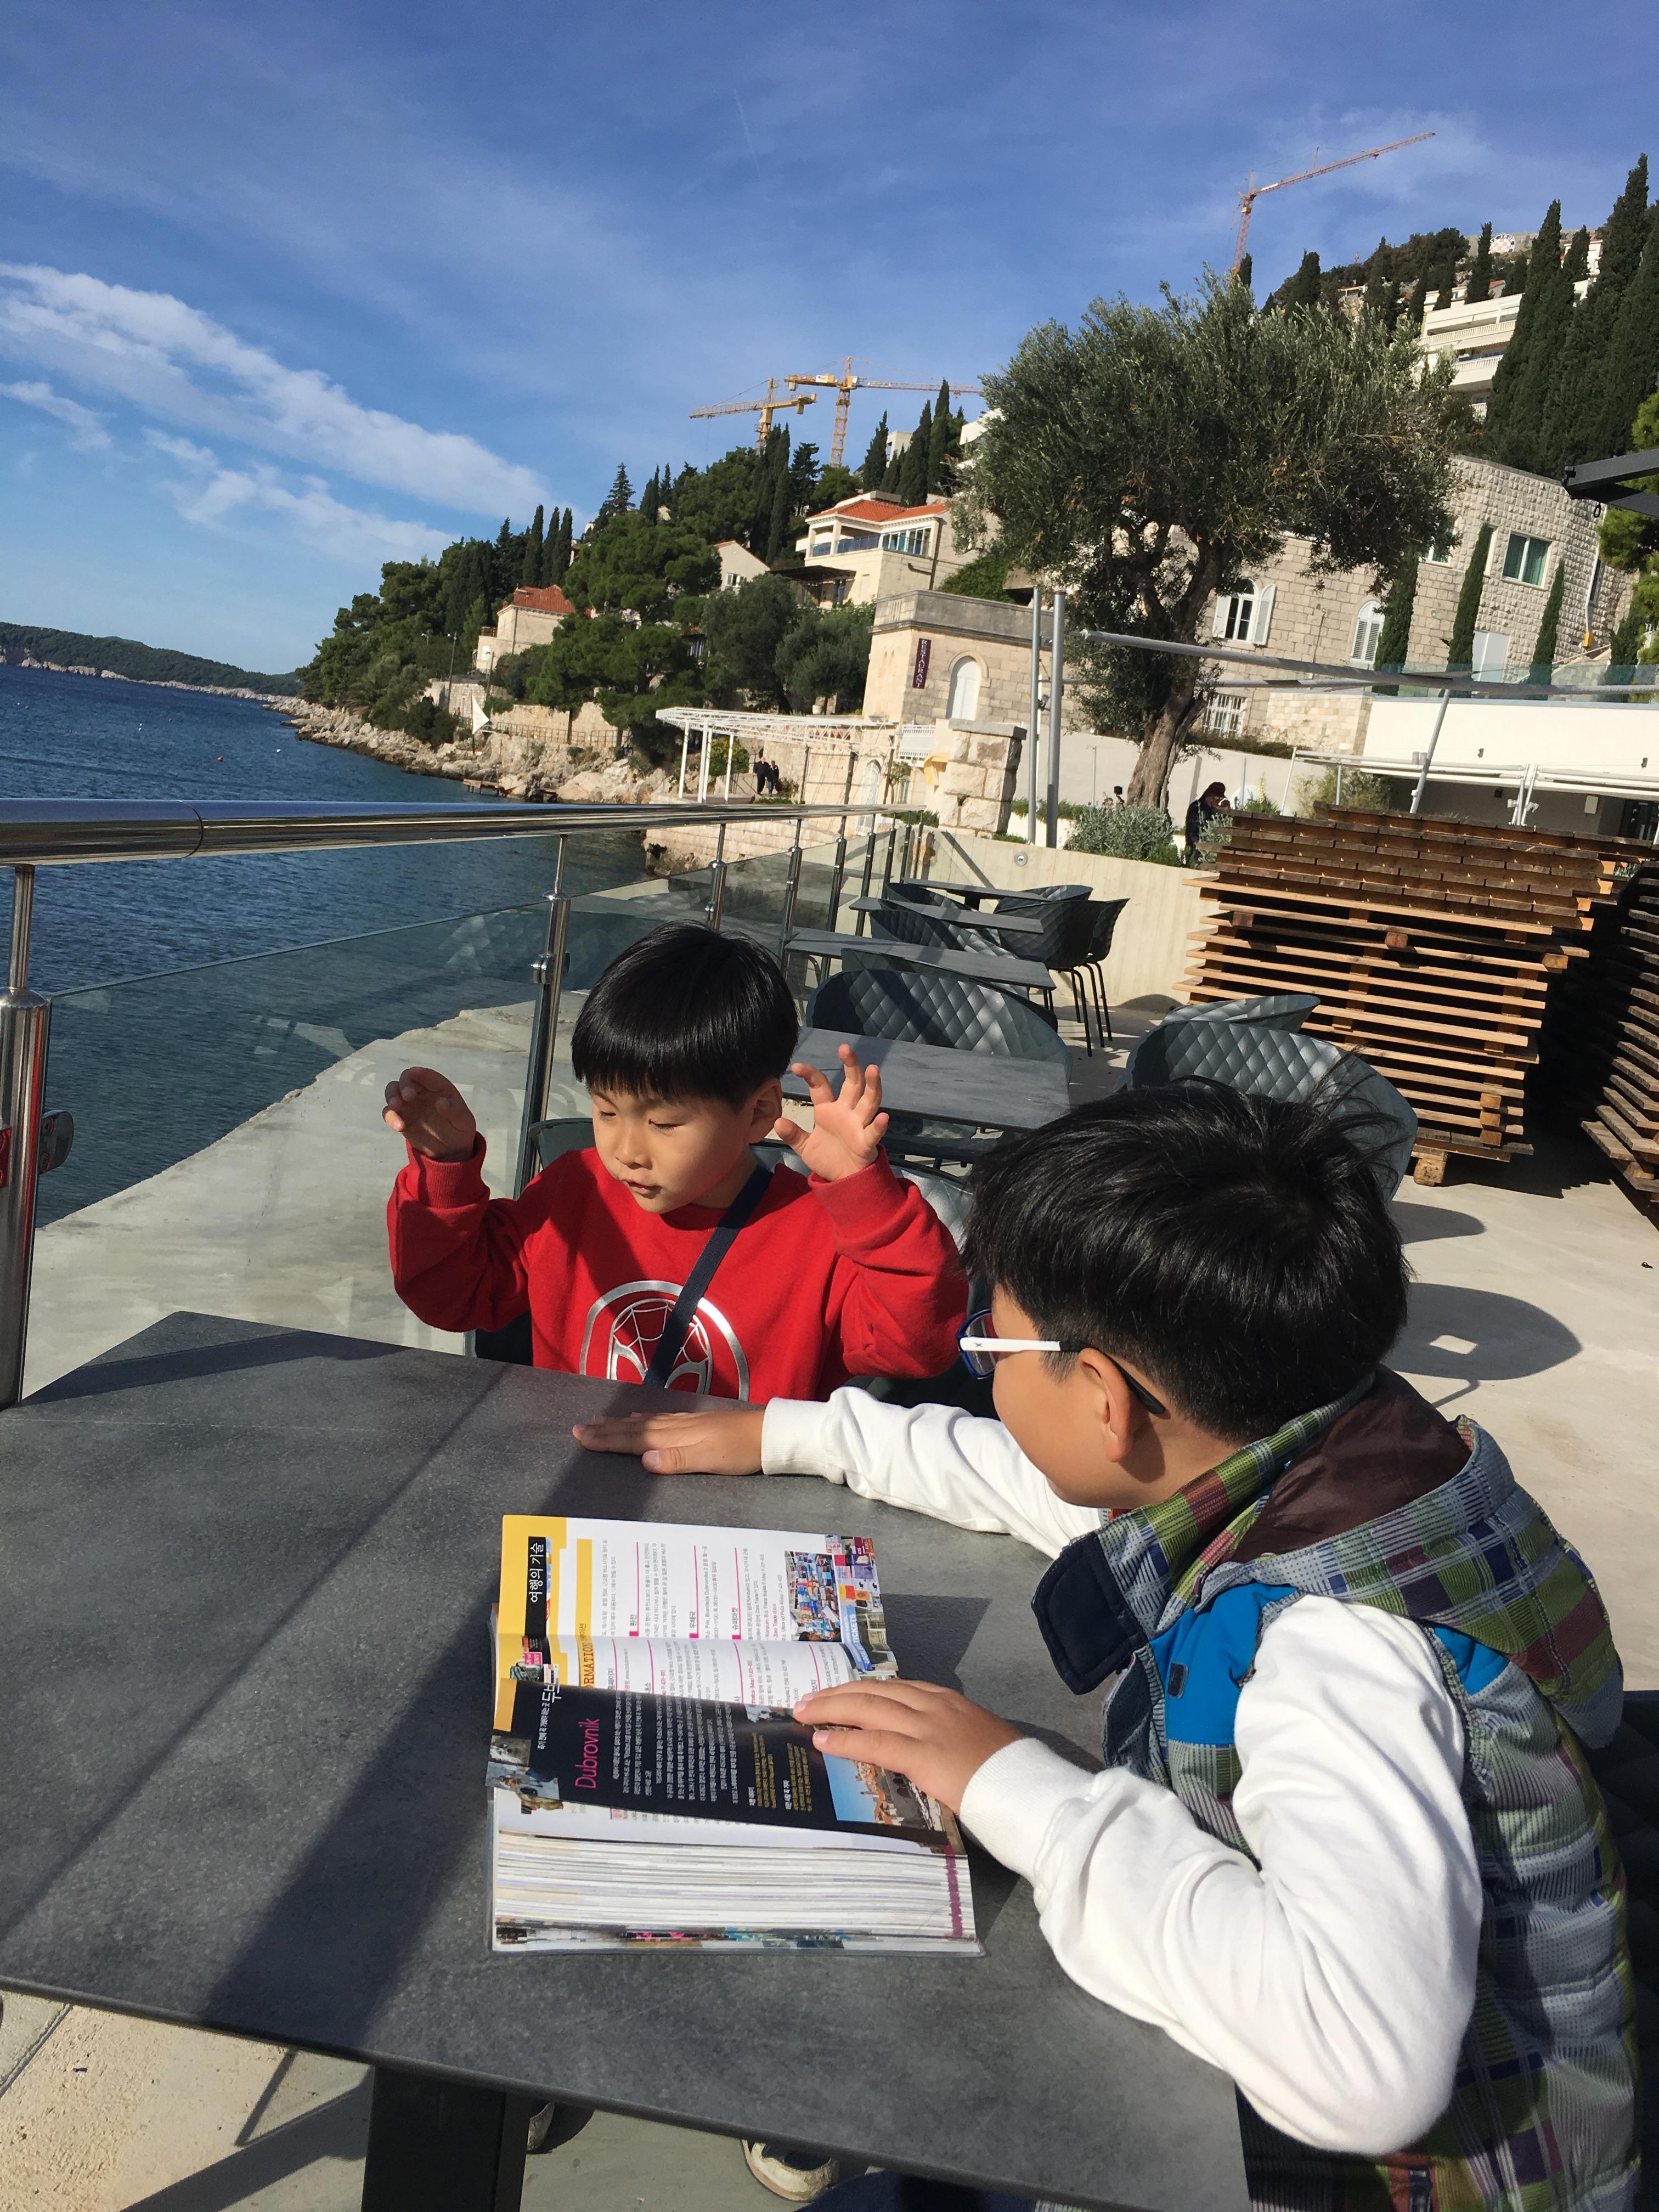
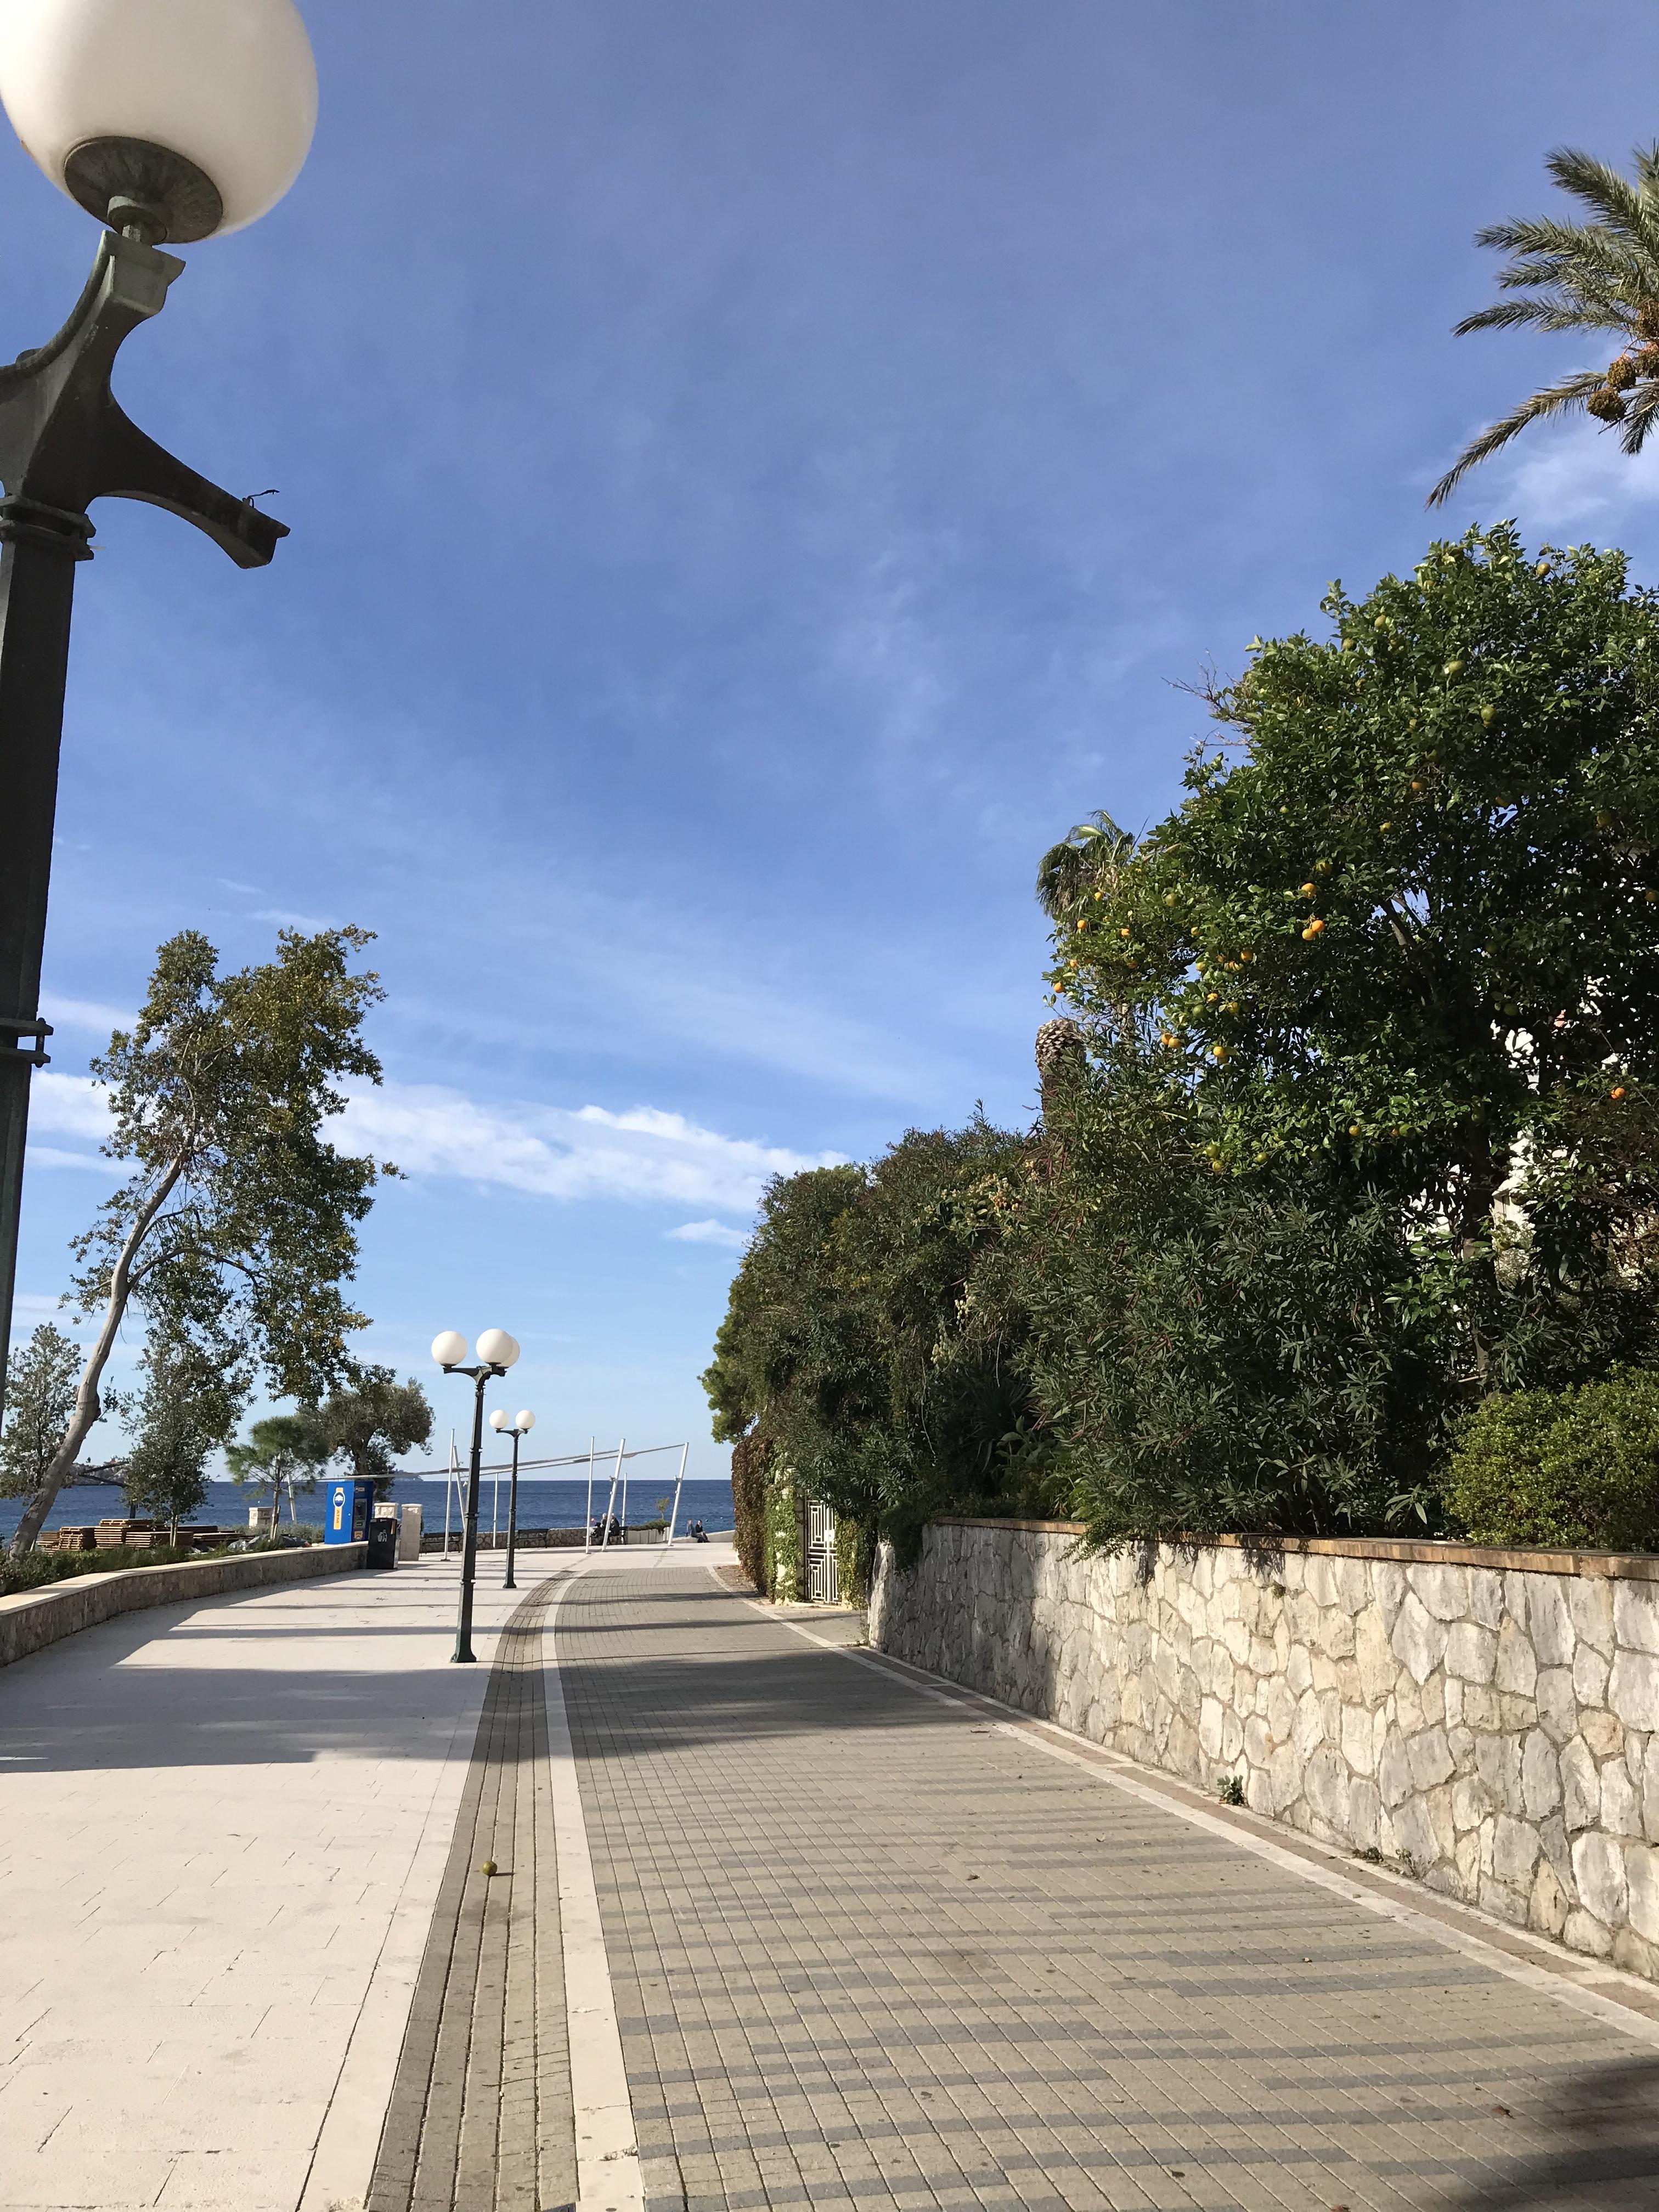
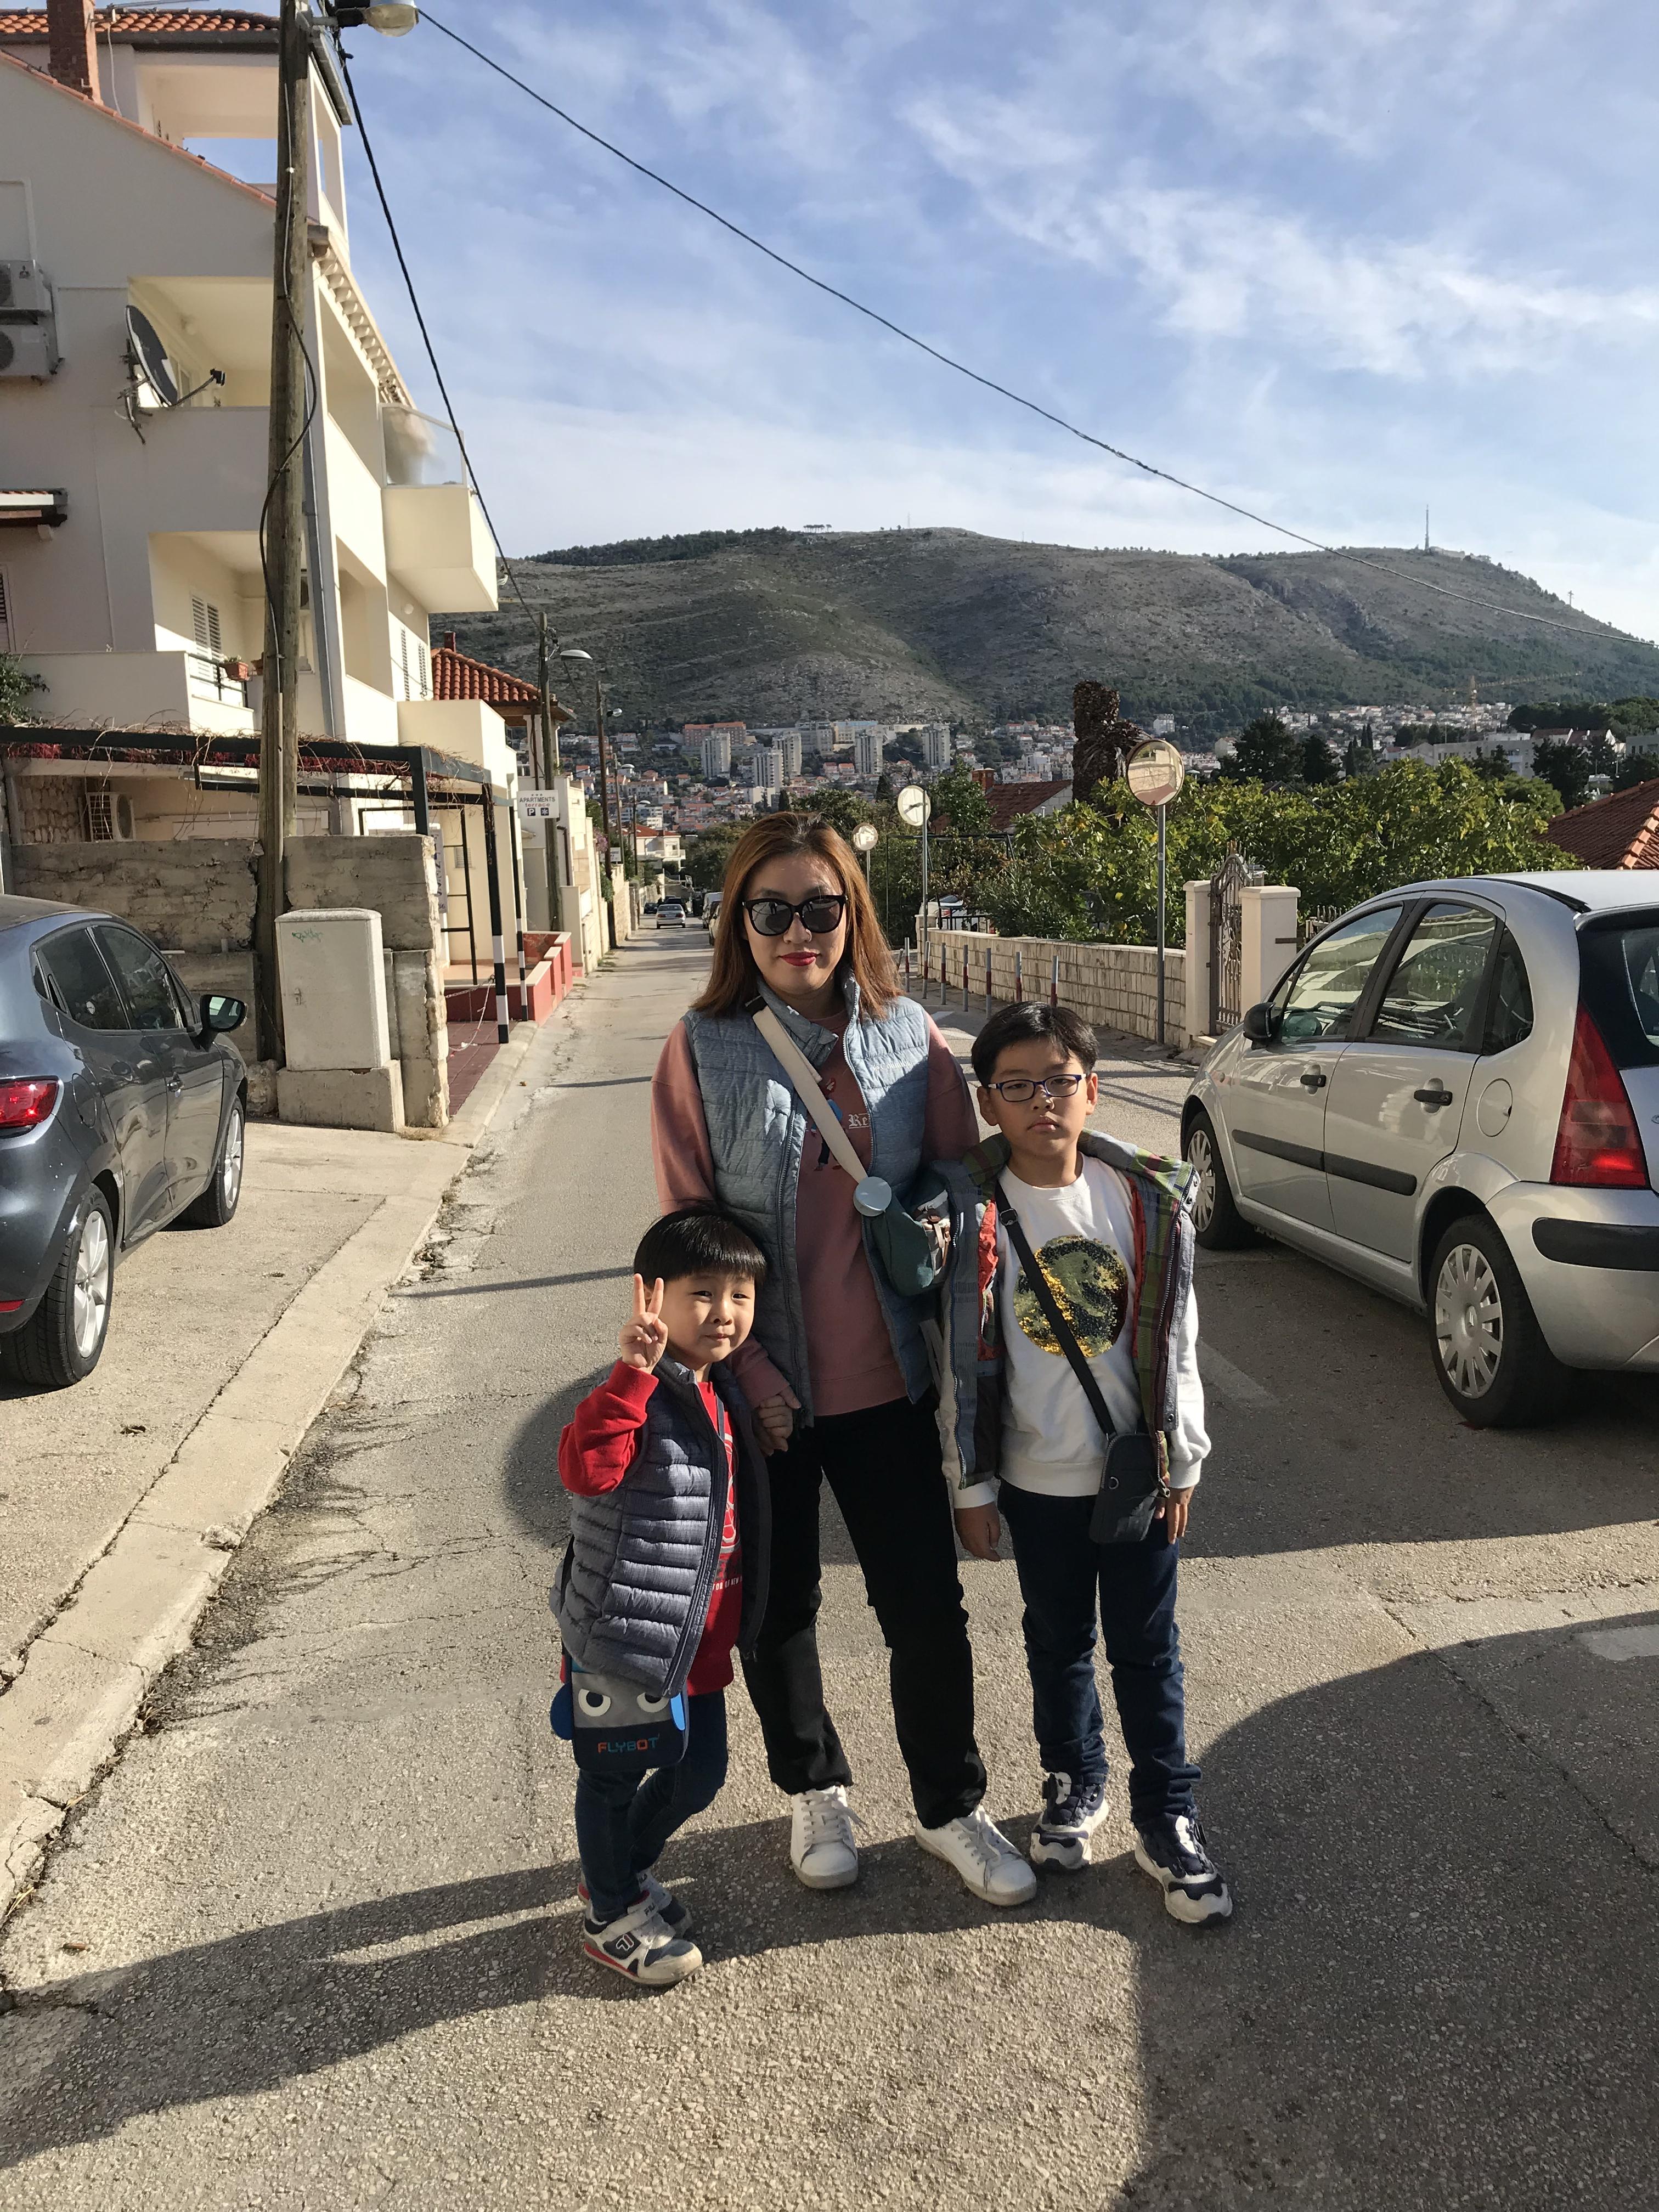
바닷가 산책로를 뒤로 하고,
버스 정류장을 향해서 이동.
숙소 앞에도 버스를 타는 곳이 있었으나,
크로아티아 돈으로 환전을 미리 하지 못해서,
은행 근처로 이동해서 환전 후 탑승을 하기로 해서이다.
어제 장을 봤던 Tommy 슈퍼마켓.
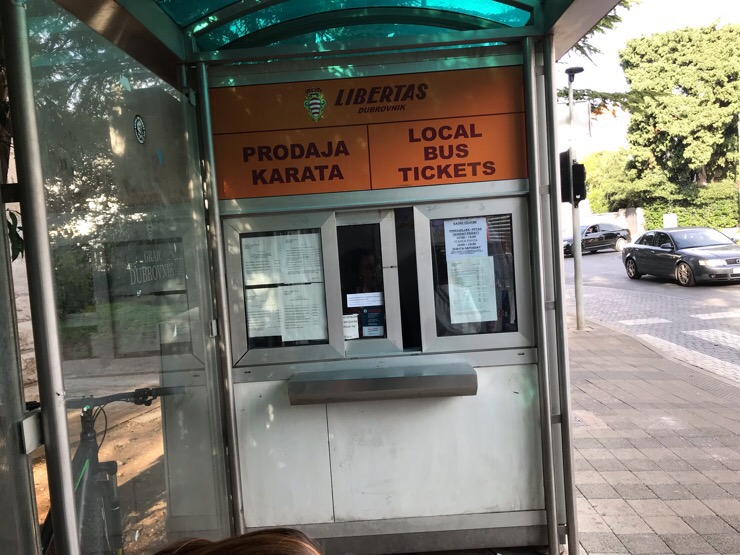
드디어 버스정류장 도착~
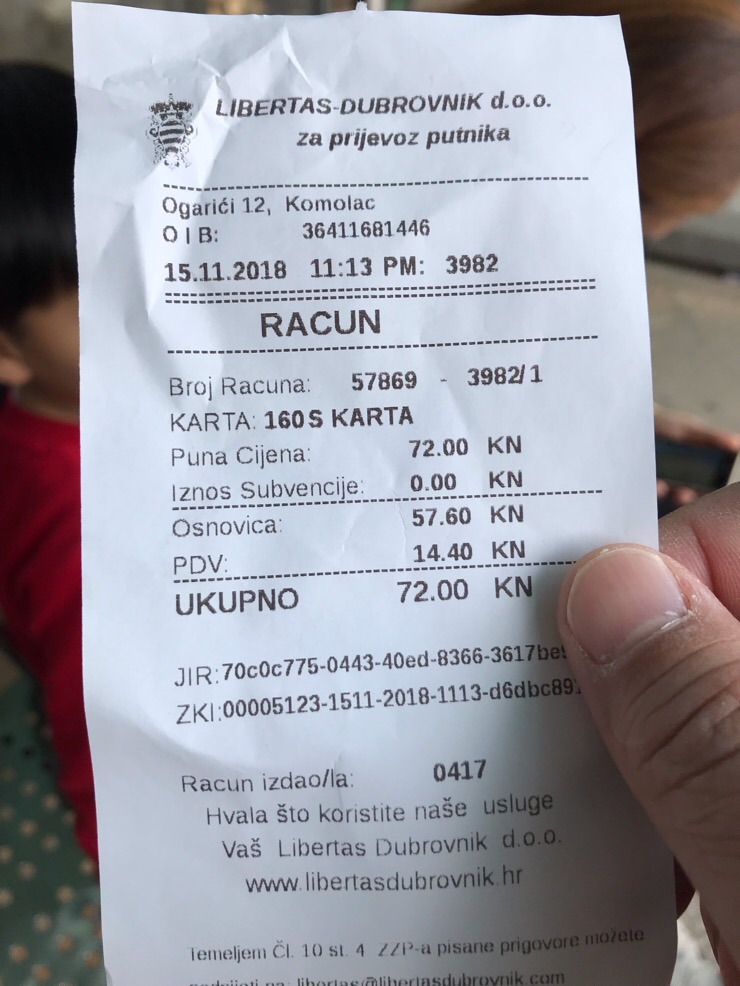
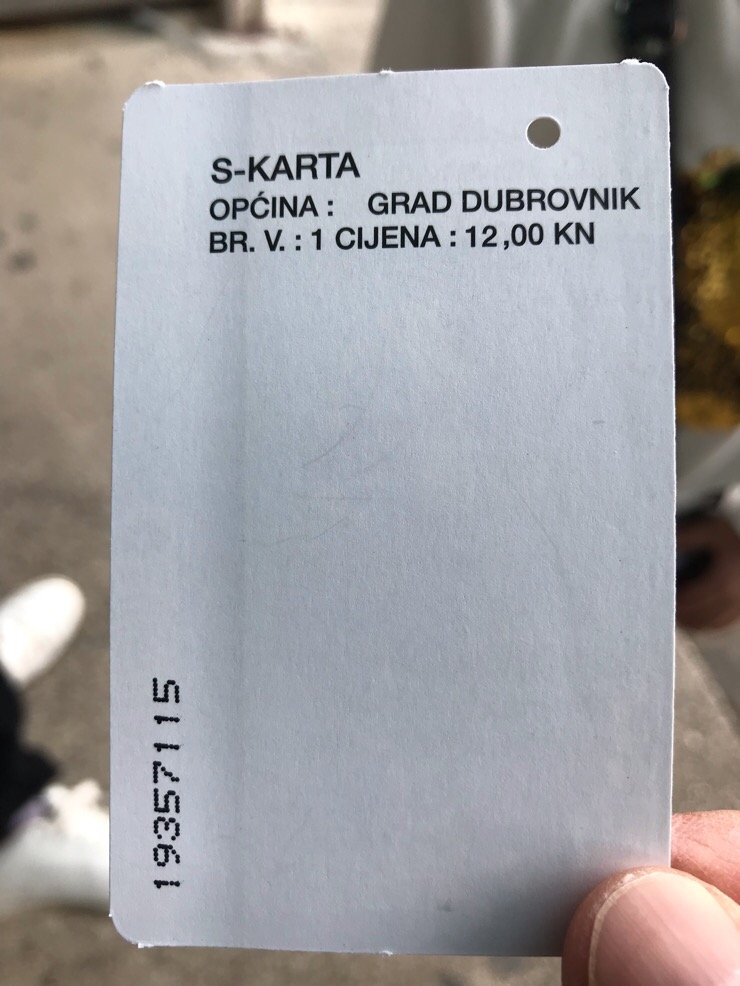
버스표 가격은
버스표 파는 곳에서 왕복으로
성인2명+어린이1명(둘째 녀석은 어린이 무임 승차) = 72KN(1인당 편도 12KN)이다.
참고로, 버스표 파는 곳 말고 버스 안에서 운전기사에게 버스표를 구입 할 수 있다고 하던데,
그 경우는 좀 더 비싸다고 한다(1인당 편도 15KN).
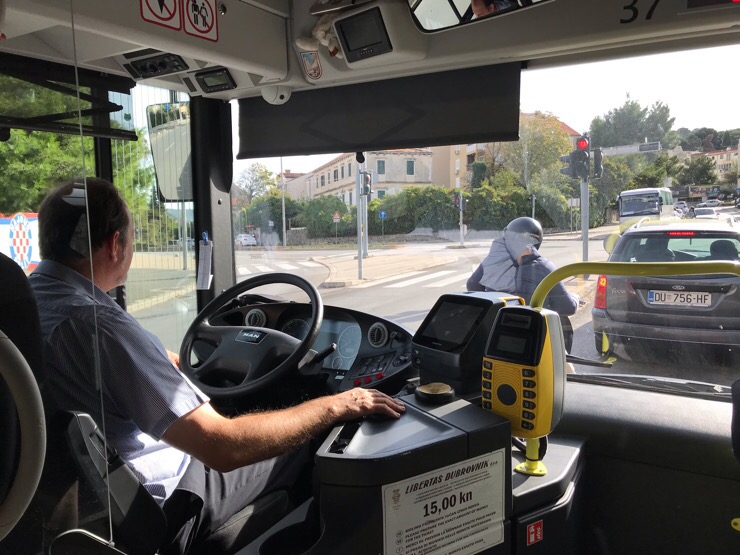
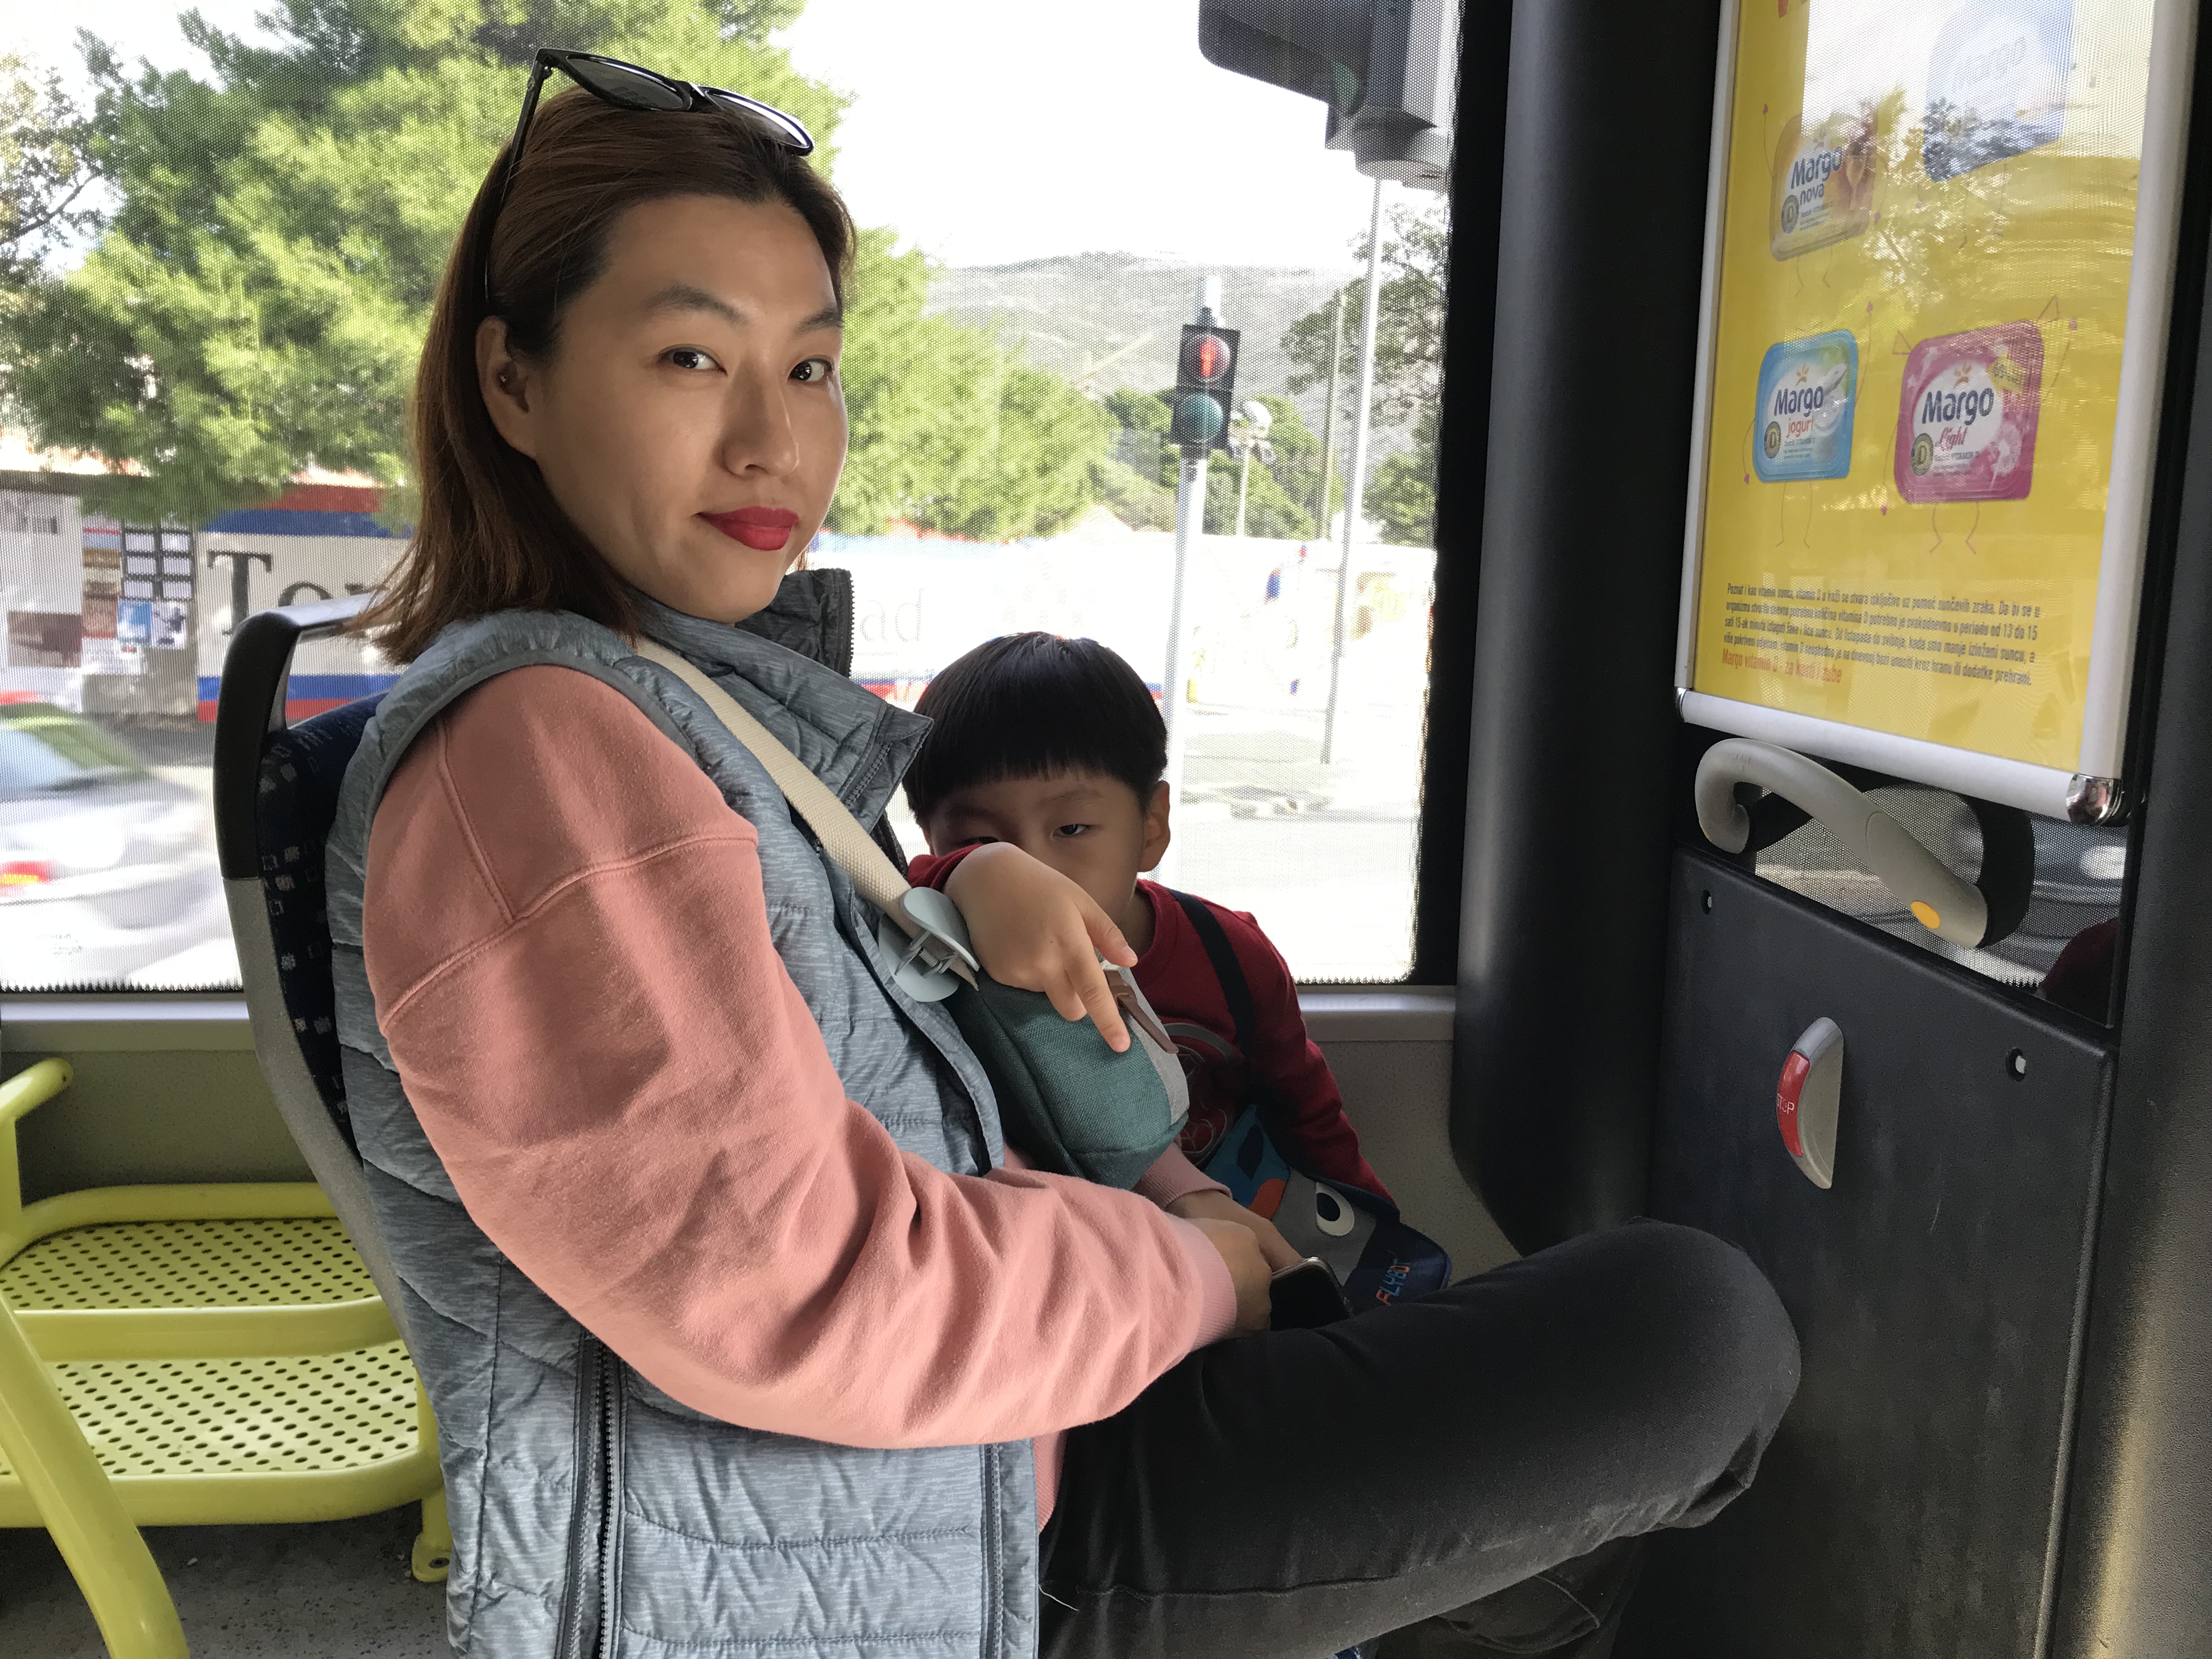
우리나라 버스와 크게 다른 점이라면 좌석이 많지 않고,
자리가 넓직하다는 거.
그리고 충격적인건 정류장에서 손님들이 탑승할 때,
갑자기 버스 운전사도 바뀐다는거...
우리가 버스 탑승 할때는 남자 운전사였는데,
정류장에서 승객들과 같이 탑승한 여자분이랑 잠시 얘기하더니,
그 남자 운전사는 하차하고,
그 여자분이 운전석에 앉아서 자리 잡고 운전을 하더라는...
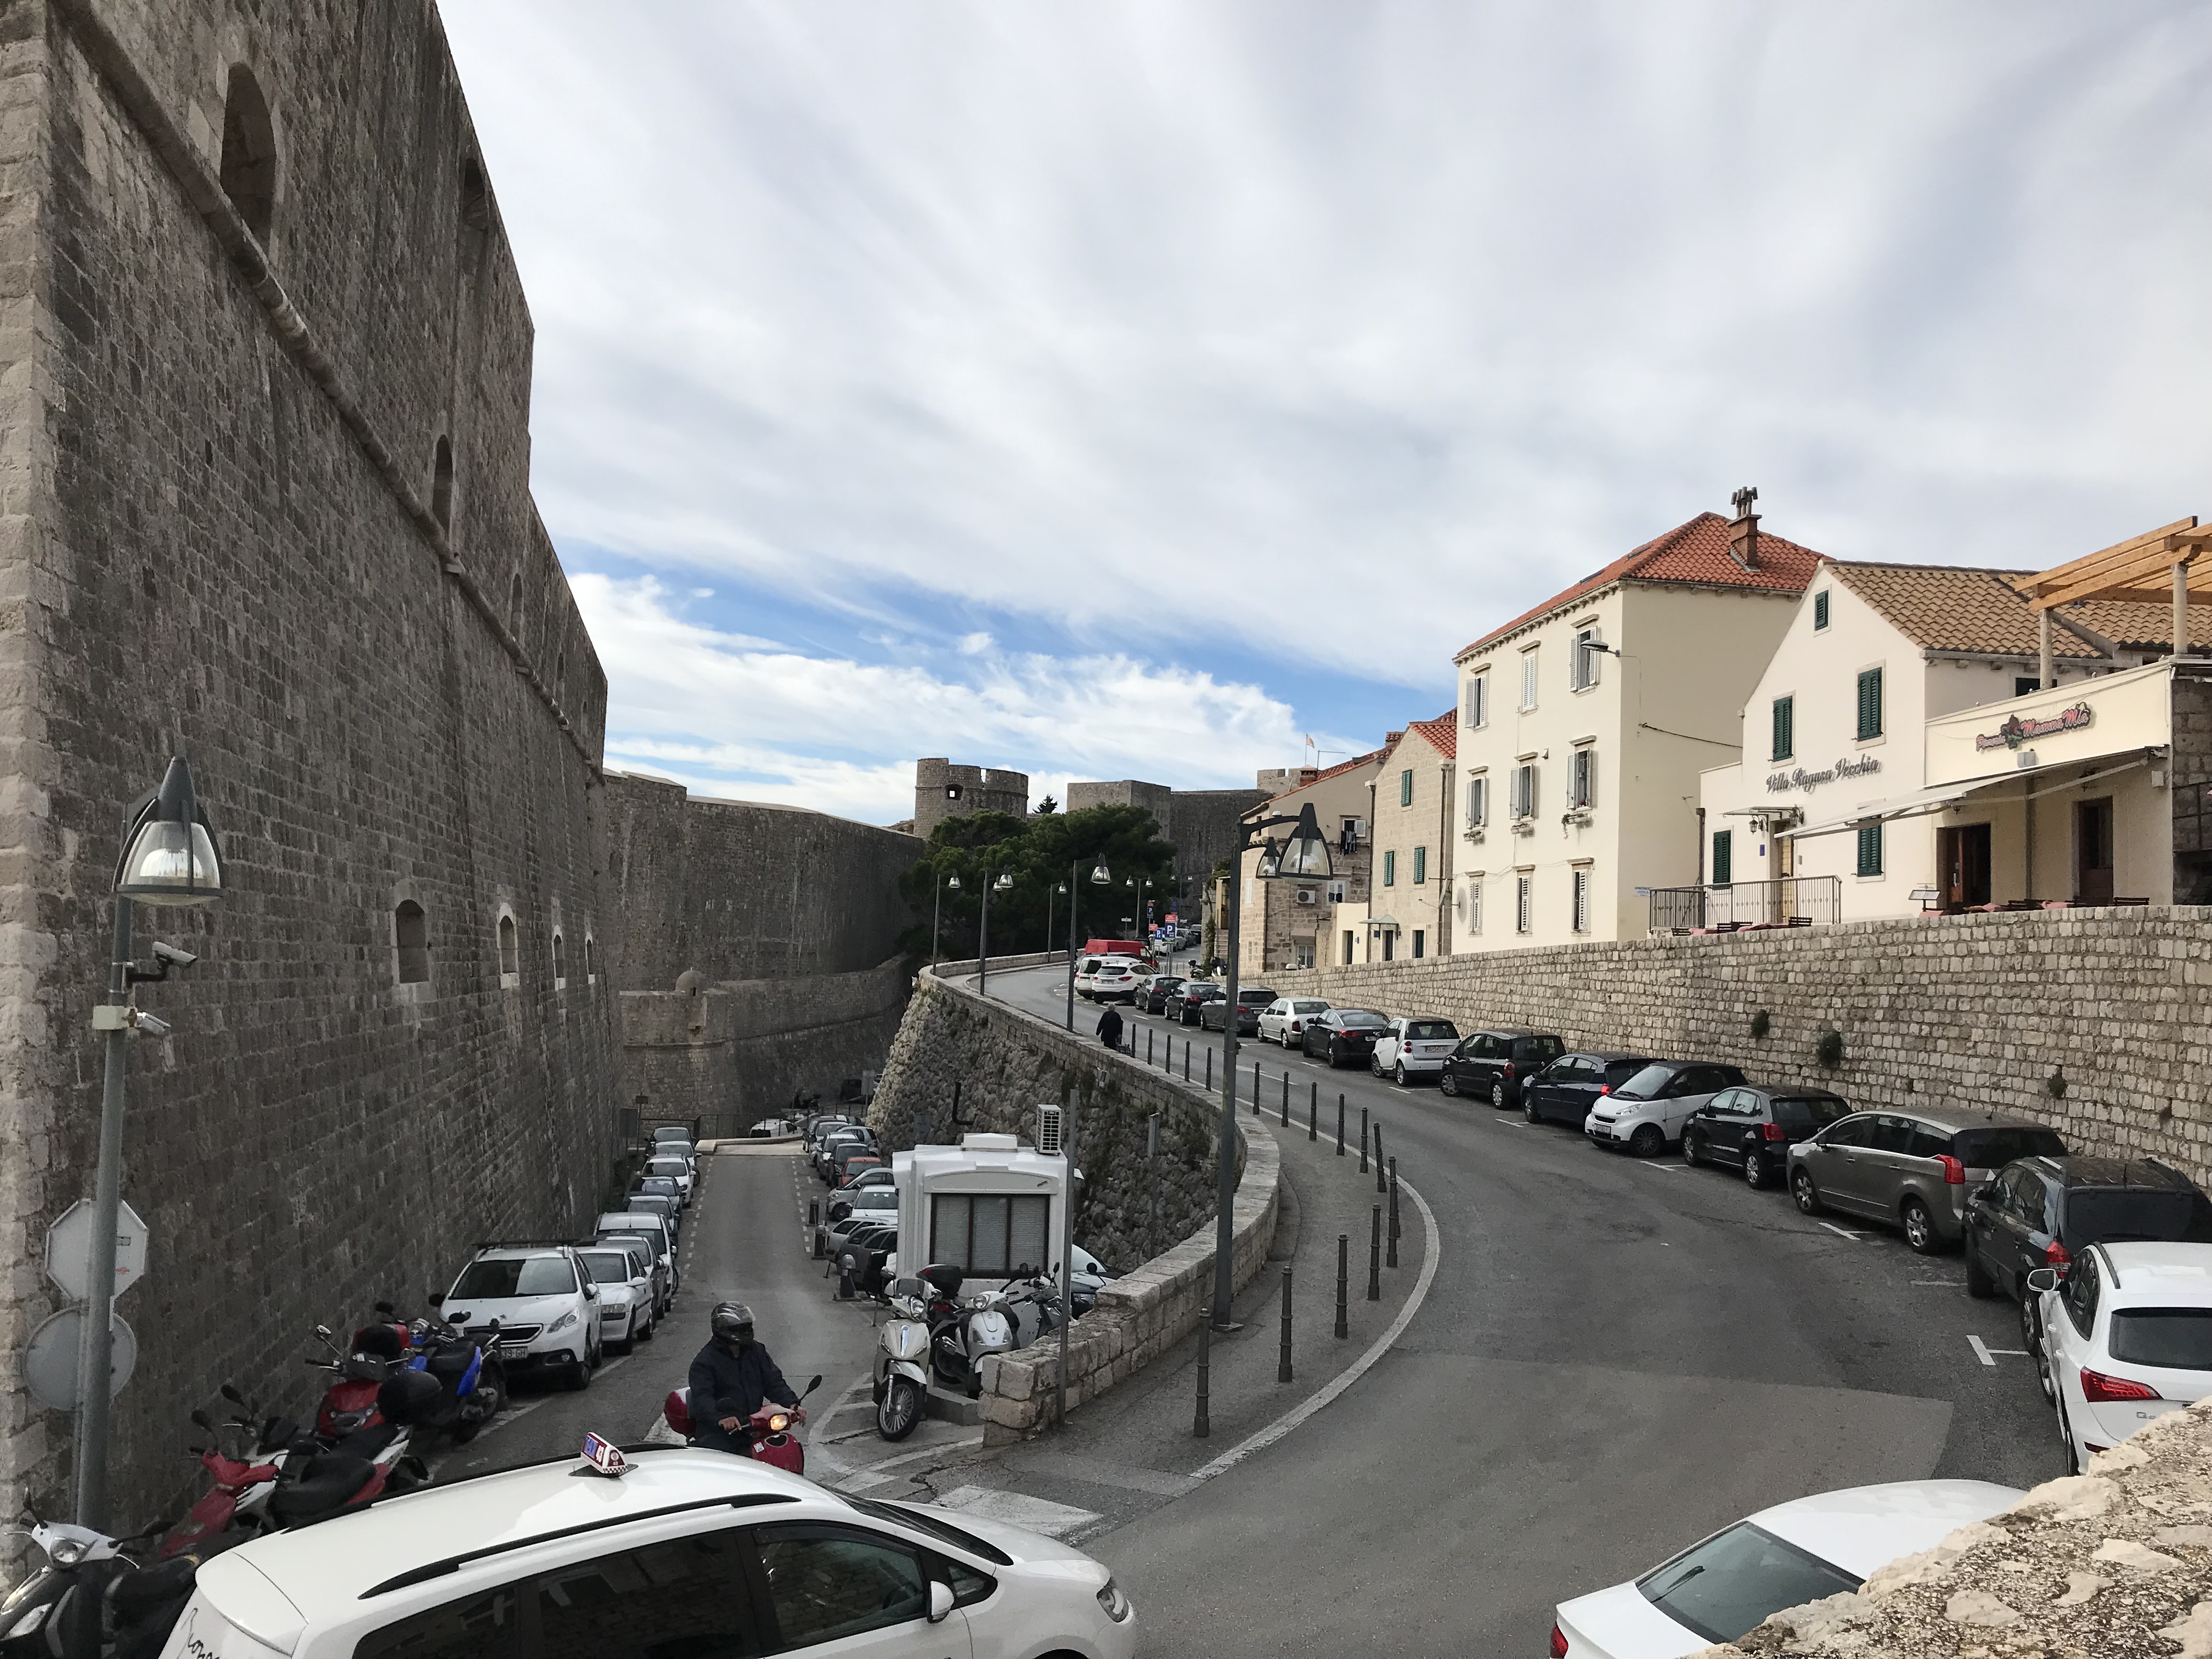
여튼 종점은 구시가지의 두브로브니크 요새 앞.
하차해서 보니 바다의 풍광과 잘 어울러진요새의 모습이
반사적으로 카메라 셔터를 누르게 만드는 군.
버스에서 내리자 마자 구경거리가 많아서
아직 요새 안으로 들어 가지를 못했다.
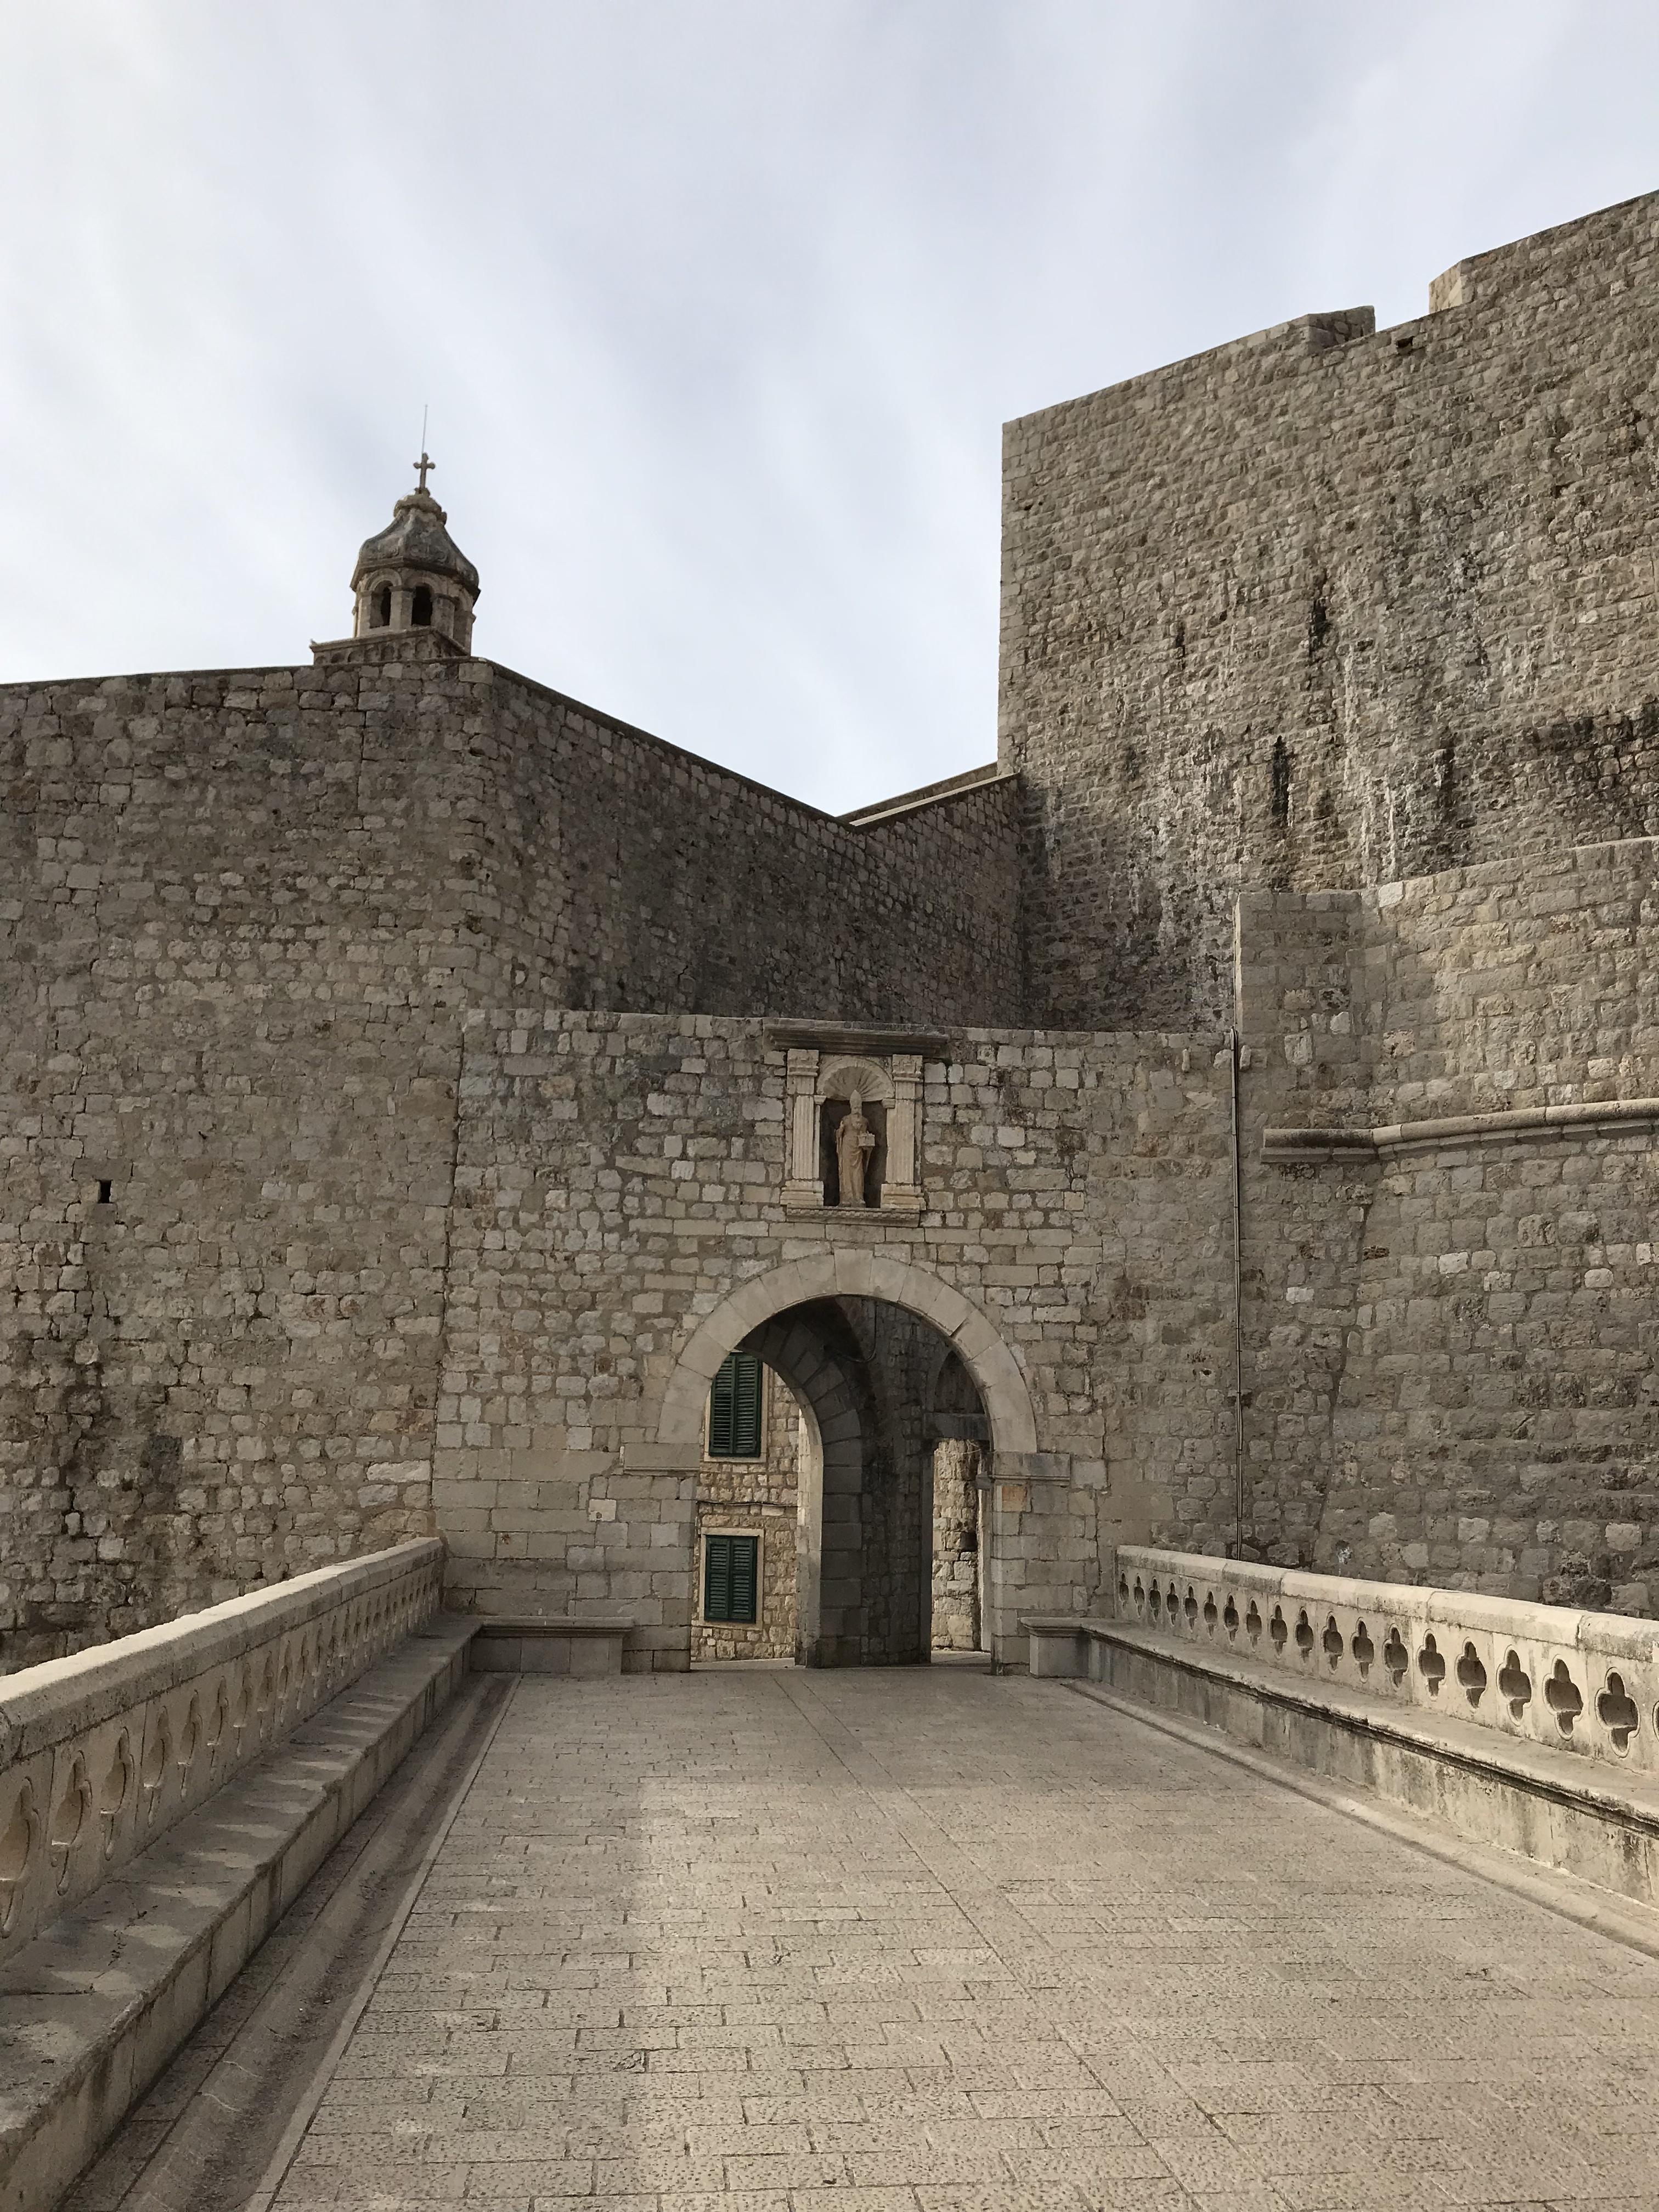
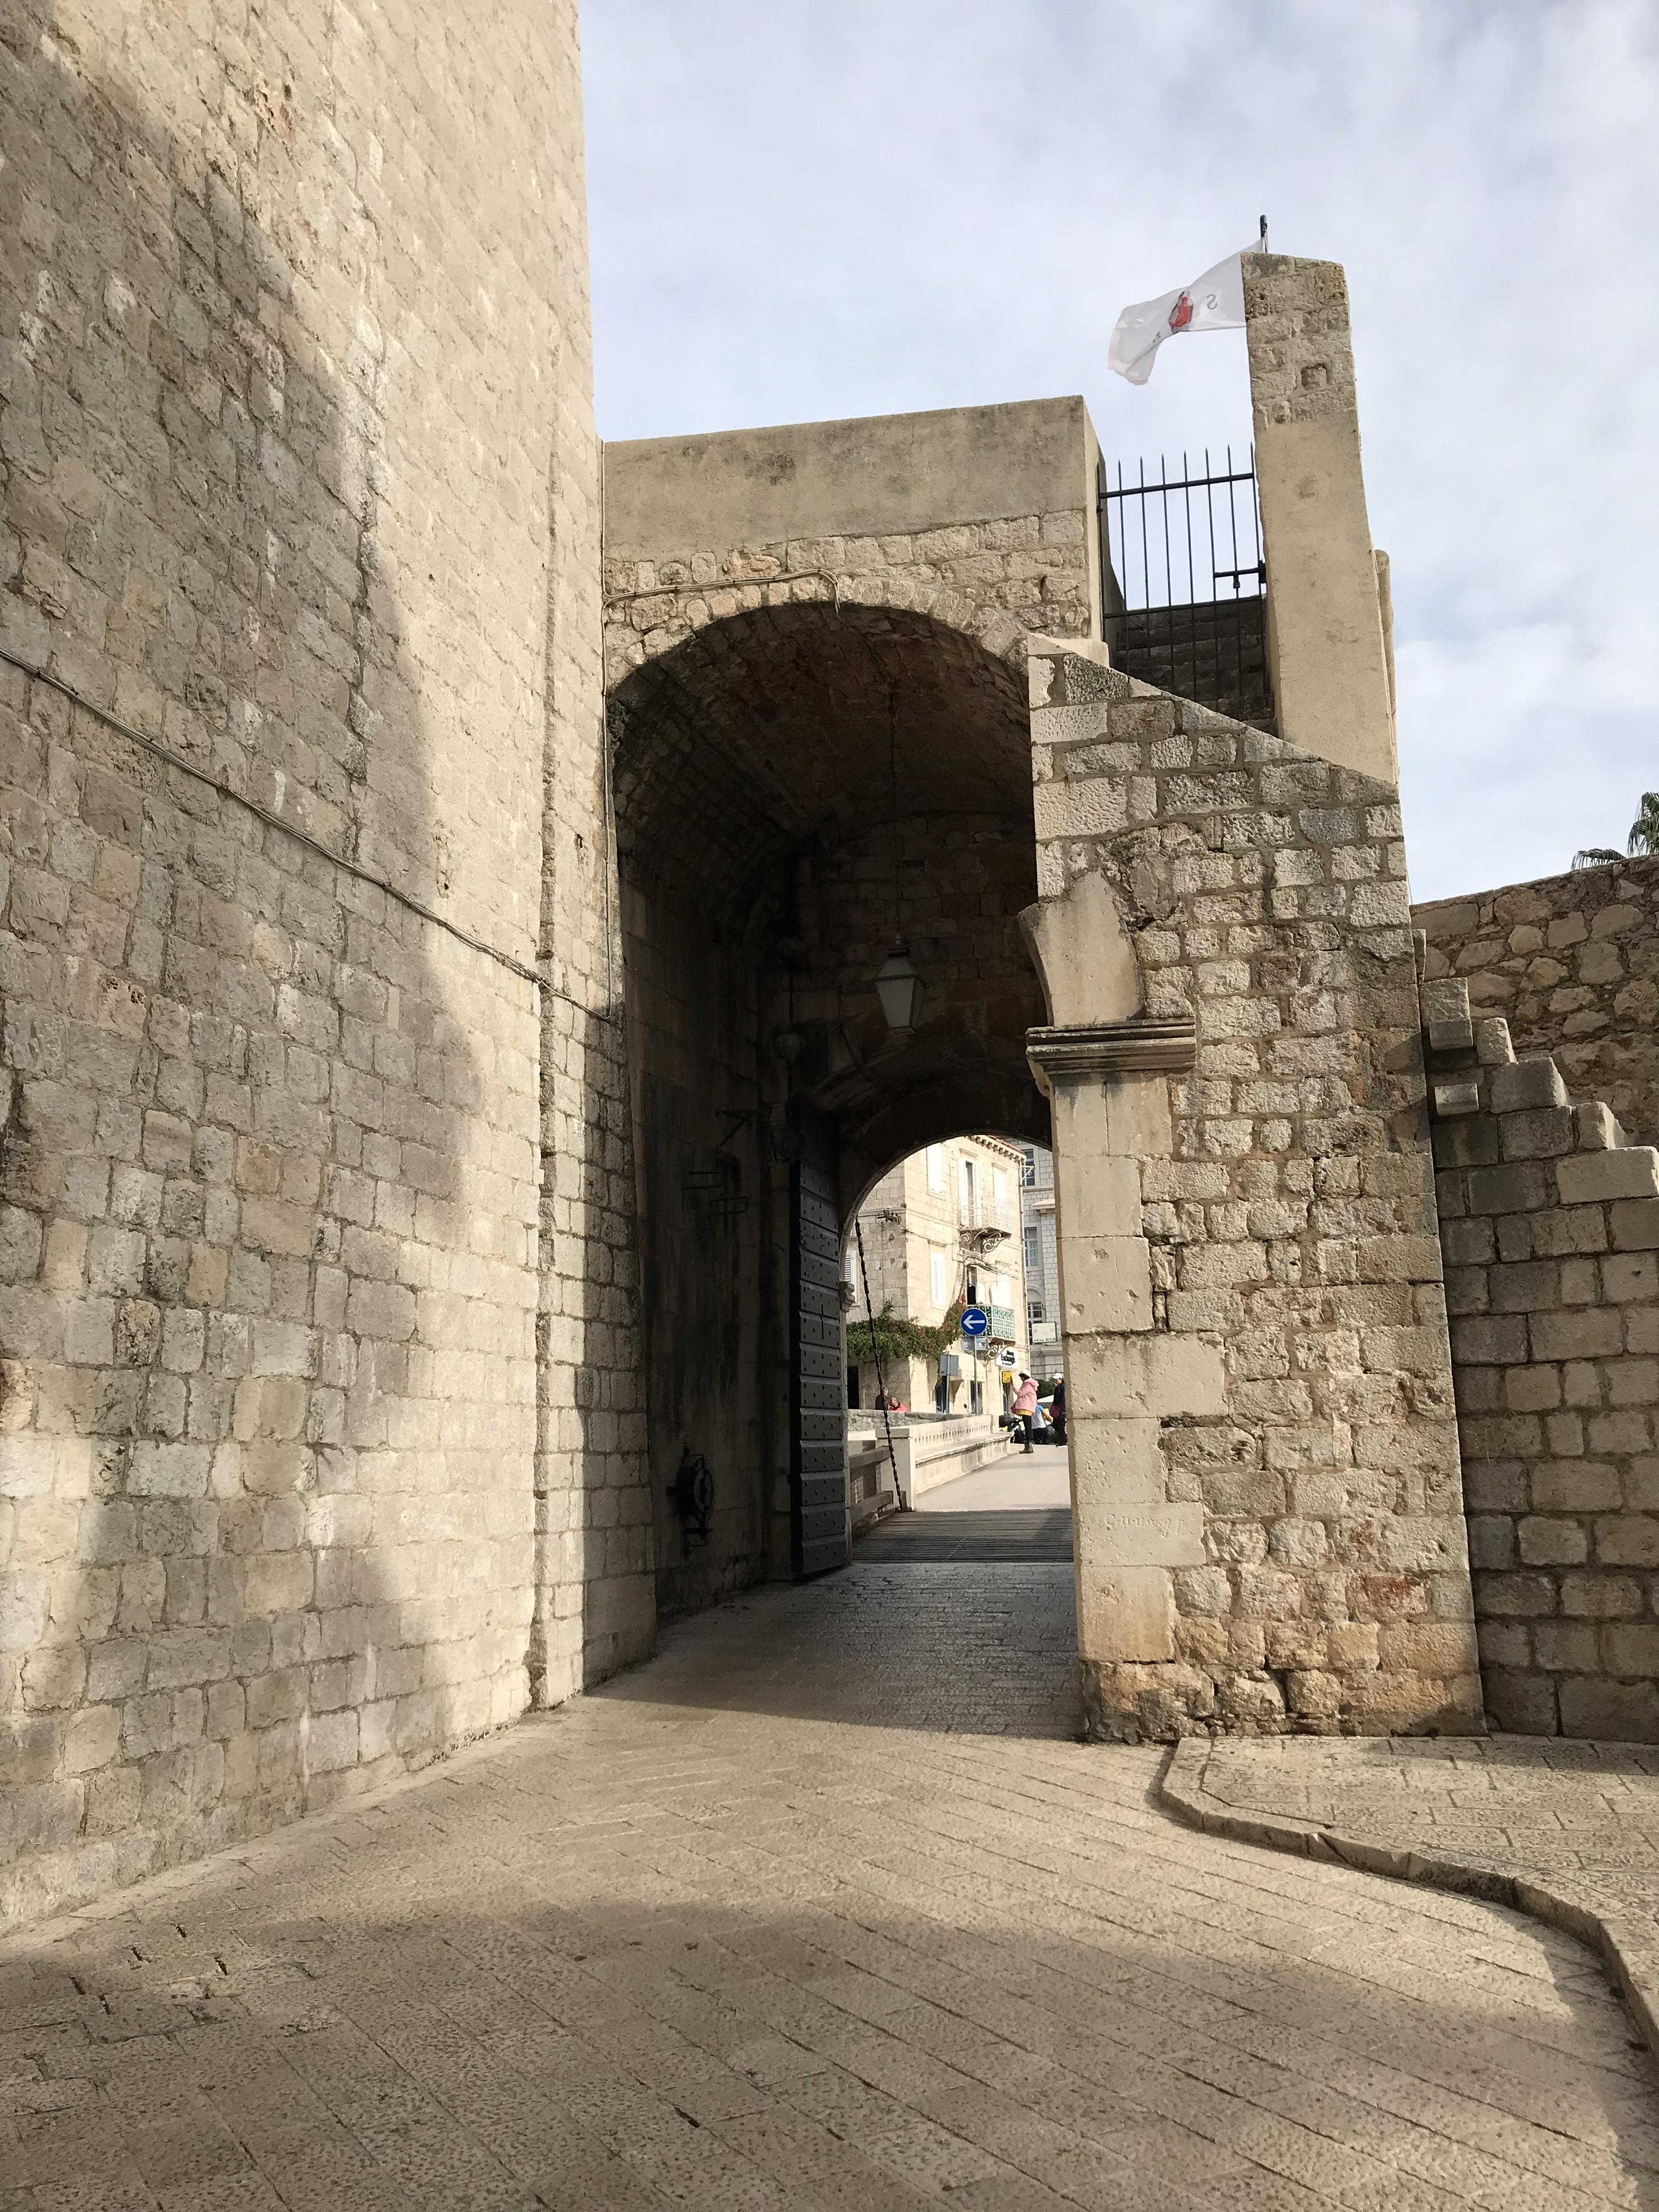
빨리 다리를 건너 요새 입구로~
요새로 들어 갈 수 있는 3개의 문 중에 하나인 필레문(서문)이다.
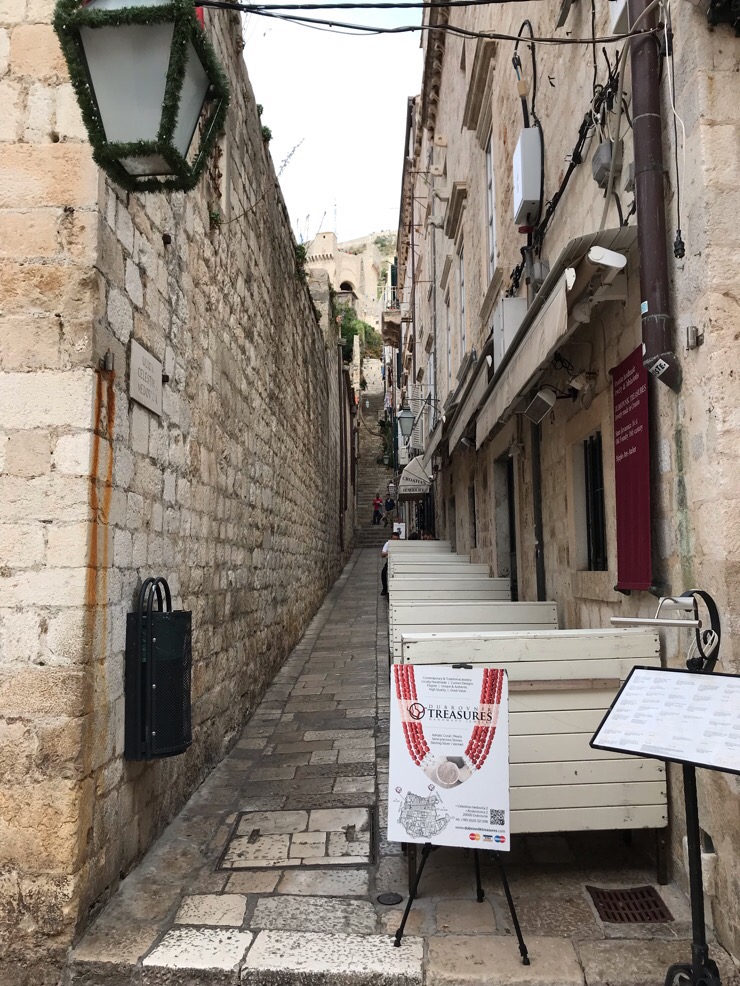
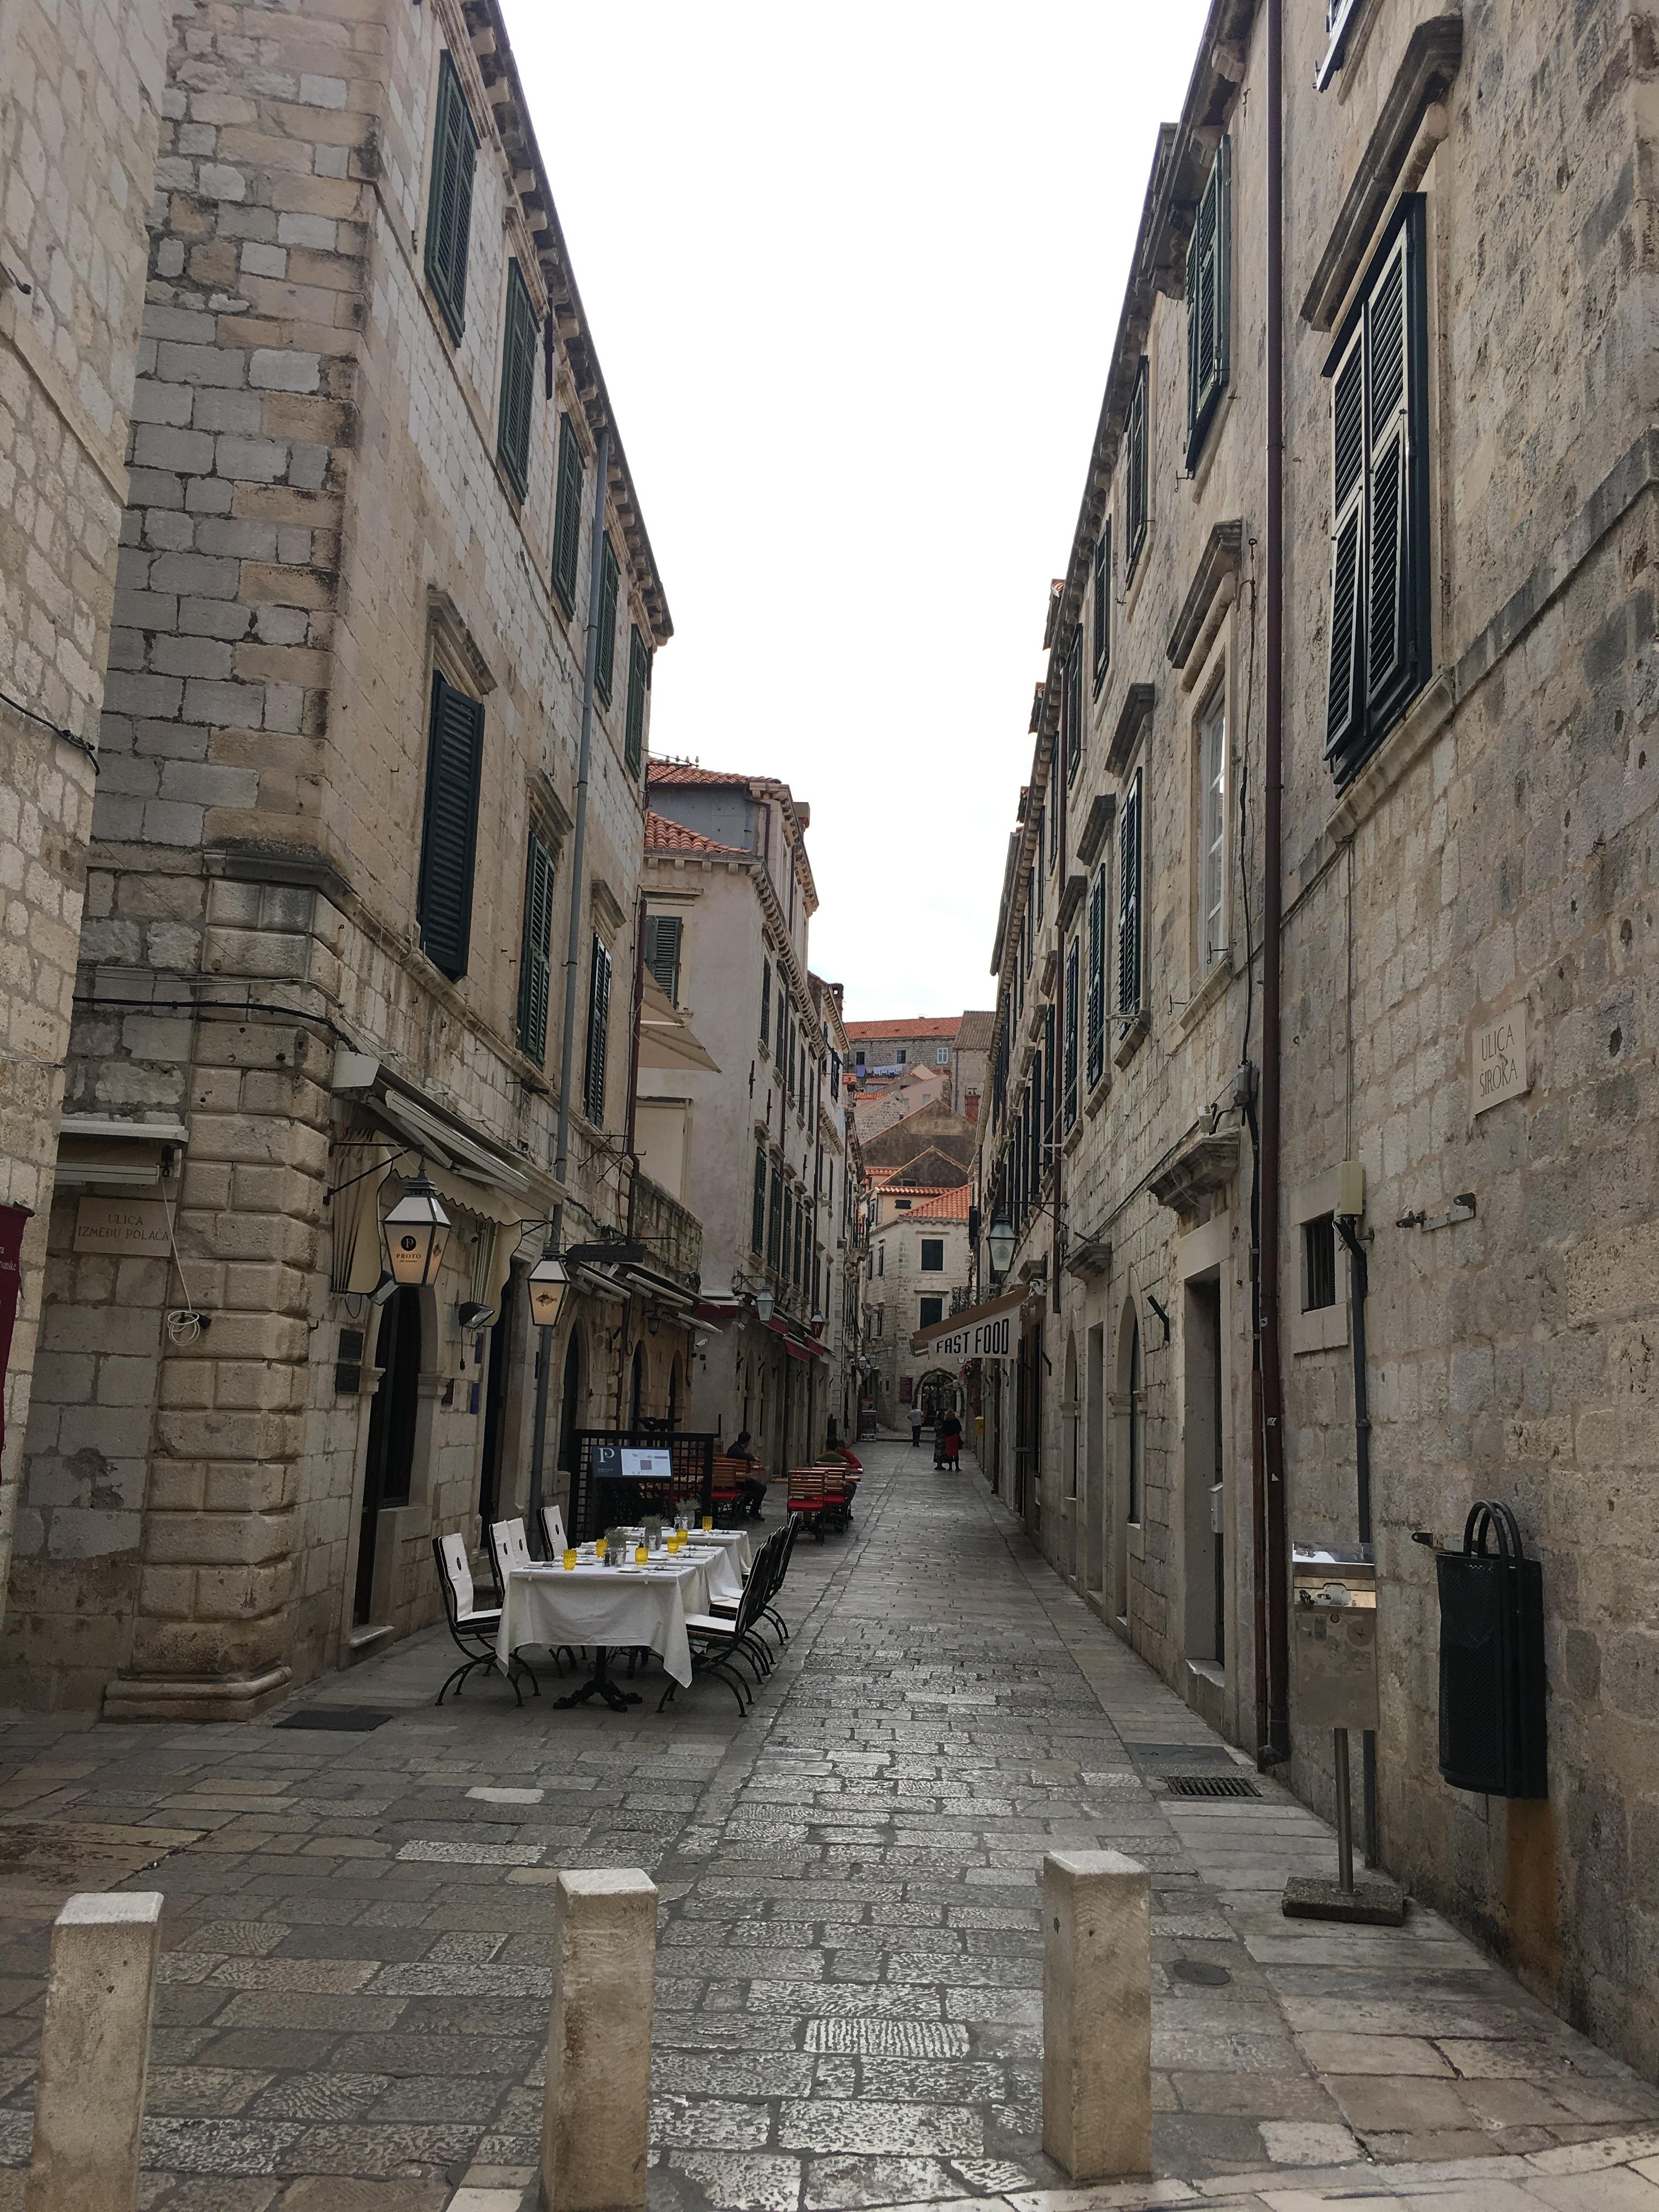
필리문을 지나고 나면 확트인 구시가의 플라차 대로가 우리를 반긴다.
플라차 대로 중간 중간에 위치한 옆길인 골목길들의 모습 역시 언덕을 따라 형성 되어 있고,
그 좁은 길을 따라서 식당 및 상점이 위치해서,
또 다른 아기자기한 볼거리를 선사한다.
오를란도르 게양대를 지나
성 브라이세 성당에 다달았다.
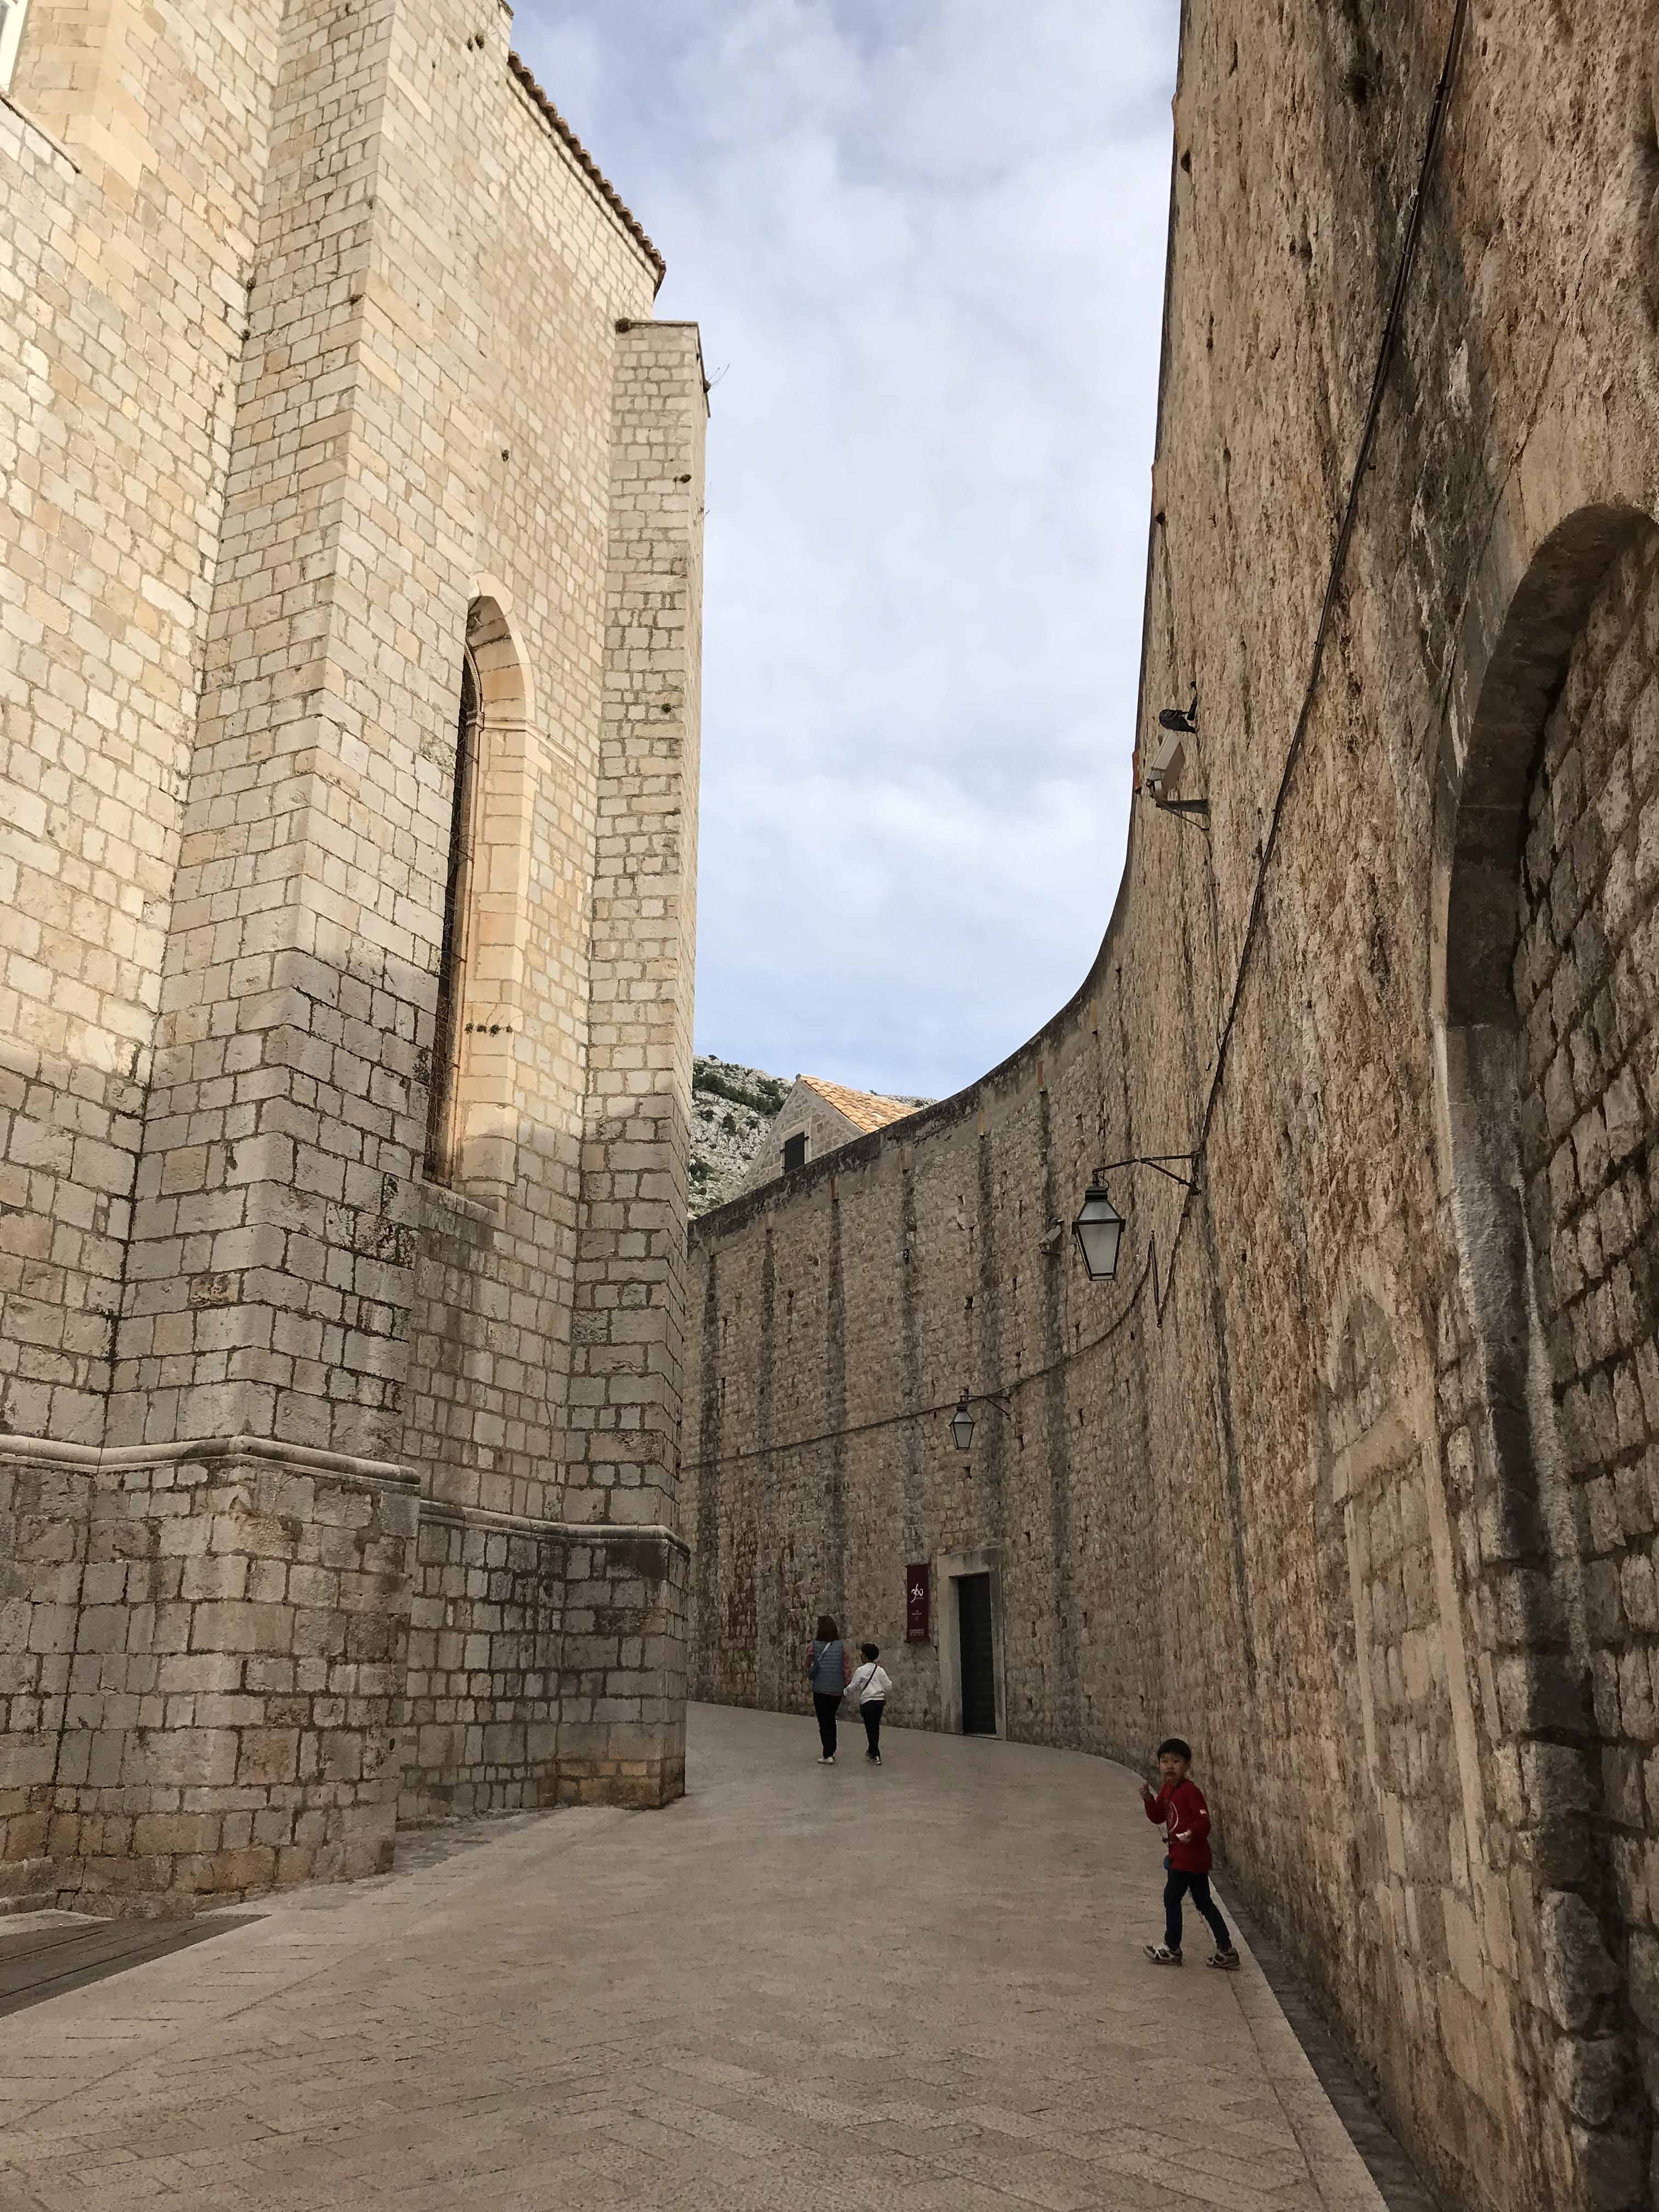
그리고 곧곧에 펼쳐진 작은 길들.
큰 대로 부터 작은 길까지
바닥에 깔려 있는 돌들은 모두 반짝반짝 하다.
대리석은 아닌거 같은데... 대리석인가(??)
아이들이 배가 고픈지 보채기 시작한다.
그래서 요새를 빠져나간다.
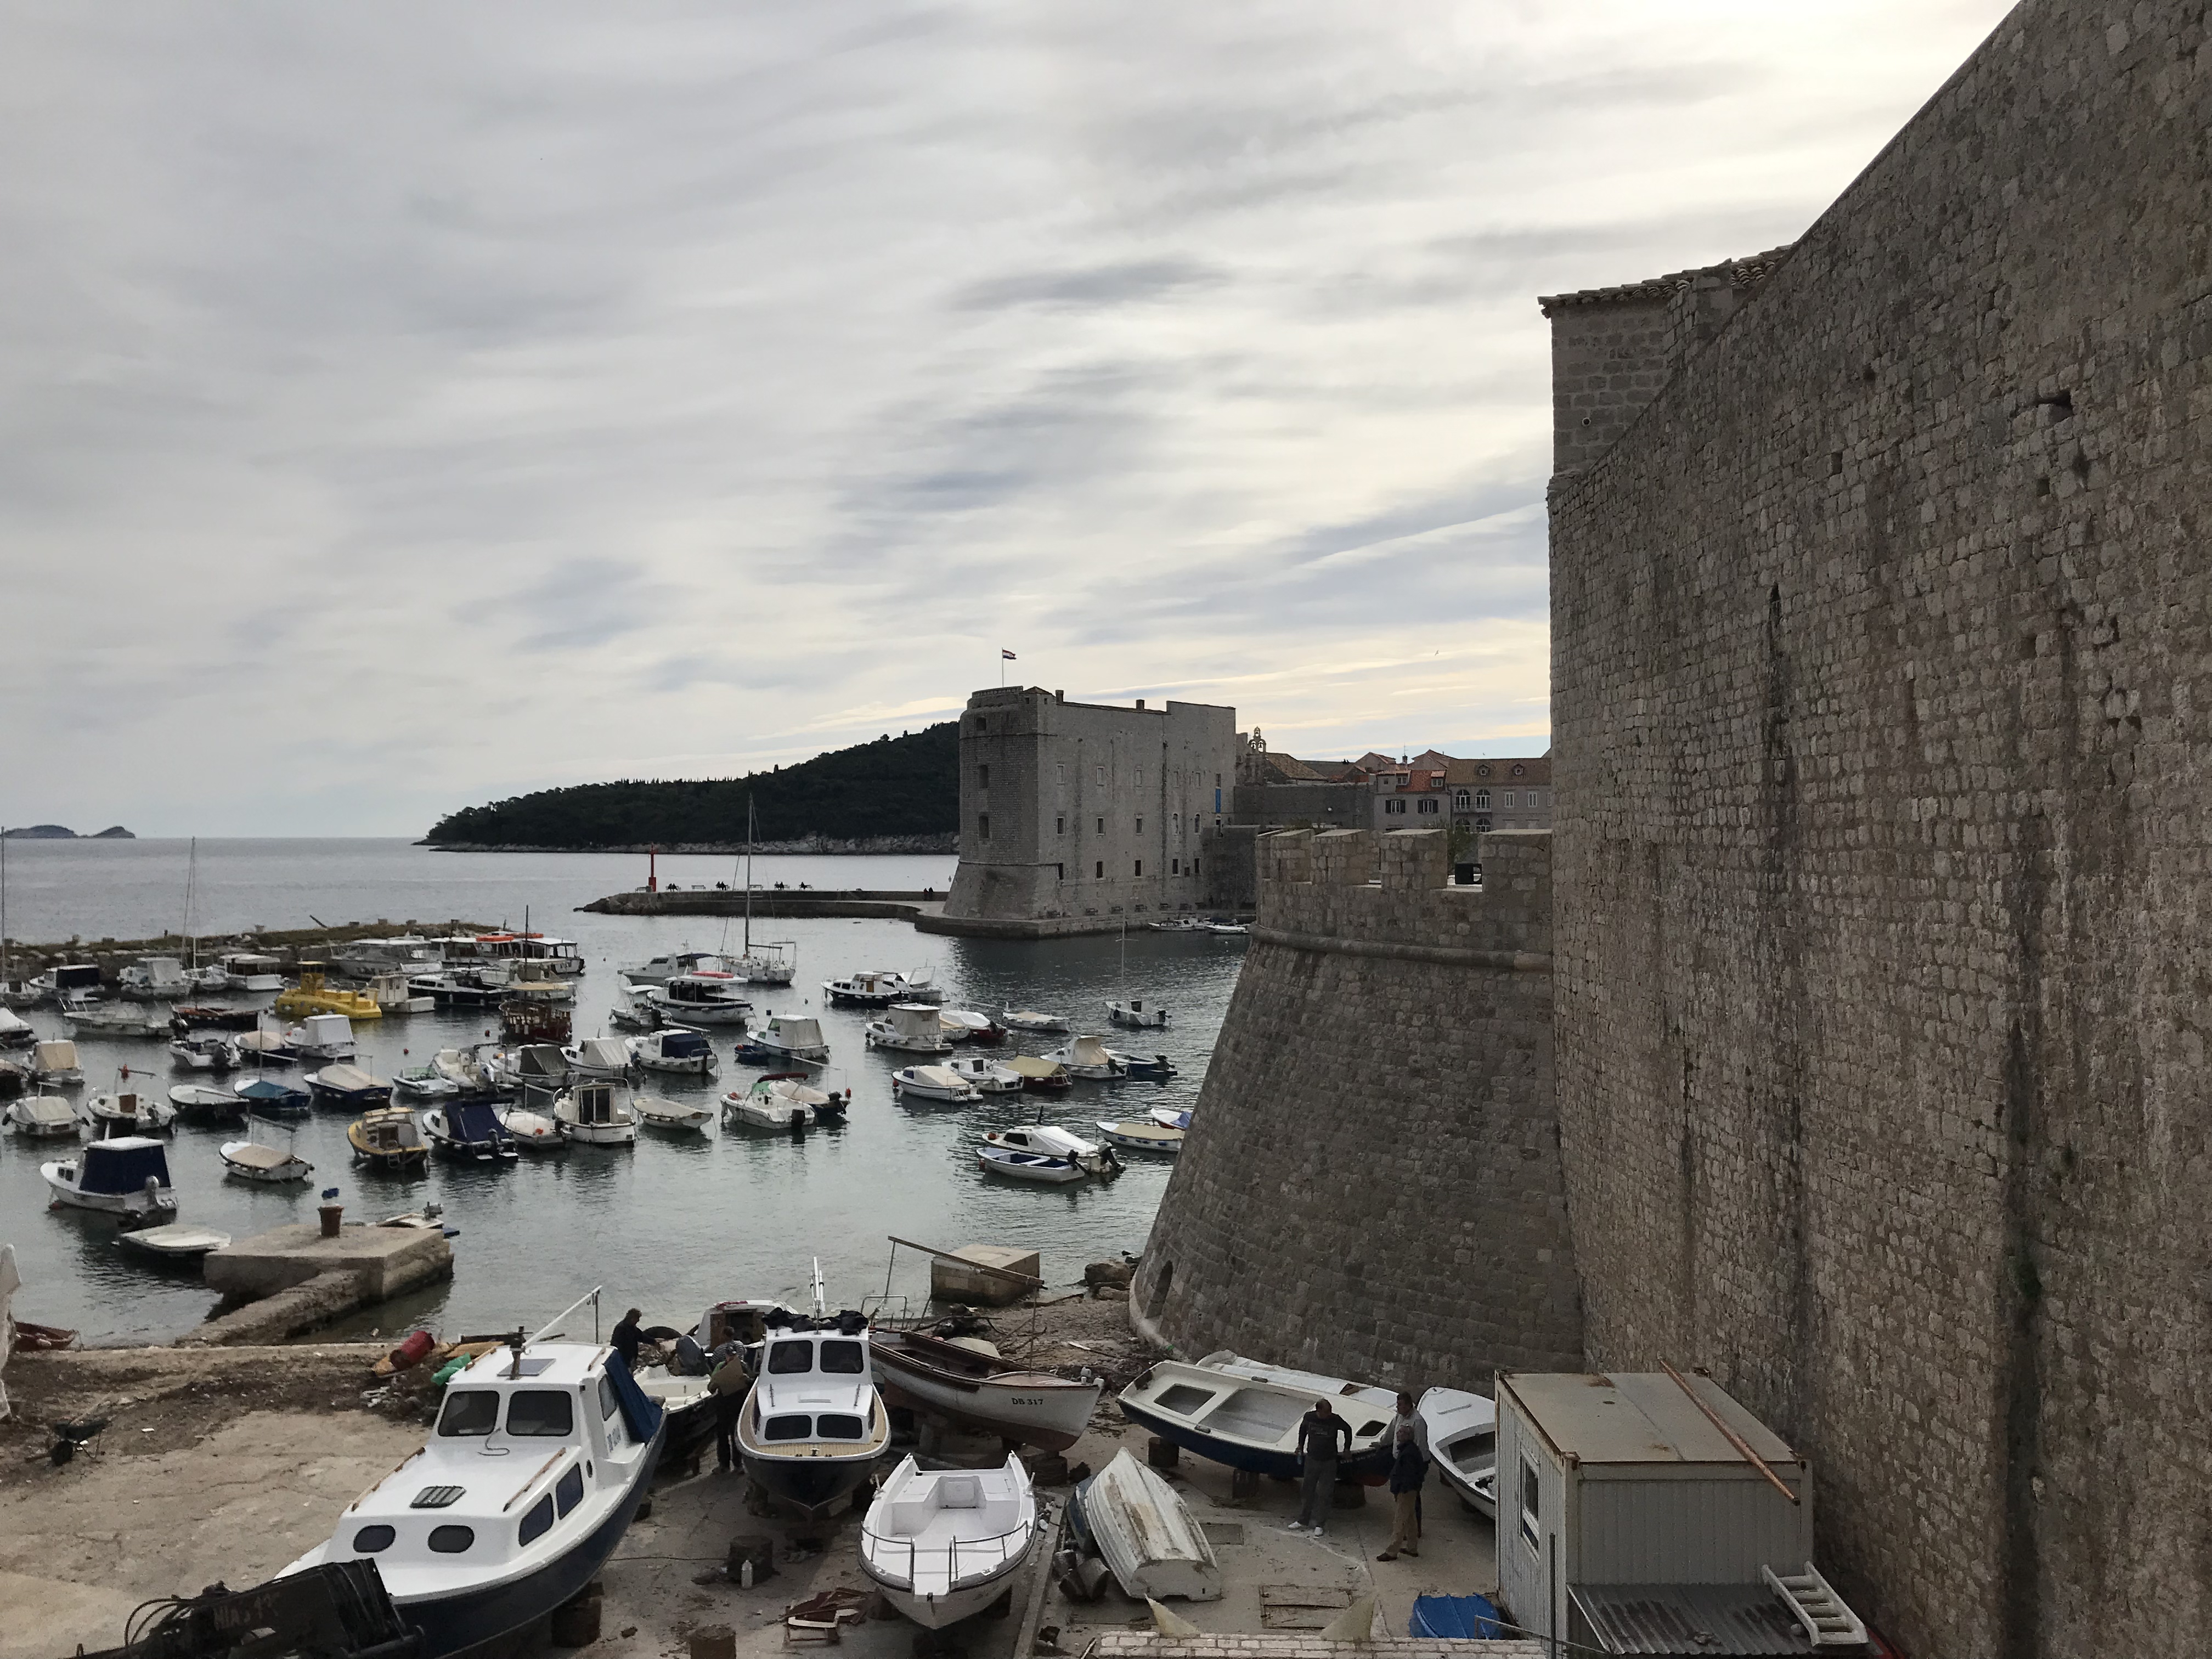
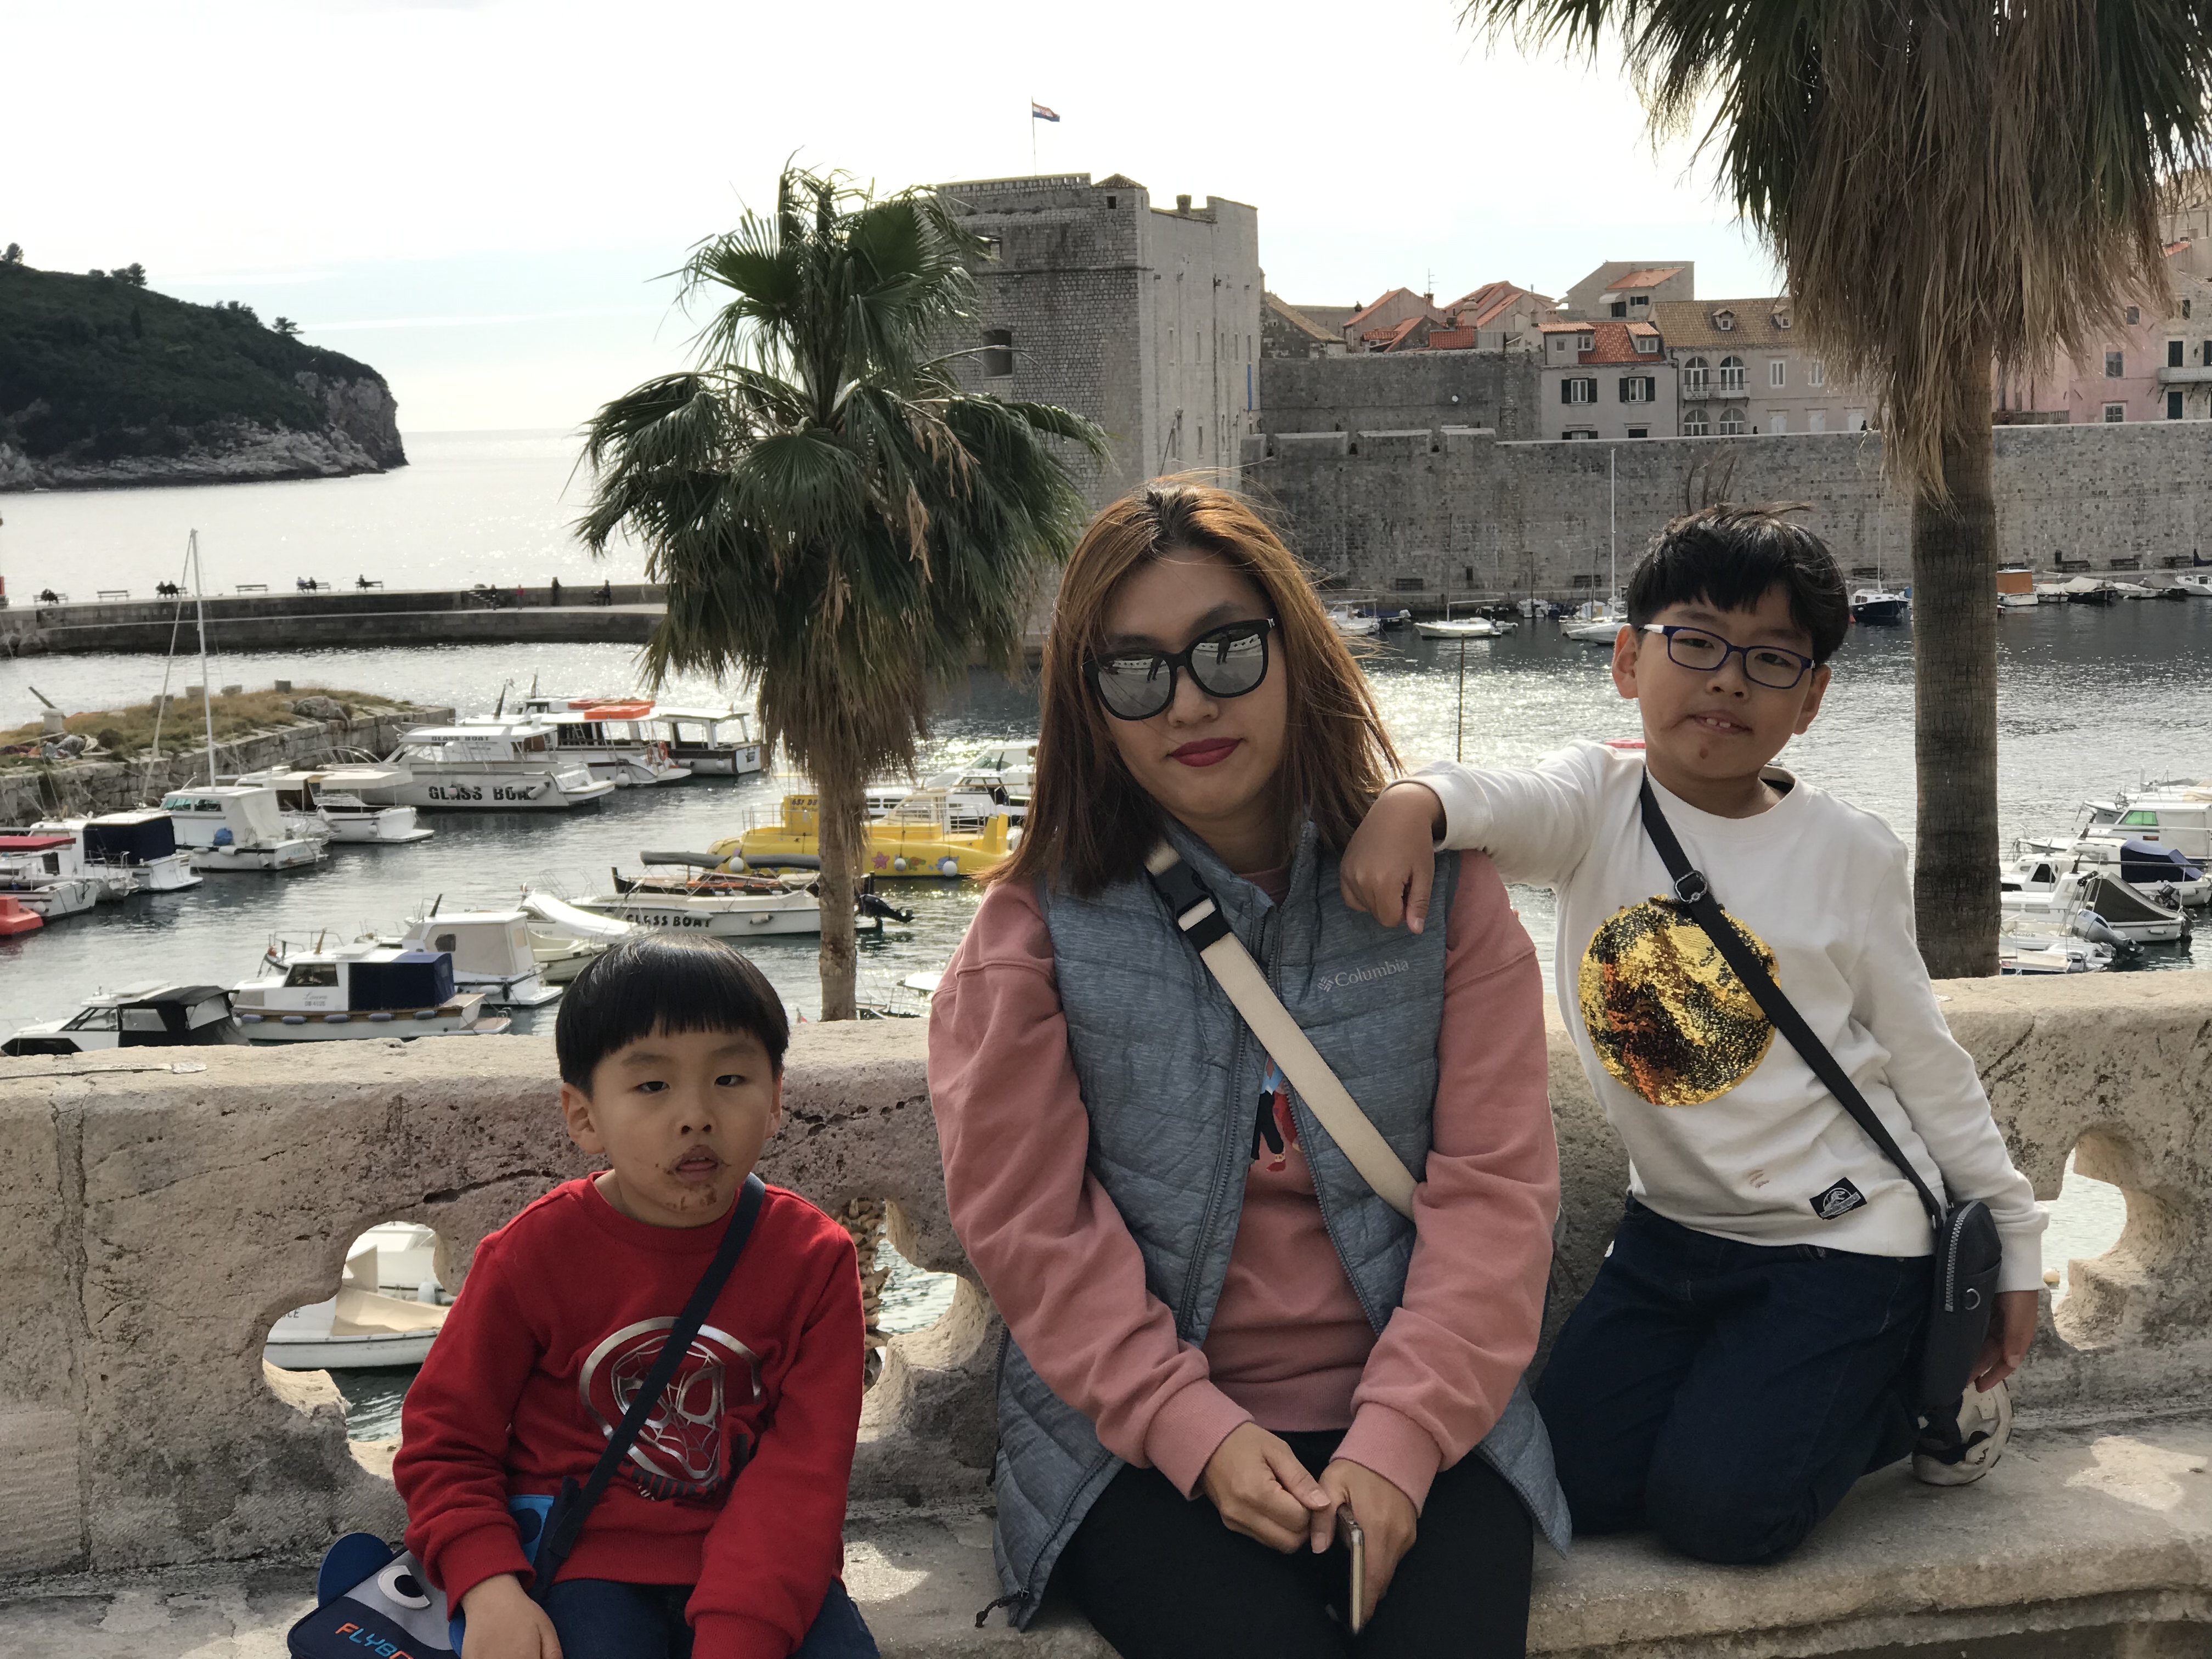
요새를 빠져 나오니 아름다운 항구가 나타났다.
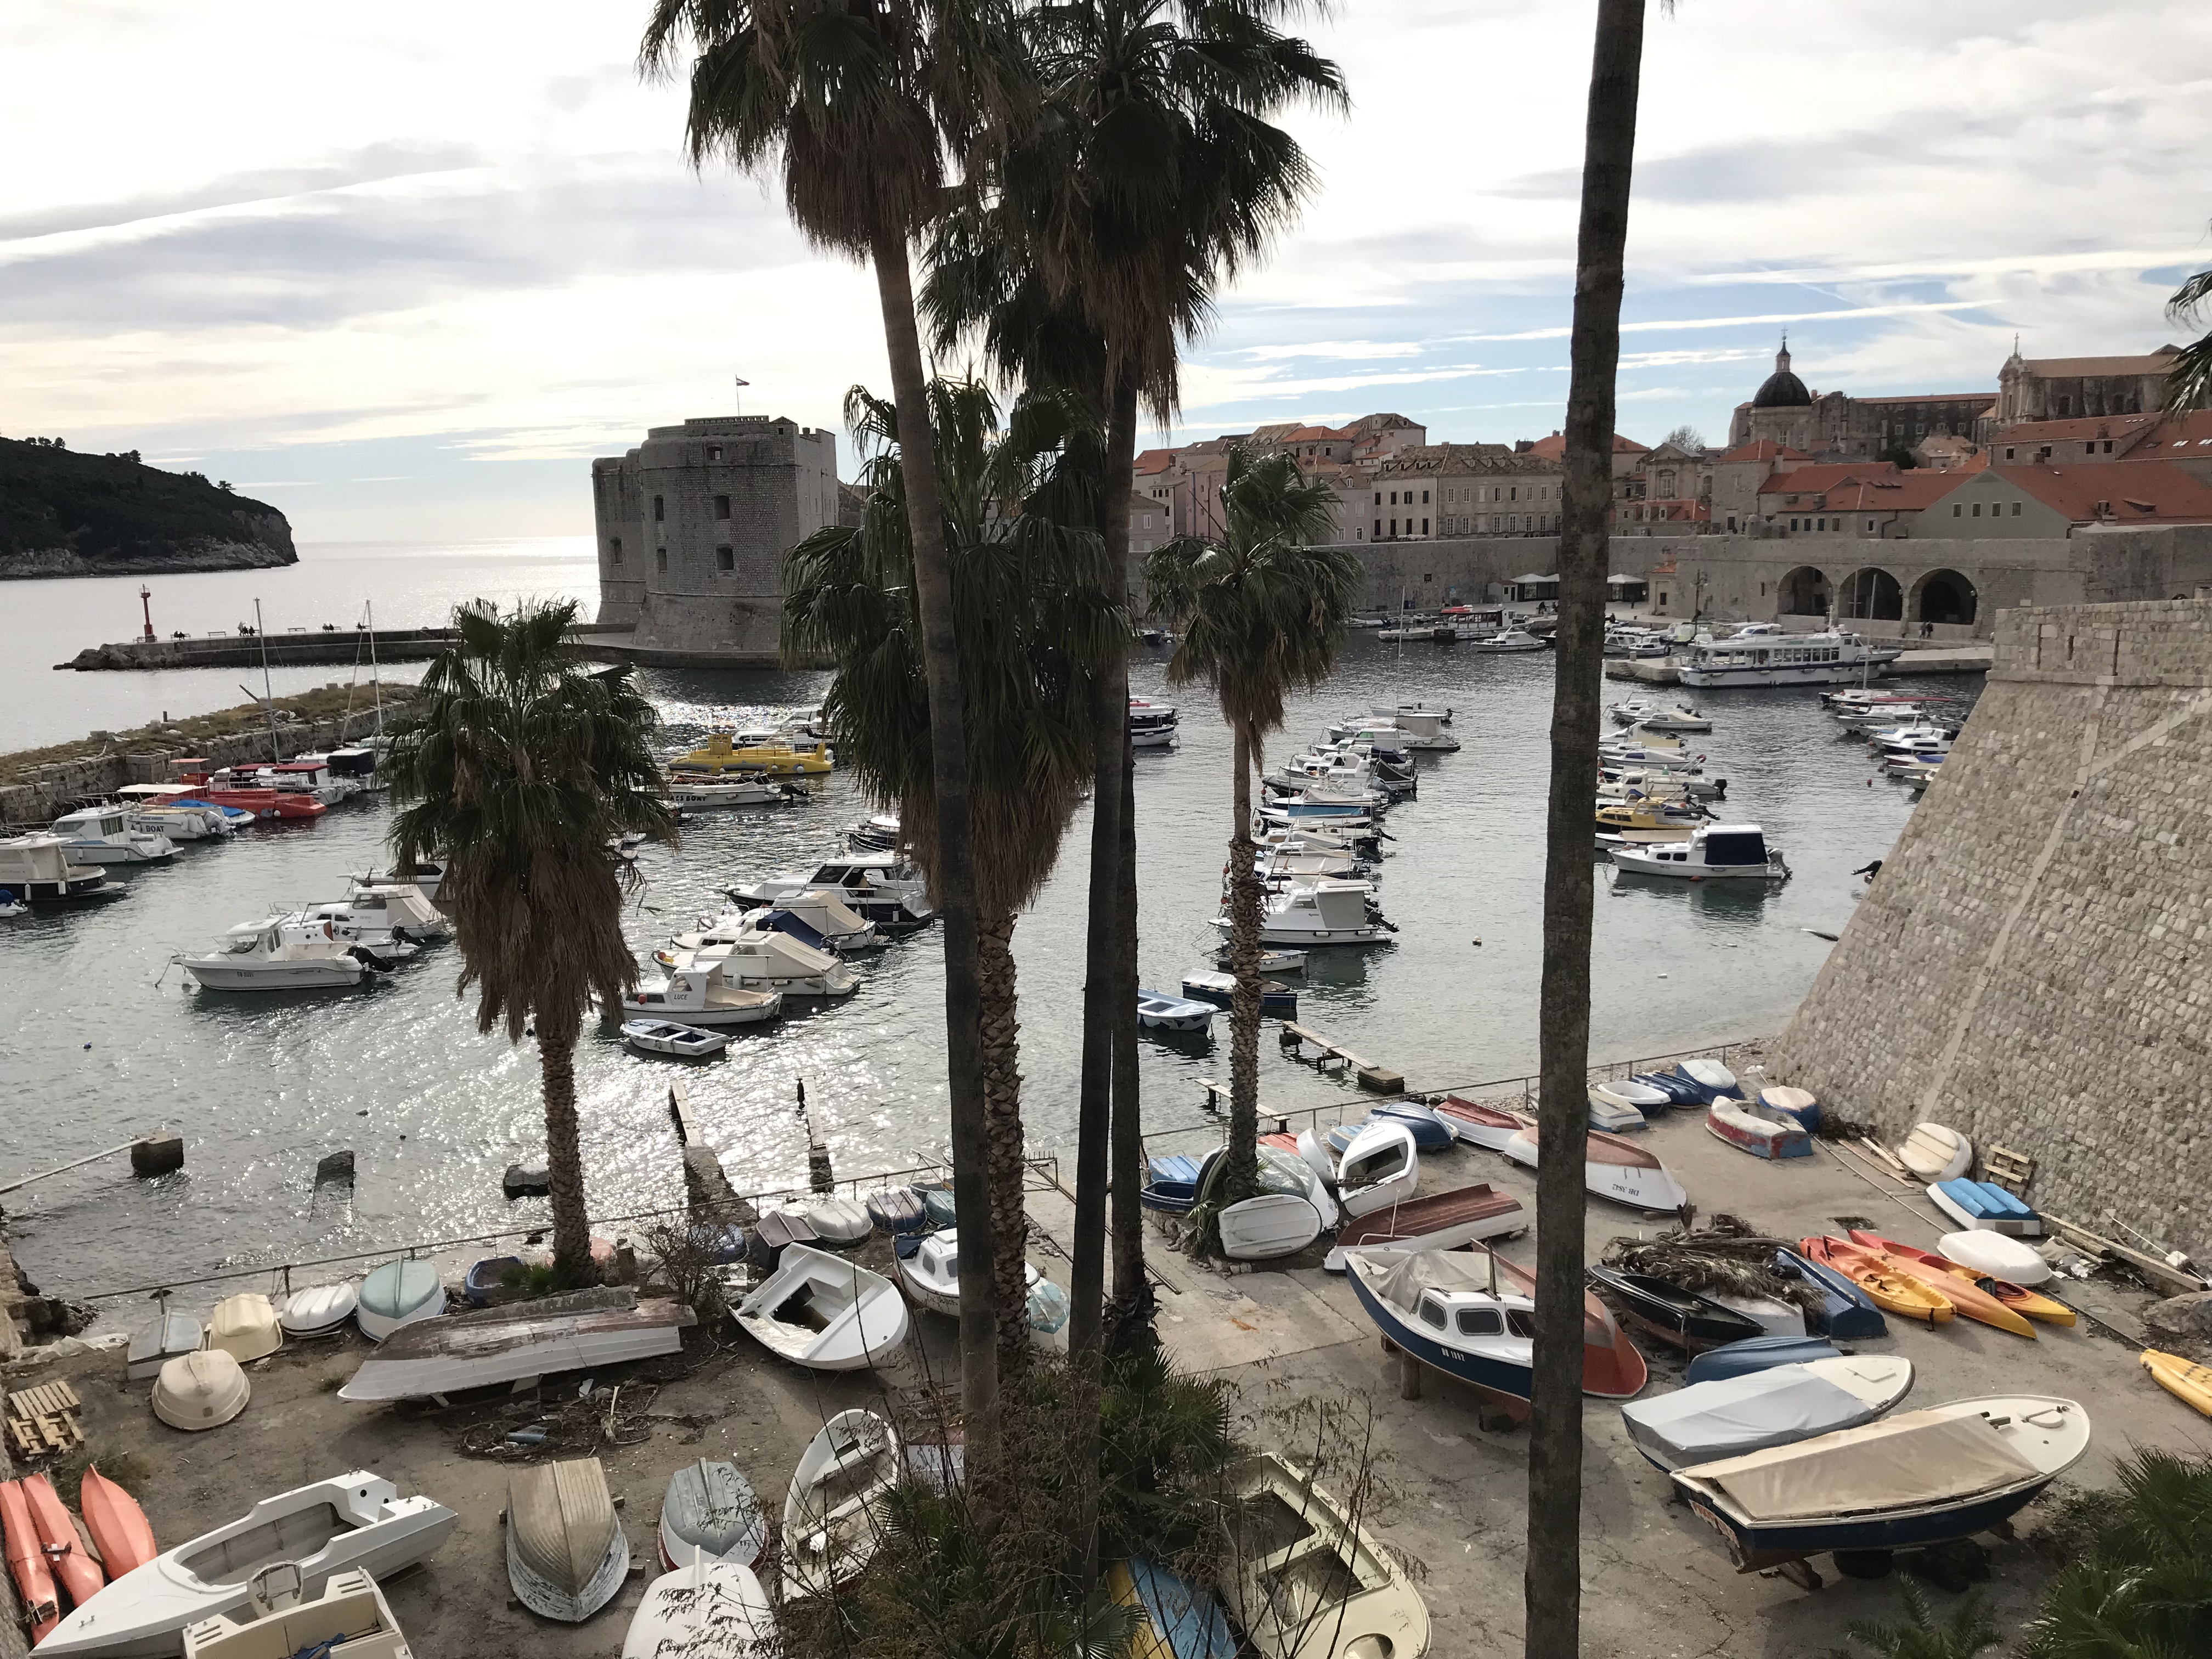
오늘 점심은
케이블카 탑승장 주변에 위치한
한인숙박에서 조그맣게 운영하는 한식당으로 이동.
큰 아들 녀석의 강력한 요청으로 이곳에서 점심을 해결하기로 결정.
고양이가 호시탐탐 기회를 옆보고 있다.. ㅎㅎ
민박을 메인으로 하시기에, 메뉴가 다양하지 않아 보였다.
라면 2개 + 공기밥 2개 + 라볶이 + 튀김우동 사발면 + 이슬(ㅋㅋ) 하나로 우리 4인 가족이 한끼를 해결.
솔직한 후기로 큰 기대를 하고 가면 낭패고,
그리운 한국의 맛을 간단히 맛보고 싶다면 OK.
참고로, 가격이 장난이 아니다.
아까 언급한 메뉴가 우리나라돈으로 5만원 조금 넘는다.... -_-;;
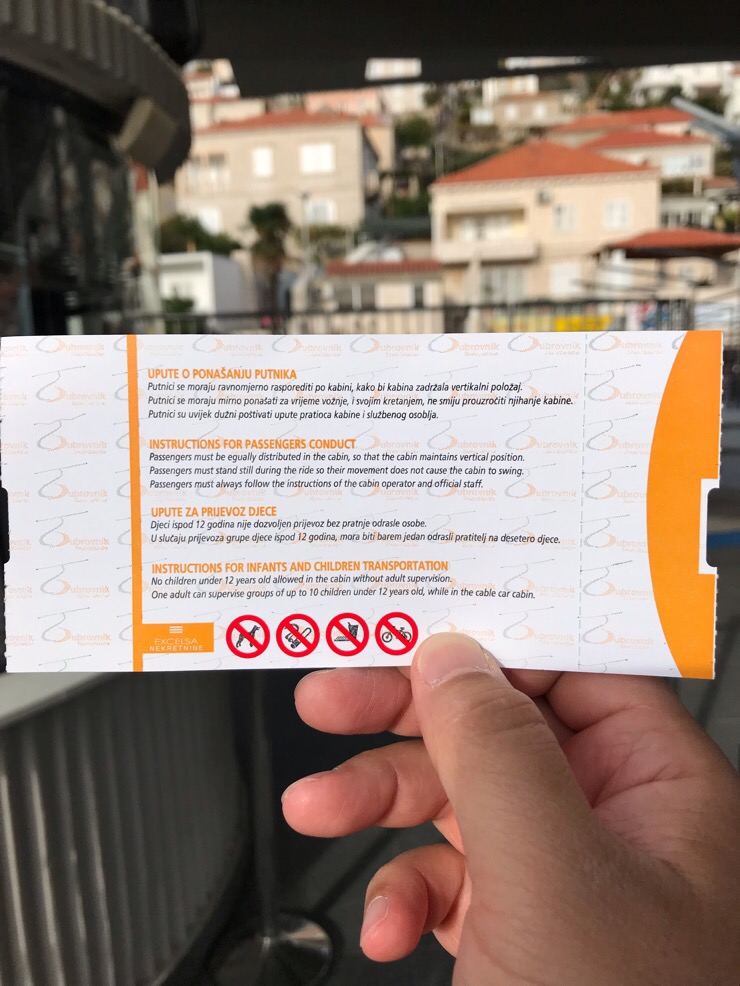
여튼, 식사를 마치고 바로 위에 위치한 캐이블카 탑승장으로 이동.
아래는 티켓 가격표다.
왕복 티켓 대인 2명 + 소인 1명(물론 둘째 아들 녀석은 여기서도 어린 나이로 공짜~)
가격이 우리나라 돈으로 6만2천원 정도로 만만치 않은 가격이다.

케이블카가 도착하기 전에 남는 시간을 활용하여
사진을 찍어본다.
케이블카 탑승하는 곳에서 찍은 경치도 전망대 못지 않은거 같다.
이제 케이블카에 탑승~
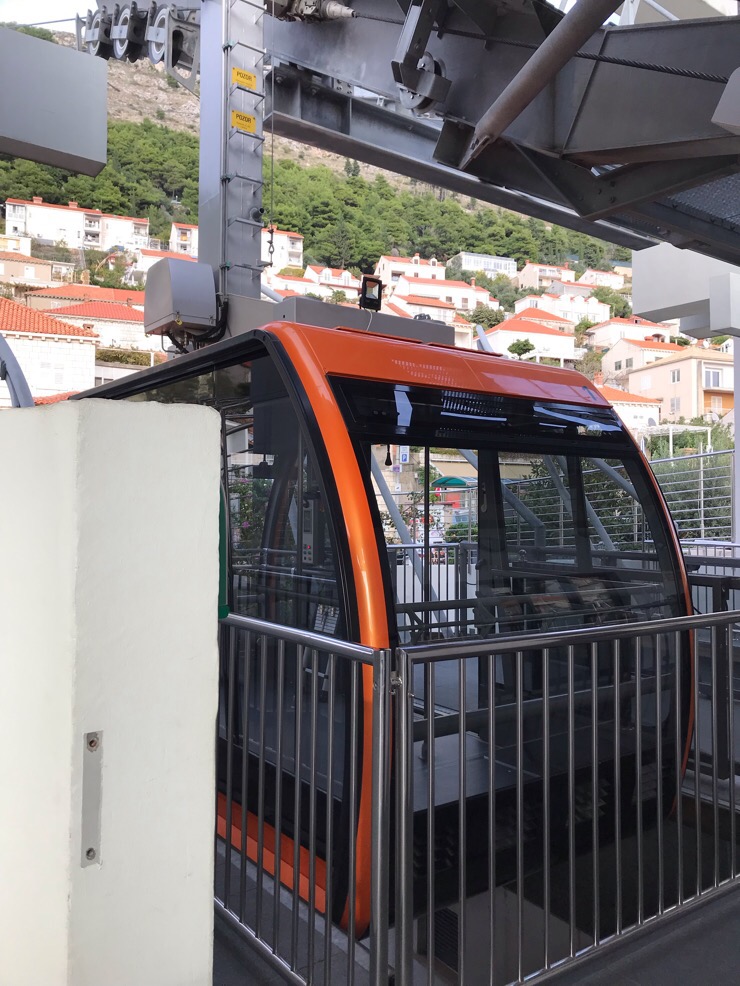
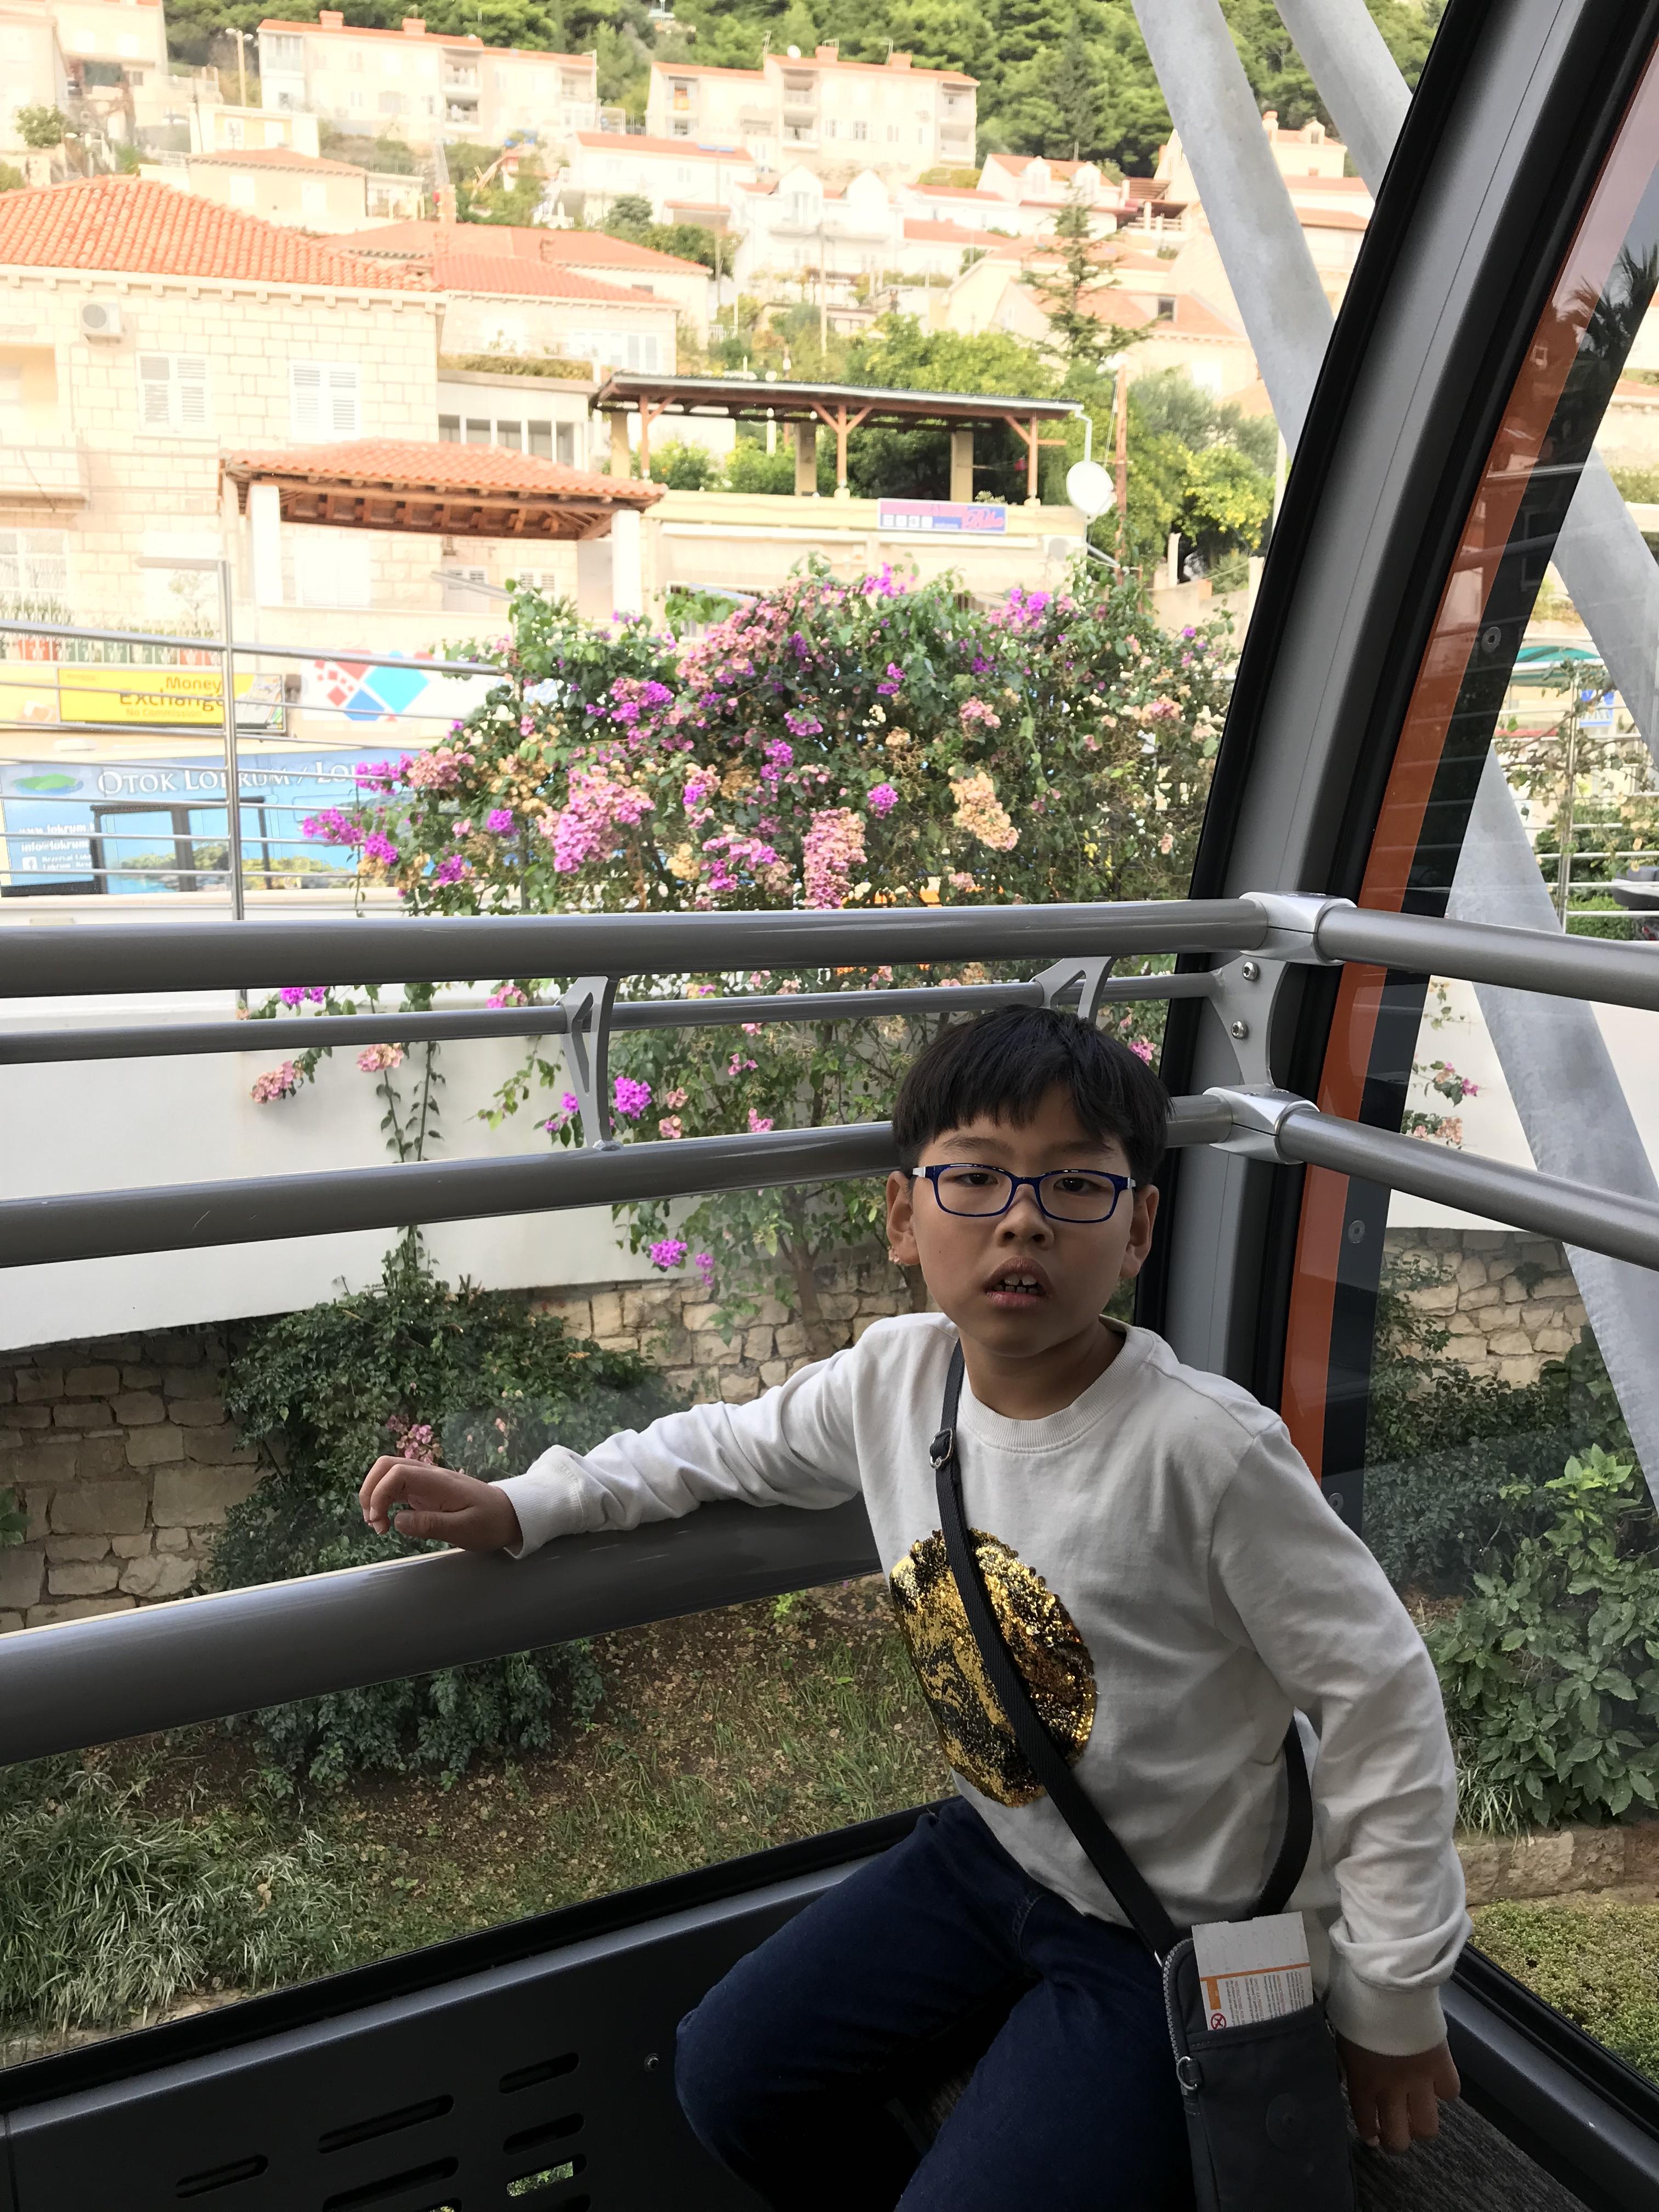
가파른 산을 무서운 속도로 올라 간다.
반대편에서 내려오는 케이블카와 조우 하는 순간 셔터를 눌렀다 ㅎㅎ
케이블카를 타고 스르지 산 정상 전망대에 도착하니
시원하게 뚫려있는 풍광들이 속을 뻥하니 뚫어 준다.
이 산의 높이는 412m 정도라고 한다.
산 밑에 구시가지가 정말 조그맣게 보인다.
정상 부근에는 크로아티아 국기가 바람에 휘날리고 있고,
그리고 그 옆에는 십자가가 자리를 잡고 있다.
그리고 바다쪽은 아드리안해의 끝없는 수평선이 펼쳐져 있다.
그리고 바다 반대편에 커다랗고 길다랗게 놓여 있는 산맥이 또 하나의 장관이다.
케이블카의 비싼 비용이 전혀 아깝지 않은
시원시원한 경치를 보니그 동안 눌러져있던 체증이 싹 사라지는 그런 느낌이다.
친절한 직원 한 분이 우리가족 사진을 찍어주셨다.
직원 분이라서 그런지 핫스팟을 잘 골라서 찍어 주신듯 하다.
어느 방향에서 셔터를 누르든지 사진이 다 잘 나온다.
드디어 산에서 내려와서 다시 요새 근방 항구에서 경치가 좋아 셔터를 눌러댔다.
햇살이 풍성한 바닷가 항구가 마음을 따뜻히게 만드는 것만 같았다.
항구에서 바라 본 전망대쪽 하늘은 맑기 그지 없고, 파랗기 그지 없다. 좋다~!
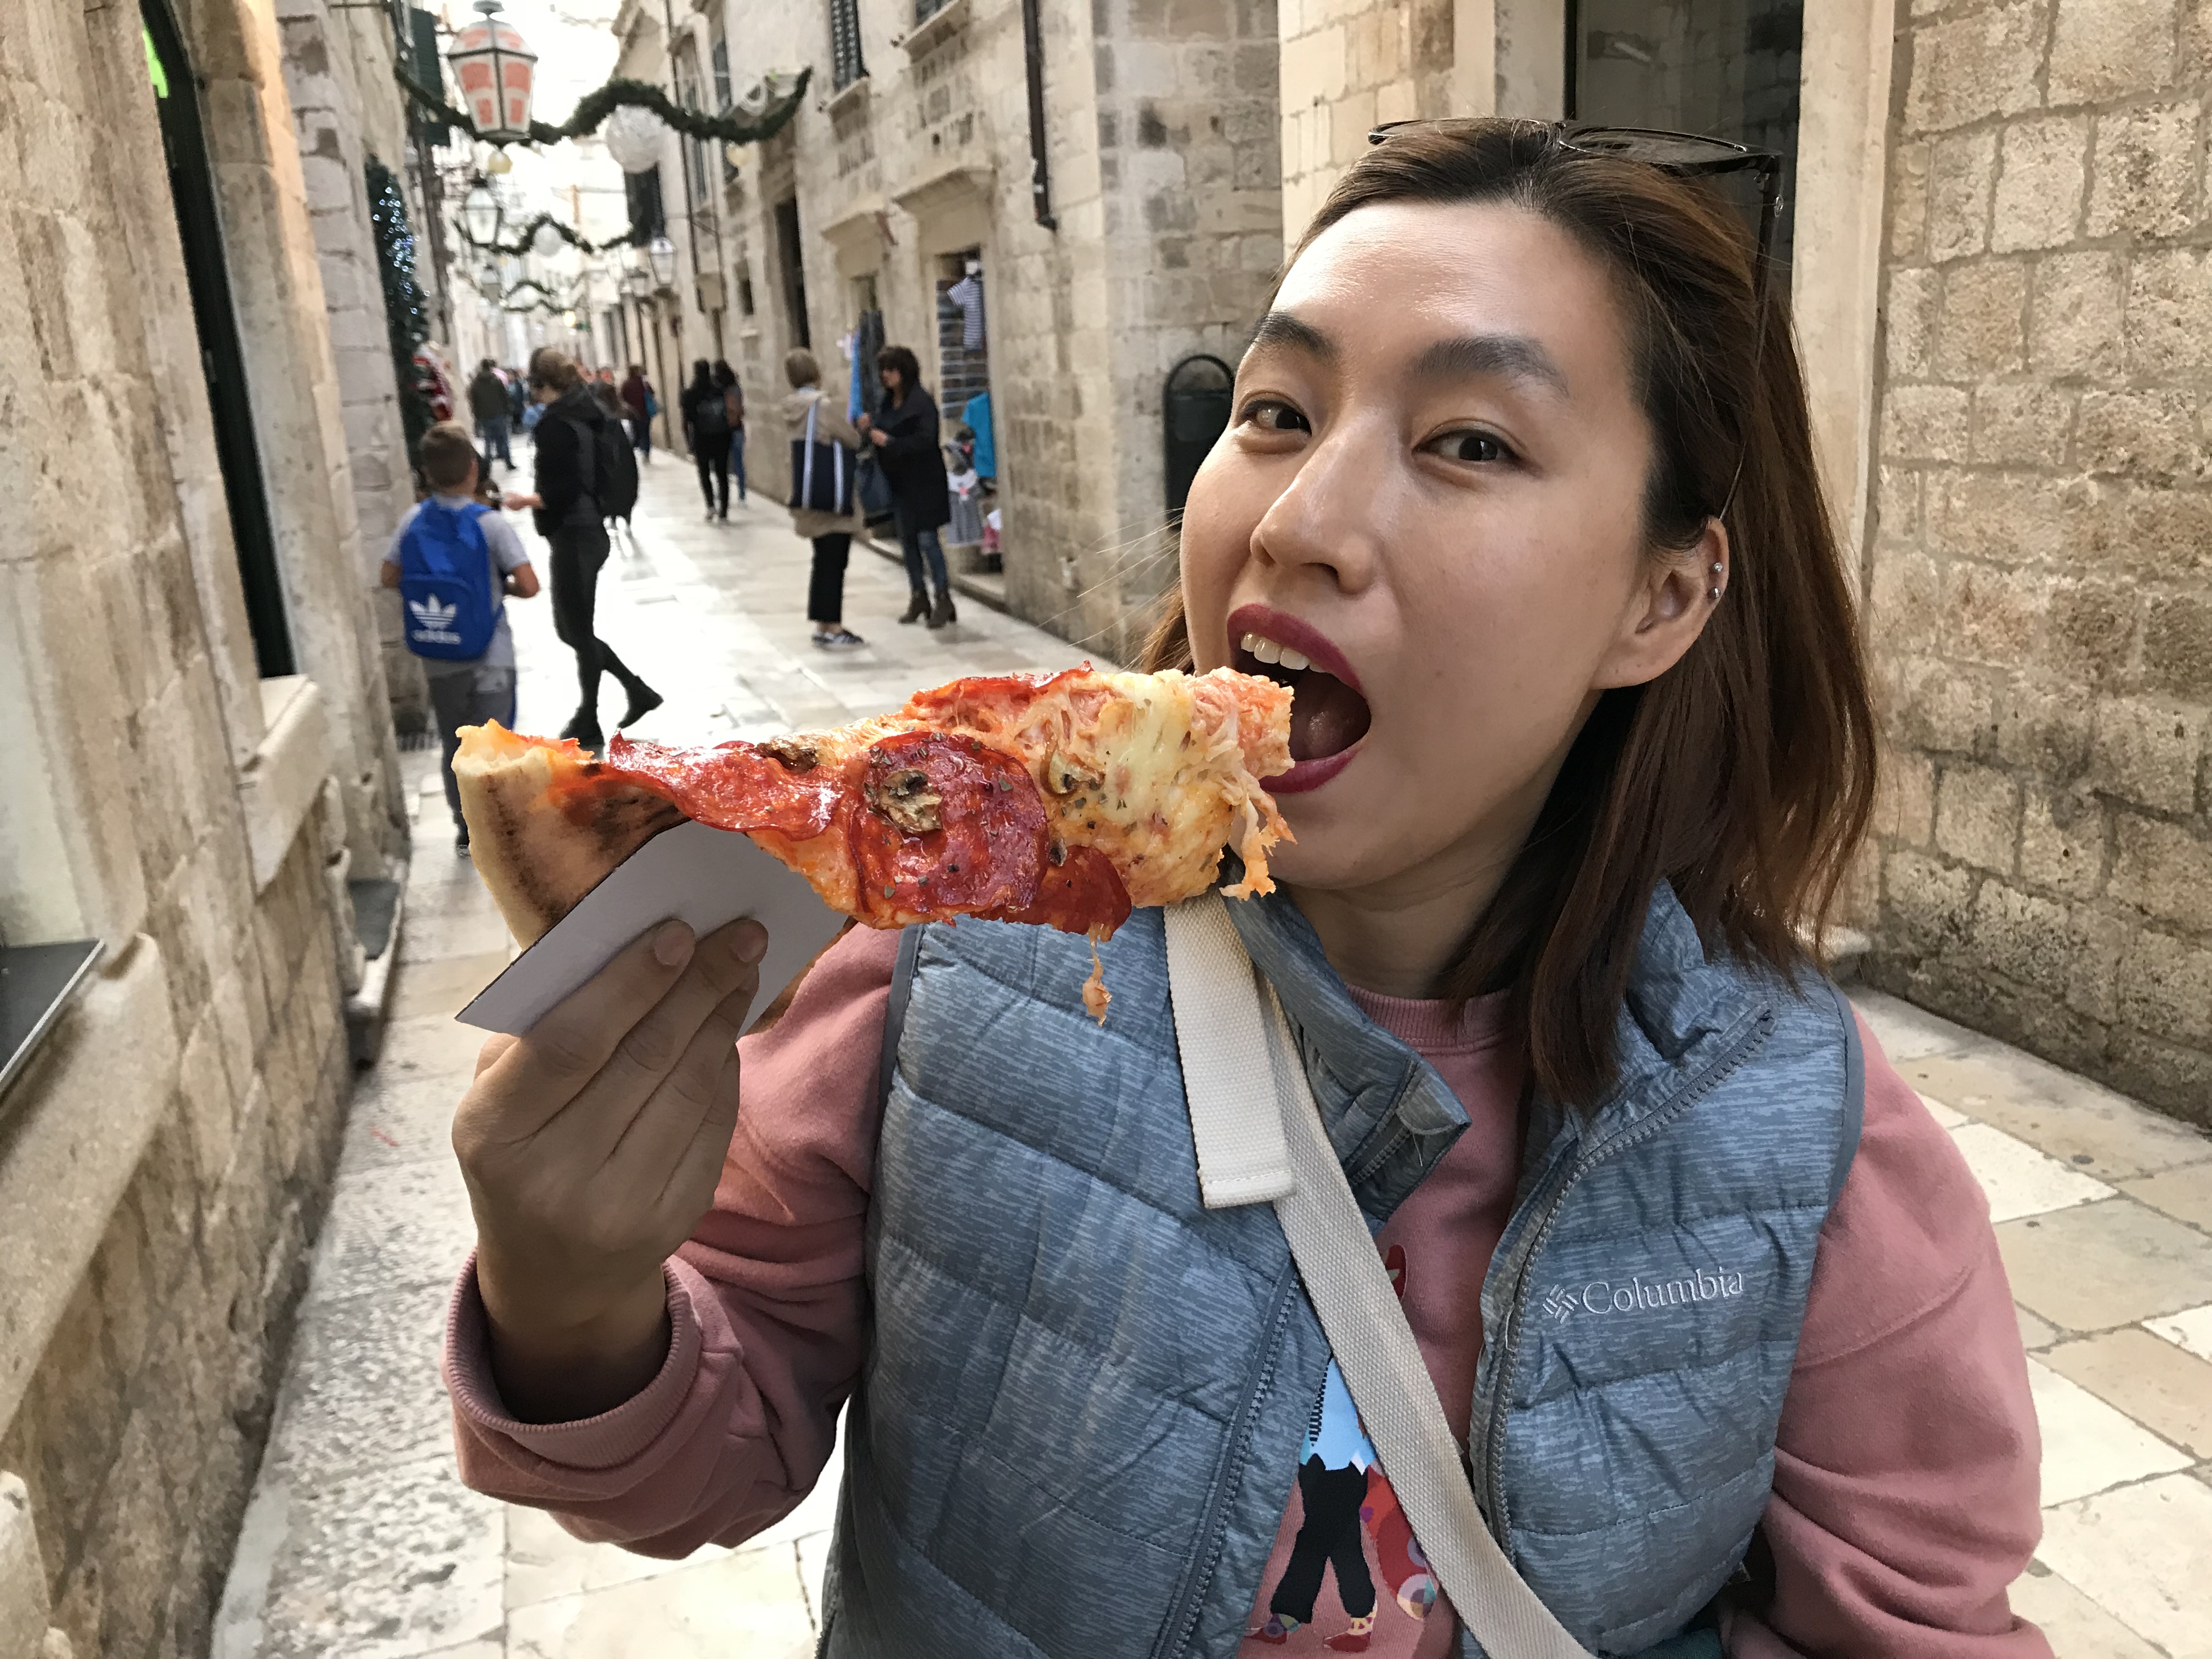
다시 요새 안에 구시가지를 지나가다가
피자에 그만 넘어가버린 우리 마나님께서 피자 한 조각을 꿀꺽...
참고로 한 조각에 25KN로 우리 돈 가치로 4천원이 조금 넘는다.

어느덧 시간이 오후 4시 30분을 넘어 가고 나니,
아름답게 노을이 하늘에 물들었다.
두블로부니크의 노을은 세상 어디서도 볼 수 없는 아름다운 노을이라고 하던데,
역시 명불허전이었다.
이 아름다움을 사진에 남기려 했지만,
그 모습 그대로 사진에 남길 수 없다는게 너무 아쉬웠다.
이제 저녁 식사를 위해 집주인 아주머니가 추천해준
크로아티아 전통 방식으로 해물을 잘하는 EDEN이라는 음식점으로 이동.
차분한 분위기와 친절한 웨이터 아저씨가 무척 기분을 편안하게 만드는 곳이었다.
오랜만에 분위기를 낼 겸, 큰 맘먹고 와인을 시켜서 와이프와 한 잔~
와인을 즐겨 하지 않기 때문에 맛은 무어라 표현하기가 어렵지만 여튼 분위기 내는데는 성공?? ㅎㅎ
생선과 오징어 그리고 새우 등을 따로 시켰는데, 큰 요리 접시에 다 같이 나오는 군.
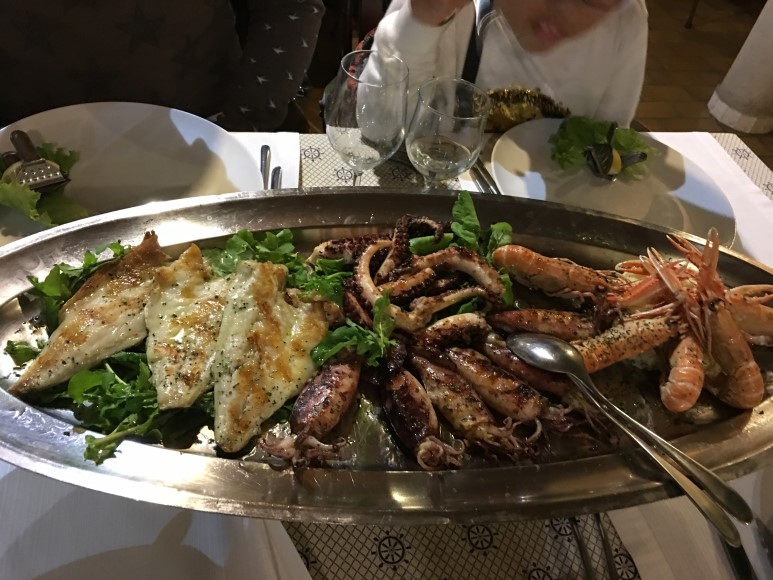
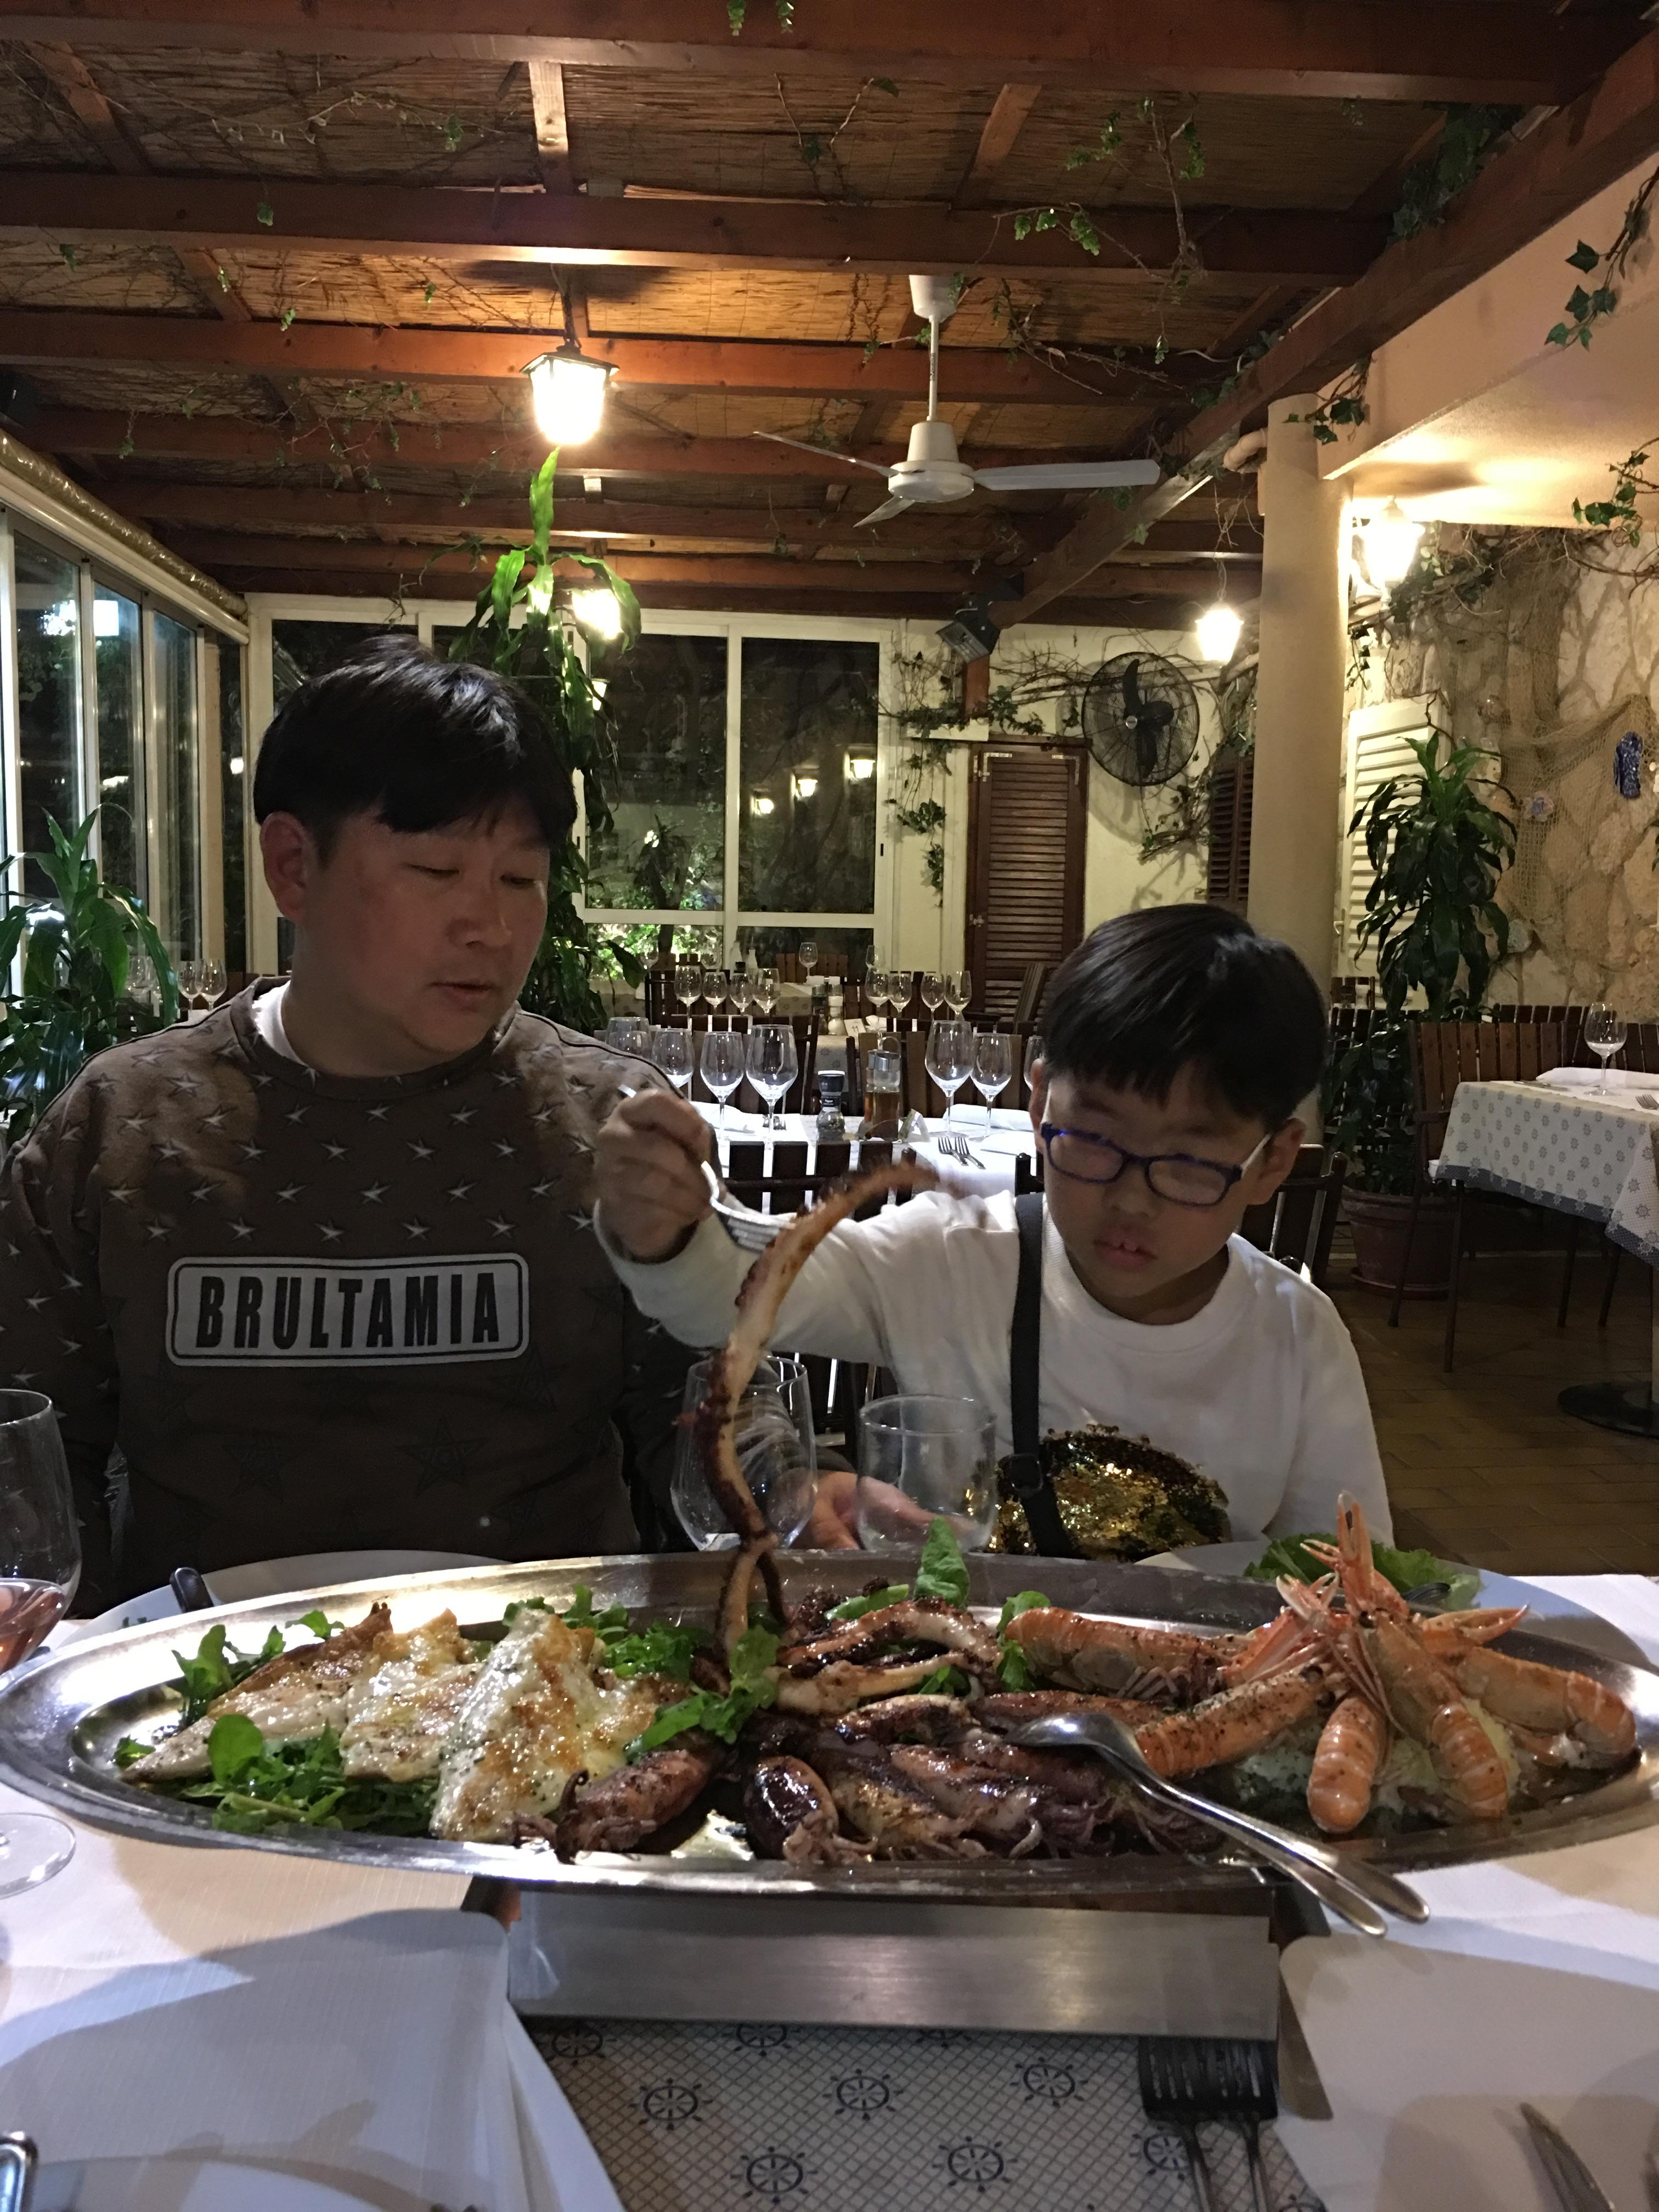
음식은 정말 만족 스럽게 맛있게 먹었다.
모든 식구들이 먹고나서 엄지 손을 척 하고 올렸다는...
저녁 식사는 720KN으로 한화로 따지면 대략 12만원이 조금 넘는다.
와인 한 병 값까지 포함해서 이정도면 괜찮은거 같다.
특히 맛나게 먹었다는게 가장 중요할 뿐 ~~ ㅎㅎ
다시 숙소에 도착 한 후,
테라스에 나와 찍은 아름다운 두블로부니크의 야경을 마지막으로 하루가 저물고 있다.
참고로, 오늘 여행 경비를 정산하자면,
- 버스비 HRK 60/\10,328.06 (현금)
- 아이스크림 HRK 20/₩3,442,68 (현금)
- 점심(한식) HRK 100/₩17,213.43 (현금)
- 점심(한식) €23.0/₩29,417.79
- 라면 HRK 23/₩3,959.09 (현금)
- 케이블카 HRK 360/₩61,968.35
- 기념품 컵 HRK 49/₩8,434.58
- 물 HRK11.68/₩2,010.53
- 피자 HRK 25 /₩4,303.36 (현금)
- 저녁식사 HRK 720 /₩123,936.69
- 간식/내일 아침식사 HRK 69.26 /₩11,922.02
그래서 오늘 사용한 여행 경비는
총 ₩276,936
그리고 오늘까지 총 누적 여행 경비
- 총 ₩6,352,312 (어제까지의 총여행 경비 ₩6,075,376 포함)
'여행 > 동유럽 여행' 카테고리의 다른 글
| 3주 동유럽여행(렌터카동유럽여행) - 13일차 (크로아티아 플리트비체) (0) | 2021.10.14 |
|---|---|
| 3주 동유럽여행(렌터카동유럽여행) - 12일차 (크로아티아 스플리트) (0) | 2020.09.28 |
| 3주 동유럽여행(렌터카동유럽여행) - 10일차 (크로아티아 두브로브니크) (0) | 2019.09.11 |
| 3주 동유럽여행(렌터카동유럽여행) - 9일차 (슬로베니아 블레드 / 류블랴나) (0) | 2019.09.11 |
| 3주 동유럽여행(렌터카동유럽여행) - 8일차 (오스트리아 장길겐/할슈타트) (0) | 2019.09.09 |